User-Defined Area
|
grandMA3 User Manual » Workspace » User Interface » User-Defined Area
|
Version 2.0
|
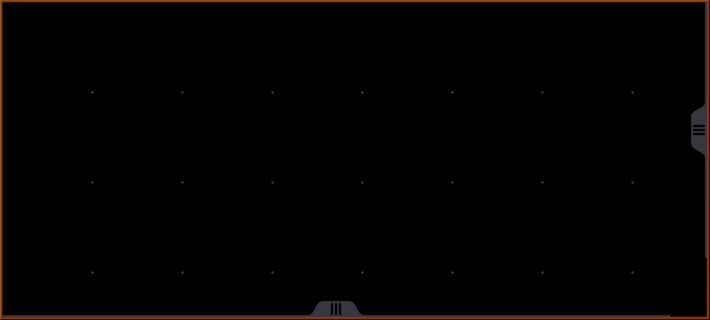
The user-defined area is located on screens 1 through 7. It appears as a grid of small dots.
This is the area where windows can be added and arranged to be stored and recalled as views. For information on how to manage windows in the user-defined area and views, see Windows, Views, and Menus.
The Configure Display menu allows adjustment of the grid size within the user-defined area. It is possible to configure the grid of the user-defined area to a size larger or smaller than the available display space. For more information on the Configure Display menu, see Configuration of Displays.
If the grid is larger than the available display space, a dark orange outline appears around the edge of the user-defined area. Horizontal and vertical scroll bars appear, allowing access to the full space of the grid. The 3 finger scroll gesture also scrolls the user-defined area within the visible portion of the display. For more information on gestures, see the Gestures topic.

If the grid is smaller than the available display space, a partially transparent gray overlay appears over the excess area. Any previously stored views that utilize this area will still recall as stored. The overlay does allow interaction with the contents of windows underneath, but windows cannot be resized or created outside of the user-defined area.