|
grandMA3 User Manual » Workspace » User Interface » Configuration of Displays
|
Version 2.0
|
The displays are populated with a combination of a user-defined area and a collection of additional display elements. The additional elements offer quick access to helpful features, and their availability differs from screen to screen.
Pressing Menu then tapping Configure Display on any screen (excluding screen 8, screen 9, screen 10, screen 11, and screen 12) opens the Configure Display dialog for that screen. This dialog can also be opened by tapping any user-defined area on the desired screen and tapping Configure in the upper-right corner of the Add Window dialog.
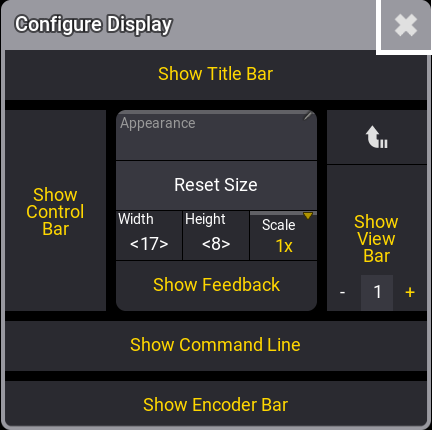
This pop-up is used to configure or change the appearance of the display. It has different areas:
- Show Title Bar: Activate this button to see the window frame in the grandMA3 onPC. This is not an option in the MA hardware.
- Show Control Bar: Activate this to see the control bar on the left side of the display.
- Appearance: Tap this to open the Select Appearance pop-up and select one of the existing appearances for this display. The appearance is added as a background for the screen area. Read more in the Appearance section.
- Reset size Tap this to reset the size of the user-defined area. The size can be changed using the Width and Height. Allowing each user to set the size of the user-defined area in the display. A user-defined area bigger than the display will appear within a brown frame. A user-defined area that is smaller than the screen will gray out the unused area.
- Scale: The scale can be used to change the scale of the interface. This option is only available on onPC and on external screens. It is very useful with high DPI screens or screens that have a lower resolution than Full HD.
- Show Feedback: Tap to show or hide a small feedback overlay at the bottom of the display. This feedback appears briefly when the show is saved.
- Show View Bar: This option hides or displays the column of view buttons. For more information on the View Bar, see View Bar and View Buttons.
- Show Command Line: Activate this to see the command line input bar at the bottom of the display.
- Show Encoder Bar or Show Playback Bar: This hides or shows the encoder bar or the playback bar at the bottom of the display.
-
The
 in the title bar closes the pop-up.
These additional elements can be hidden to increase the amount of available user-defined area or shown in different combinations on most screens, whether internal screens or external monitors.

Screen 1, Screen 2, and Screen 3
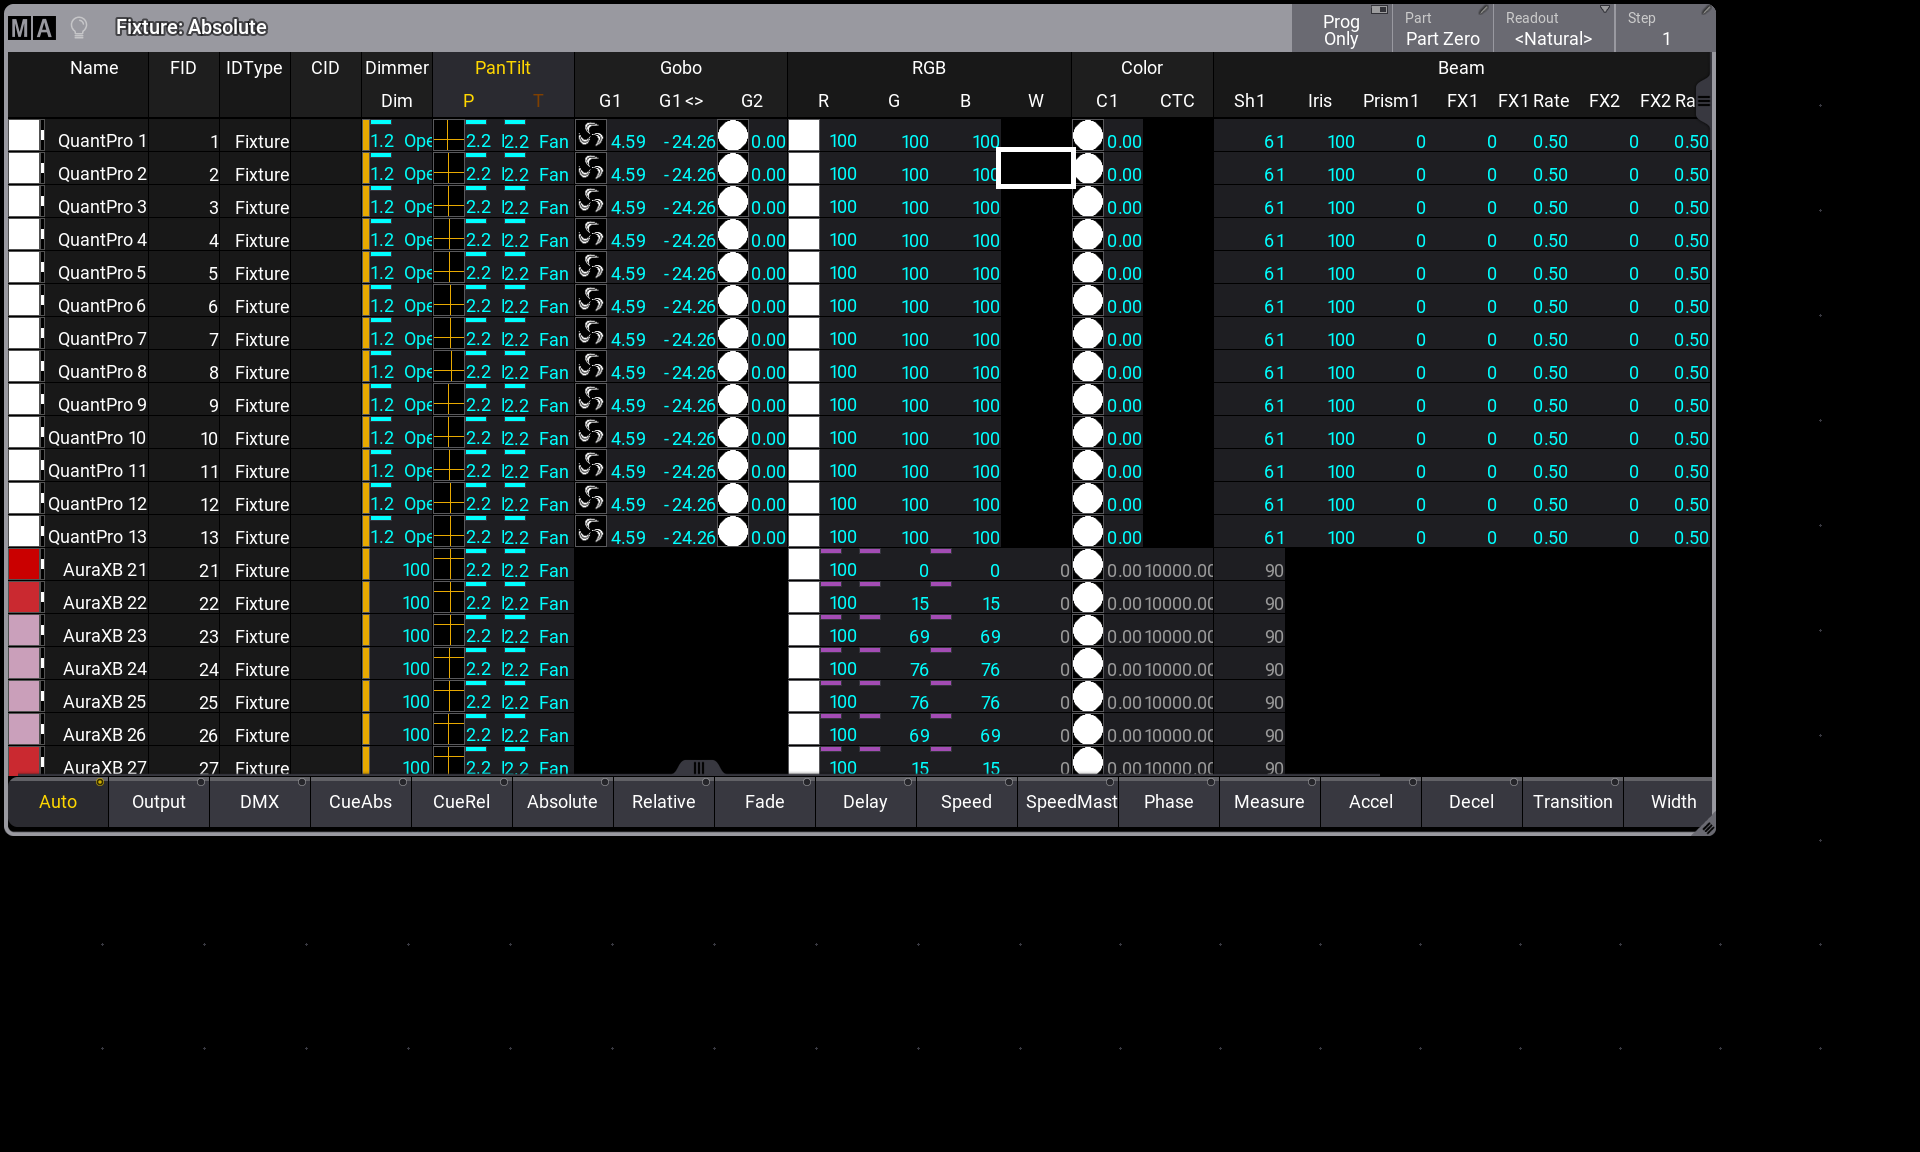
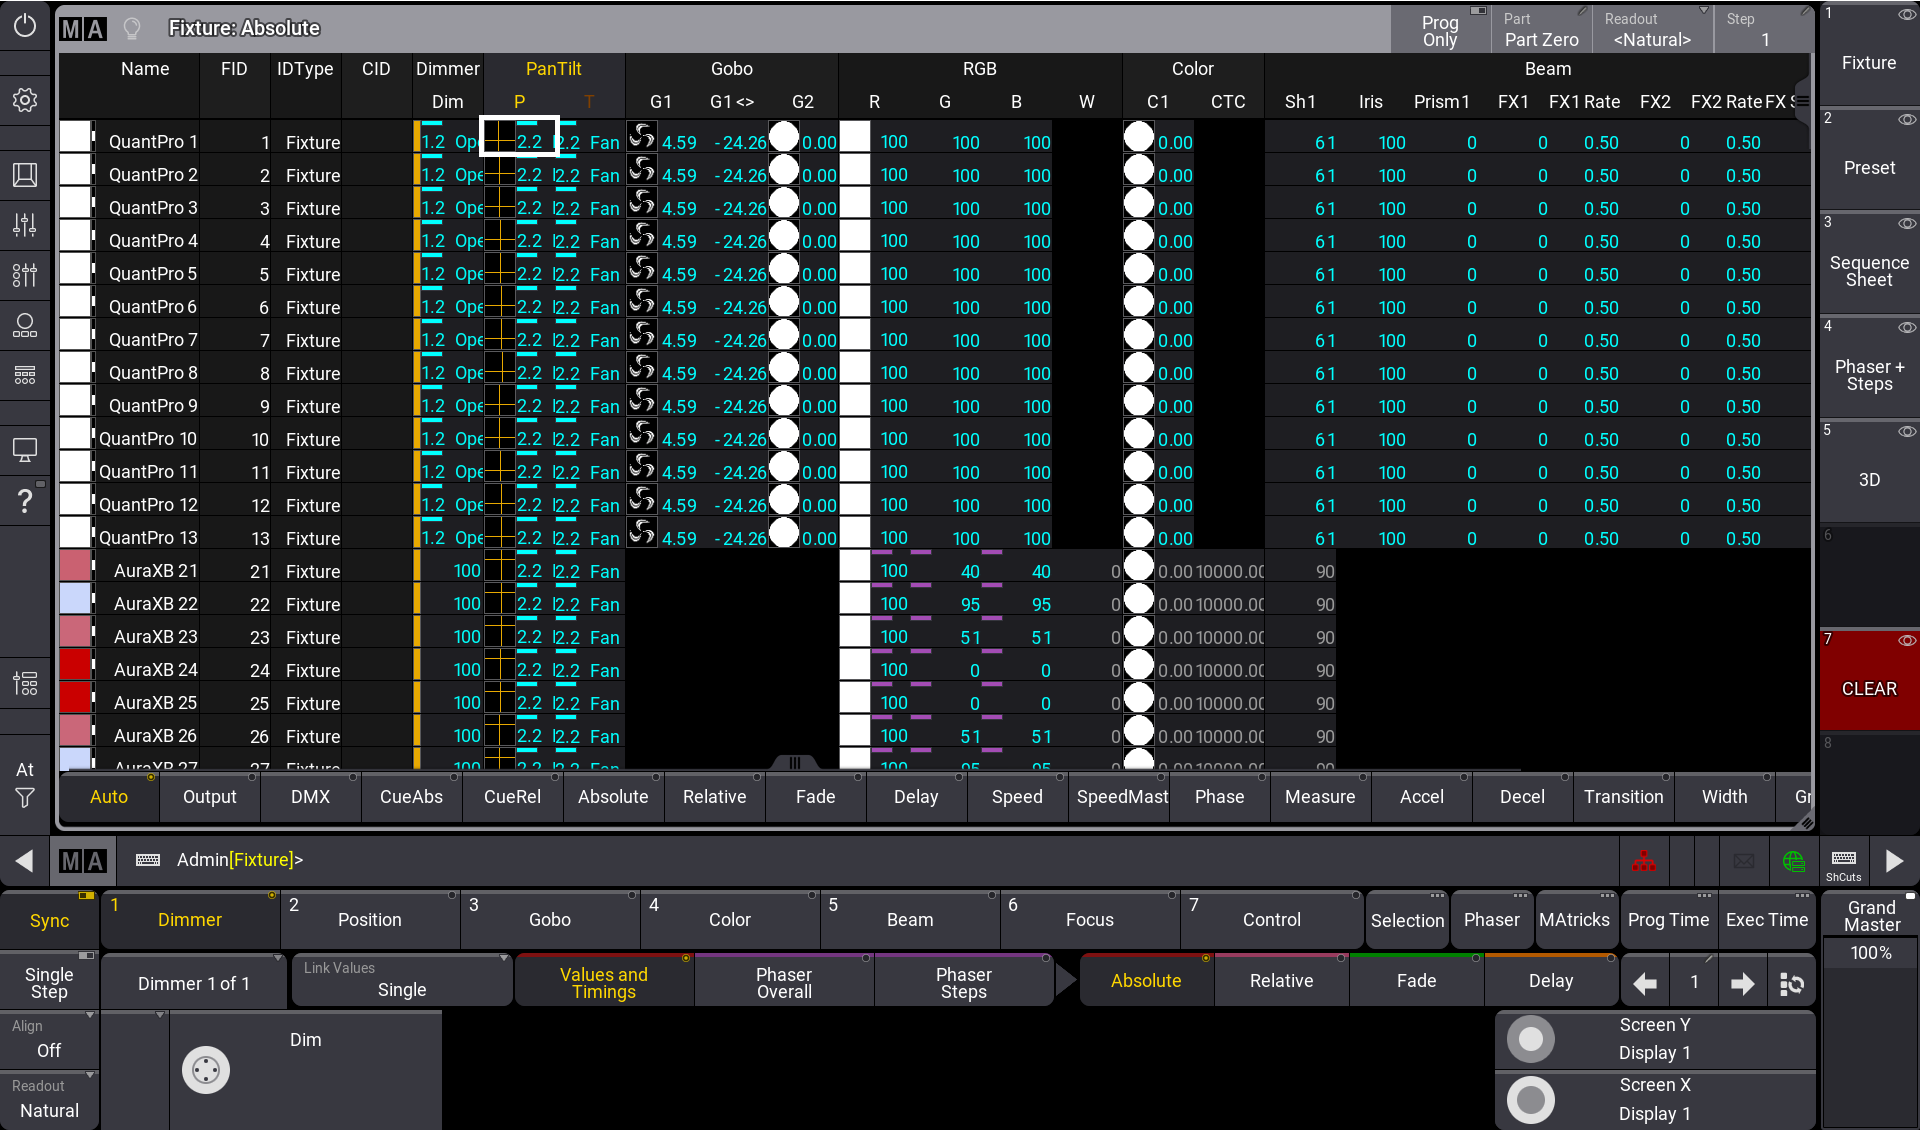
Screen 1, screen 2, and screen 3 are the main screen workspaces on the console. The displays on these screens offer the most available user-defined area on any of the internal screens. They can be configured with a selection of additional display elements.
By default, screen 1 includes the command line and view bar. It can also be configured to display the control bar and encoder bar.
By default, screen 2 and screen 3 include the view bar. In addition, the grandMA3 compact XT includes the command line on screen 2. They can also be configured to display the command line, control bar, and playback bar.
Screen 4 and Screen 5
Screen 4 and screen 5 are on the optional external monitors. The displays on these screens offer a large amount of user-defined area. They can be configured with a selection of additional display elements. They can be configured to display the view bar, command line, control bar, and playback bar.
The scale option is available on screen 4 and screen 5 to take advantage of monitors of different resolutions.
Screen 6 and Screen 7
Screen 6 and screen 7 are the right command screen and left command screen, respectively. The displays on these screens offer a small amount of user-defined area. They can be configured with a selection of additional display elements.
Screen 6 can be configured to display the view bar, command line, and control bar.
Screen 7 can be configured to display the view bar, command line, control bar, and playback bar. The playback bar available on screen 7 shows the status of objects assigned to the Xkeys.
Screen 8, Screen 9, Screen 10, Screen 11, and Screen 12
Screen 8, Screen 9, Screen 10, Screen 11, and Screen 12 are the letterbox screens, which are available on the grandMA3 full-size, light, and extension. The displays on these screens offer no user-defined area. The configurations of these displays cannot be changed. These screens are dedicated to specific display information and user input.
Screen 8 displays the encoder bar and grand master.
Screen 9 displays the playback bar and master section.
Screen 10, Screen 11, and Screen 12 display the playback bar and custom section encoders and wheels.