Create User
|
grandMA3 User Manual » Single User and Multi User Systems » Create User
|
Version 2.1
|
A User is also a login name.
Some things are connected to the user. For instance, each user can have different operating rights and different languages. Read more in the User Settings topic.
The users are stored in a User pool. Read more about creating windows in the Add Windows topic.

The currently logged-in user has a yellow frame. It is the selected user.
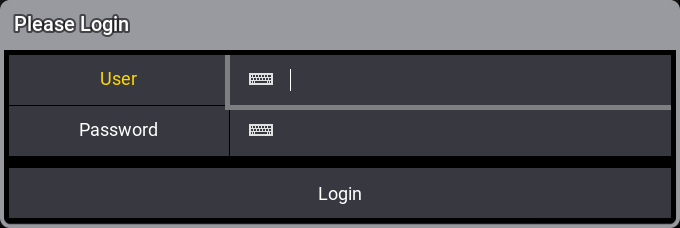
Tapping one of the other users logs in as this user. If the user has a password, then a Please Login pop-up appears.

|
|
Important: |
|
The password is case-sensitive.
|
Type the correct password to log in.
|
|
Important: |
|
The password for the Admin user get reset when loading the show. The default password for the admin is empty or nothing.
The password of the Guest cannot be changed. The default password for the guest is empty or nothing. |
A show file always has some default users. They use the same User Profile.
User Profiles are the ones that hold information about programmer content, selected sequence, current page, views, cameras, etc.
If two users share the same user profile, they share all the information stored in it.
If the user profiles differ, two operators can have different selections, programmer values, views, etc. - Multi User System.
Each User must have a User Profile assigned - Read more about this and how to create user profiles in the User Settings topic.
Create a New User
The easiest way to create a new user is to edit an empty object in the user pool, for instance, by using swipeys.
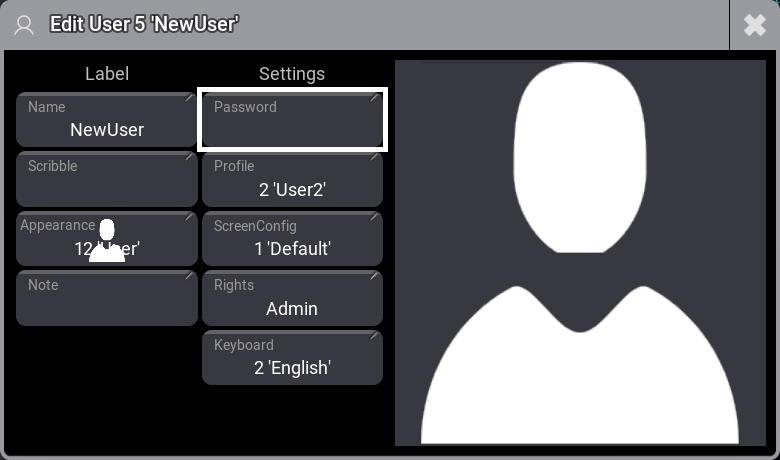
This opens the Edit User pop-up

The name should be changed at a minimum. This is also the name used when logging in using the LogIn keyword.
The big area on the right side of the pop-up shows the user's selected appearance (the image above shows an appearance).
The rest of the settings in the editor are explained in the User Settings section.