Edit or Update Presets
|
grandMA3 User Manual » Presets » Edit or Update Presets
|
Version 2.5 |
The existing presets can be edited. The values in the preset can be seen in a Fixture Sheet in Fixture mode.

|
Important: |
| Editing a preset calls the values into the programmer, which is sent to output unless Blind mode is activated first. |
- Press Edit.
- Tap the preset to be edited - this changes the frame around the fixture sheet to a green color (yellow frame on other stations with the same user), the fixtures are selected, and the values are pulled into the programmer as active values. Edit starts blinking.
The sheet shows the fixtures that can use the preset and the attribute values.
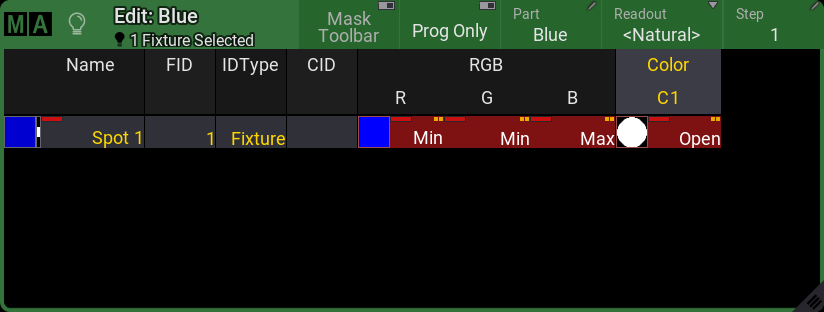
The example above is a Universal preset. The universal data is marked with two yellow markers in the upper right corner of the attribute values. Global data is marked with a single yellow marker. Selective data are values without the yellow marker.
- Edit the values in the programmer. Update lights up.
- When the values are correct, press Update.
This opens a pop-up asking for confirmation to update the preset.
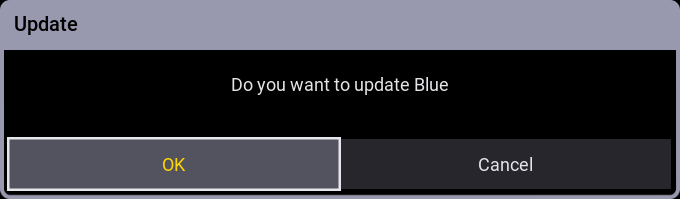
- Tap OK to confirm the update. Cancel will return to the update menu and not update the preset.

|
Hint: |
|
To deactivate the edit mode without saving anything, press Esc. Remember that the values are still in the programmer.
|
Update Existing Preset
A preset called into the programmer, where the values changed after it was called, can be updated.
Update flashes when there are values that can be updated. Tap the key to open the Update Menu.
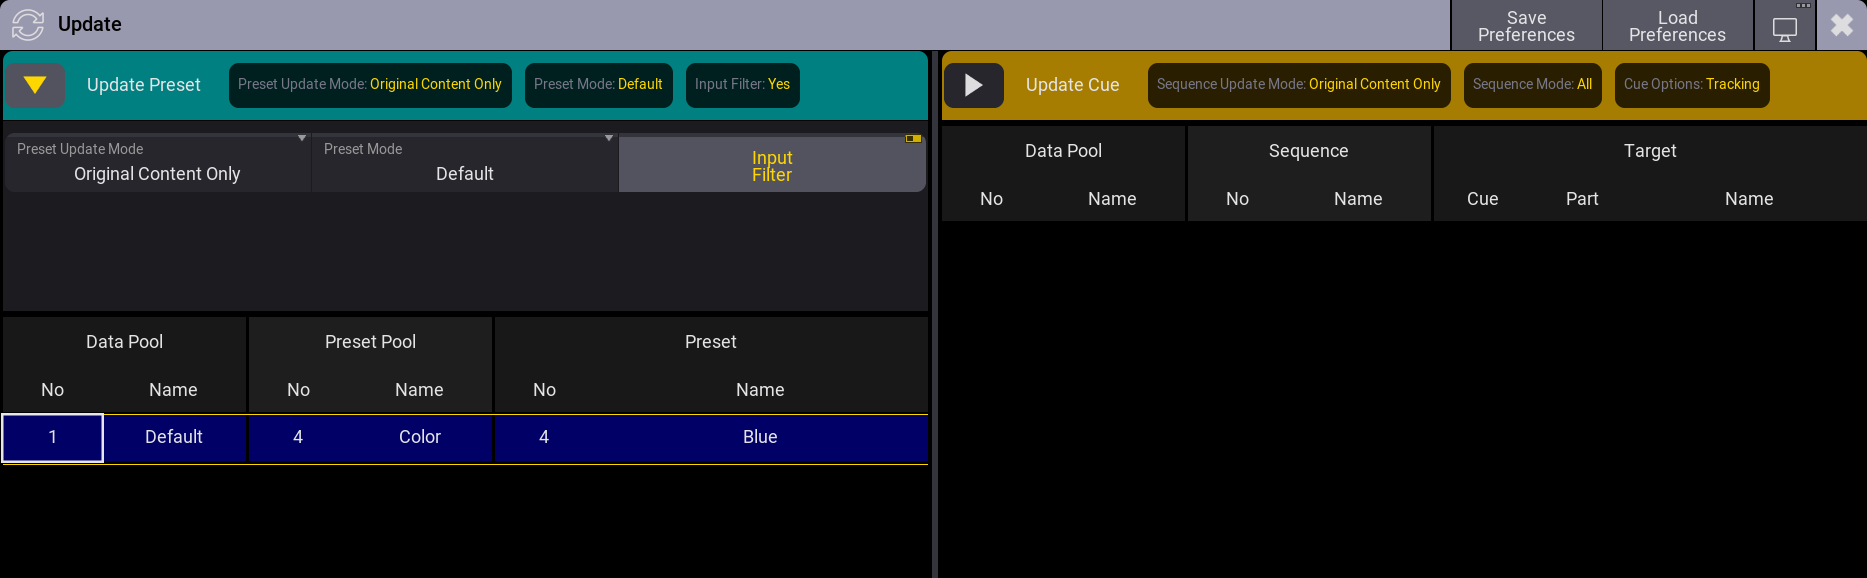
The presets that can be updated are listed on the left side of the menu.
The active update settings can be seen in the header of the preset side. Tapping the right-pointing arrow (see the Update Cue side in the example image above) unfolds the settings, which can be edited.
The Preset Update Mode is relevant when updating presets. There are two modes:
-
Original Content Only:
Only existing attribute values are updated if a preset is updated with this mode. -
Add New Content:
This mode update existing attribute values and adds any new attribute values to the preset.
The mode can be toggled by tapping Preset Update Mode.
The Preset Mode defines how the preset values are updated.
This setting sets what mode will be used when updating the preset. The options are Default, Selective, Global, Universal, ForceGlobal, and ForceUniversal. For more information, see Preset.
The mode set here is not linked to the default mode selected in the store settings.
The Input Filter setting is also used when updating presets. It can be toggled to turn On or Off the input filters when updating preset values. For more information, see Create new Preset.
When the correct settings are selected, the desired preset can be updated by tapping it in the menu.
Absolute and relative layers are handled separately during preset updates.
When adding a relative layer value to a preset with an existing absolute layer value, the relative value will not automatically be added to the cue where the preset is already used. Vice versa, when adding an absolute layer value to a preset with an existing relative layer value, the absolute value will not automatically be added to the cue where the preset is already used. Recasting the preset adds information from all layers to the relevant cues. Recast can be done from the preset editor or using the command line. For more information, see Recast keyword.
Recipe presets that reference the updated preset might need to be recooked to look as expected, and cues might need to be recooked for the expected result.
Edit the Preset Object
The preset object can be edited using the edit pop-up. It can be accessed using the Swipey menu or the EditSetting keyword.
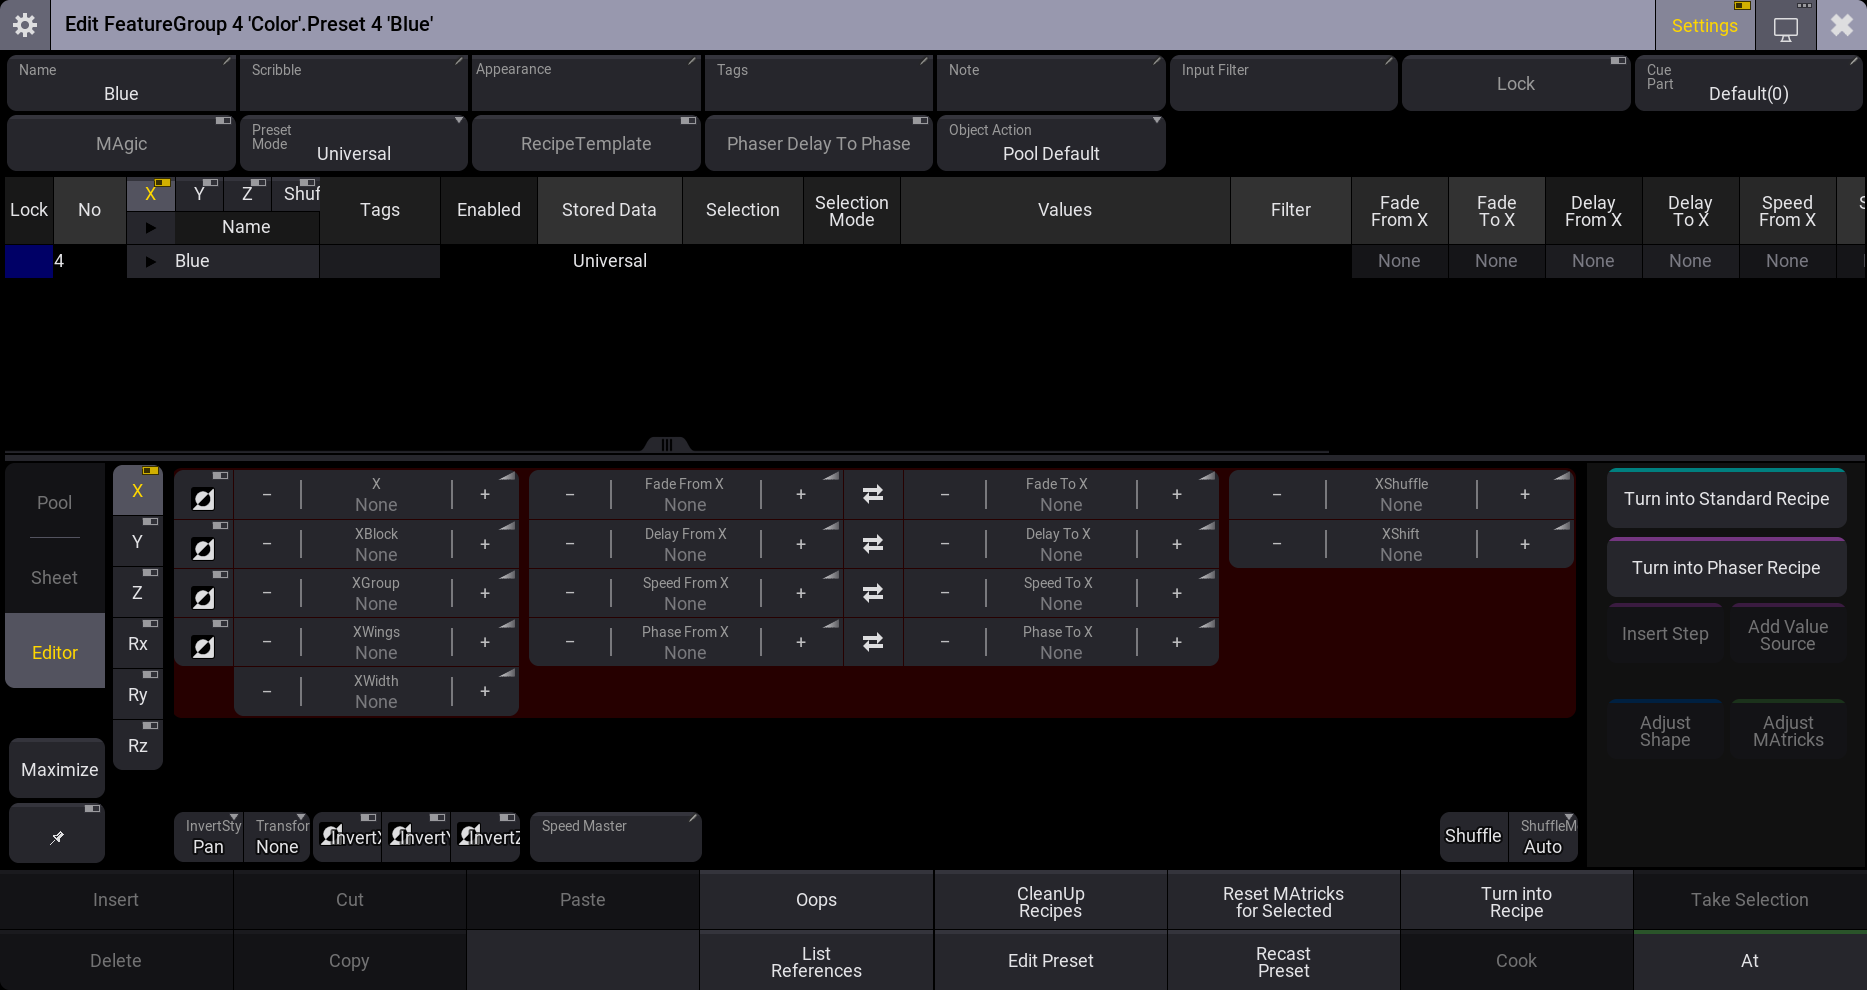
The settings on the top line are the same as those for the entire pool, but here they can be configured for the specific preset. Settings on a preset take precedence over pool settings. For more information, see Preset Pool.
There are some extra settings here.
The first is called MAgic. It is a toggle button that changes the behavior when the preset is called into the programmer.
Turning on MAgic is used for MAgic presets. For more information about creating and using MAgic presets, see Create New Presets.
The other is called Recipe Template. For more information, see Recipe Presets.
The Phaser Delay To Phase setting can be toggled. For more information, see Presets.
The settings on the top can be shown or hidden using the Settings toggle button in the title bar.
The rest of the editor is for recipe lines. For more information, see Recipe Presets.
Errors and Warnings
Generally, it should be avoided to mix universally marked data with globally marked data for fixtures of the same fixture type.
Some situations can trigger an error or warning message.
Adding Universal Data to a Fixture With Existing Global Data
In this situation, the first fixture of a fixture type already has global data stored in a preset. Now the same fixture has data, and this is merged as Universal into the same preset.
|
|
Hint: |
| It is always possible to update global data with global data and universal data with universal data. |
The following error is displayed.
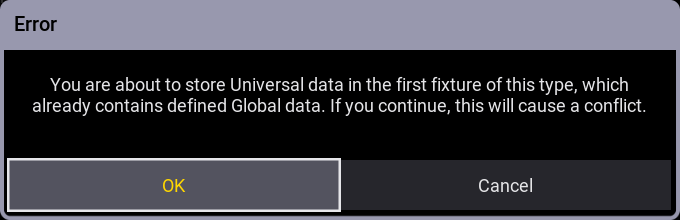
Tapping Cancel does not perform the merge. Tapping OK moves the stored global data to the next available fixture and stores the universal data to the original fixture.
Adding Universal or Global Data to a Fixture Type Which Already Has the Other Data Type (Global or Universal)
In this situation, a preset has global data stored for a fixture type. Merging different universal data to the same preset gives the following warning.
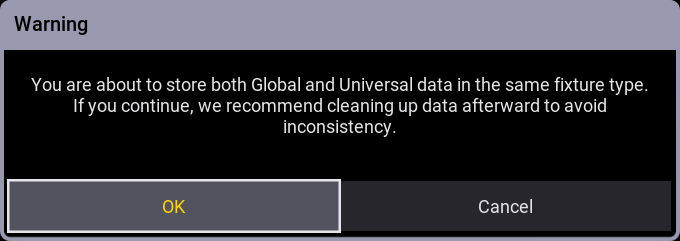
Tapping Cancel does not perform the merge. Tapping OK stores the universal data to the last fixture of the fixture type.
This case is the same if universal and global data is the other way around (existing universal - merging global).
The difference between these two cases is that the first example uses the same first fixture of that type, whereas the second example uses different fixtures of the same type.
In all cases, using the preset can be unpredictable and should be avoided.