|
grandMA3 User Manual » Images
|
Version 2.0
|
Imported images are in the Image Pool. For more information, see Pool windows.
|
|
Important: |
| The overall size of the media pool is a maximum of 200 MB. |
We advise that you keep the image pool as small as possible. For example, keep the maximum image size below 64 MB, and do not exceed a resolution of 1 920 x 1 080.
Images can be used for appearances. Read more in the Create Appearances topic.

Edit an image pool object using one of two options:
- Press Edit and then tap the desired pool object.
- Open the swipey commands on the pool object and choose Edit.
The Edit Images pop-up opens:
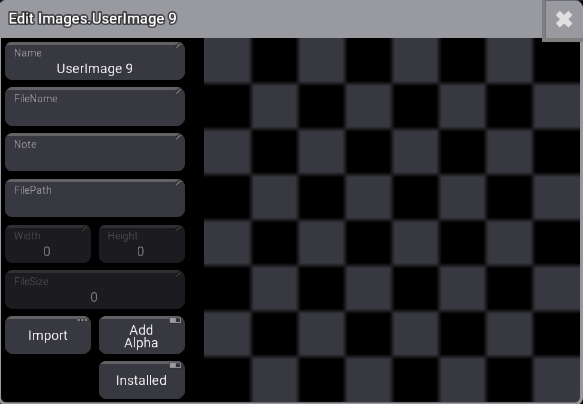
Edit Images pop-up window
Import Images Using the Image Pool
Workflow:
- Edit an empty pool object.
- Tap the Import button.
- Tap Internal in the top-right of the title bar to change the drive to the desired source.
- Select the desired image.
- Tap Import.
- Close the Edit Image pop-up.
- Before closing the Edit Image pop-up, it is possible to edit the name.
Tap the video below to see the example.
By default, the grandMA3 software uses the gma3_library/media/images folder to import and export images. For more information, see Folder Structure.
Import Images from the Import/Export Menu
Workflow:
- Press Menu.
- Tap Show Creator
- Tap Import on the top left corner of the window.
- Tap Images.
- Select the drive, then tap an empty pool object on the right side of the window.
- Select the image to be imported.
- Tap Import at the bottom of the window.
Delete an Image from the Pool
Deleting images is like deleting any other pool object. The image disappears in any appearance where it might be used.
There are three common ways to delete images.
Delete an Image Using the Command Line
The important keyword for this is: Delete.
This is the syntax for deleting a single image:
Delete Image 3.x
Delete a range of images using the standard range syntax (Thru, +, and -).
For example, if image 4 needs to be deleted:
|
|
User name[Fixture]>Delete Image 3.4 |
Or if images 5 to 10 need to be deleted:
|
|
User name[Fixture]>Delete Image 3.5 Thru 10 |
Delete an Image Using the Image Pool on a Screen
Requirement:
A visible image pool on one of the screens.
- Press Delete.
- Tap the image in the pool.
The image is deleted.
Delete an Image Using the Swipey Commands
Requirement:
A visible image pool on one of the screens.
- Tap and hold the image you wish to delete.
- Swipe out of the pool object without releasing the screen.
- Swipe to the Delete swipey and release the screen.
The image is deleted.