Recipe Presets
|
grandMA3 User Manual » Presets » Recipe Presets
|
Version 2.0
|
Please read the Recipe topic before this topic.
This topic explores using recipes in presets.
Recipes can only be added to presets that do not contain attribute values when using the user interface. Presets with attribute data offer to turn the existing attribute data into a recipe (by tapping Turn into Recipe - read more below).
Adding Recipe Lines
Recipe lines are added to presets using the Edit Preset Object pop-up. This can be accessed using the Swipey on a preset pool object.
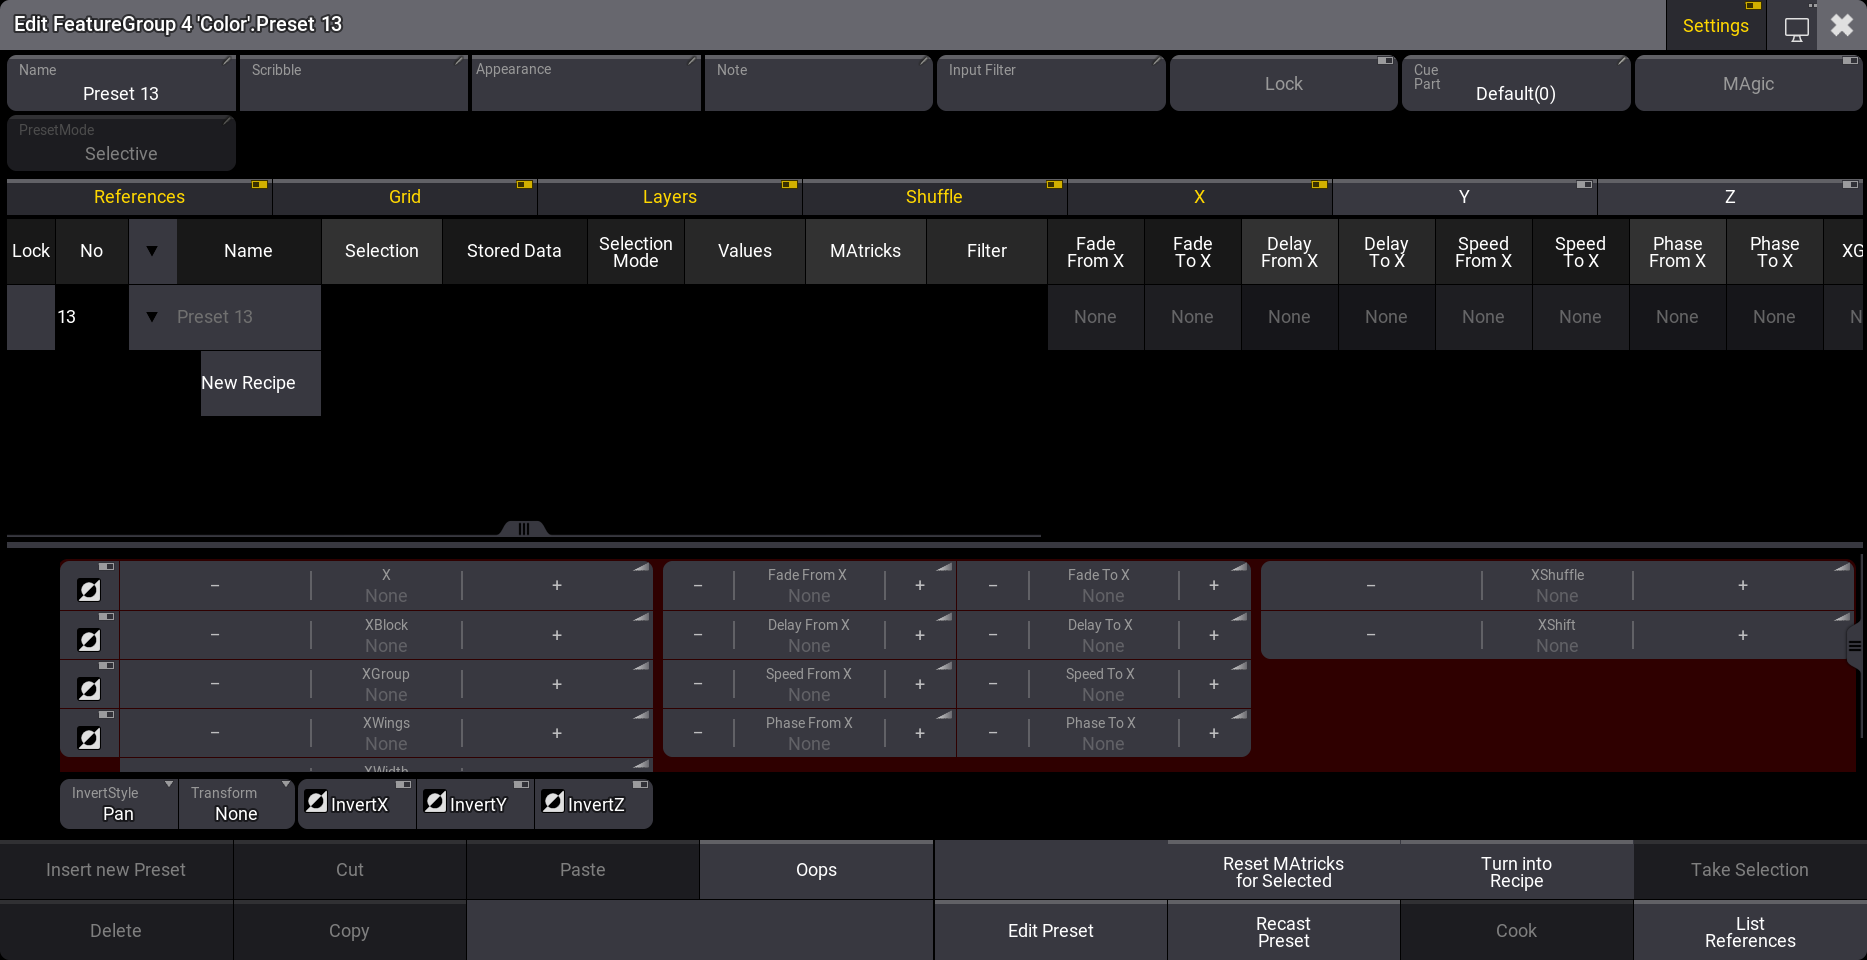
The middle part of this pop-up is about the recipes and, for instance, grid values.
Besides the main recipe area (described in the Recipe topic), the recipe editor area has a colored background. This is just a different tool to edit and see the values in the selected recipe line.
The bottom of the editor has different buttons:
- Insert New Recipe (available when the preset is turned into a recipe preset):
Creates a new recipe line. Adding additional recipe lines will reference the values from the first line when values are stored in the first line. When the first line contains a preset, the reference to this preset is copied. Additional lines also automatically reference the MAtricks values from the first line. - Cut:
Cuts the selected recipe line. - Paste:
Paste the copied or cut recipe line. - Oops:
Oops the last action. - Delete:
Delete the selected recipe line. - Copy:
Copies the selected recipe line. - Edit Preset:
Closes the editor and takes the selected recipe line into the programmer in edit mode. - Reset MAtricks for Selected:
Resets the MAtricks for the selected recipe line. - Turn Into Recipe:
Tap this button to turn a preset containing attribute value into a recipe preset. A new empty preset must also be turned into a recipe preset before adding recipe lines. - Take Selection:
This allows using a selection of fixtures instead of a group. Tap this button to make the current programmer fixture selection the new selection for the selected recipe line. - Recast Preset:
This will recast the preset where it is referenced. This means that if attributes are added or deleted after the preset is used in cues, then the preset might need to be recast for the cues to reflect the new content. Read about this in the Cue Recipes topic. - Cook:
This will cook the preset recipes. This might be necessary for the preset to reflect the recipe content. - List References:
Tapping this opens a pop-up listing all elements that reference and depend on the preset.
Create a New Recipe Preset
Open the editor for an empty preset.
Tap Turn into Recipe in the menu at the bottom.
This turns the preset into a recipe preset and creates the first recipe line.
It is almost always relevant to at least add a preset reference value. To do this, tap and hold the field in the recipe row in the values column.
This opens a Preset Pool selection pop-up. Here, navigating the existing presets and selecting the desired preset is possible. It does not have to be in the same feature group as the recipe preset.
Add the desired values in the other columns.
Add a selection if desired - from a group or by tapping Take Selection.
If the recipe contains a group, then the preset is automatically cooked when the edit pop-up is closed.
Example
We want a preset that can take the current selection of fixtures to a new position in two wings and with a ranged time.
Requirement:
Have a show with some moving heads patched and placed in a row. The show also needs a position preset and dimmer preset where the fixtures are at full. This example uses the Demoshow.
Follow these steps to create the recipe preset:
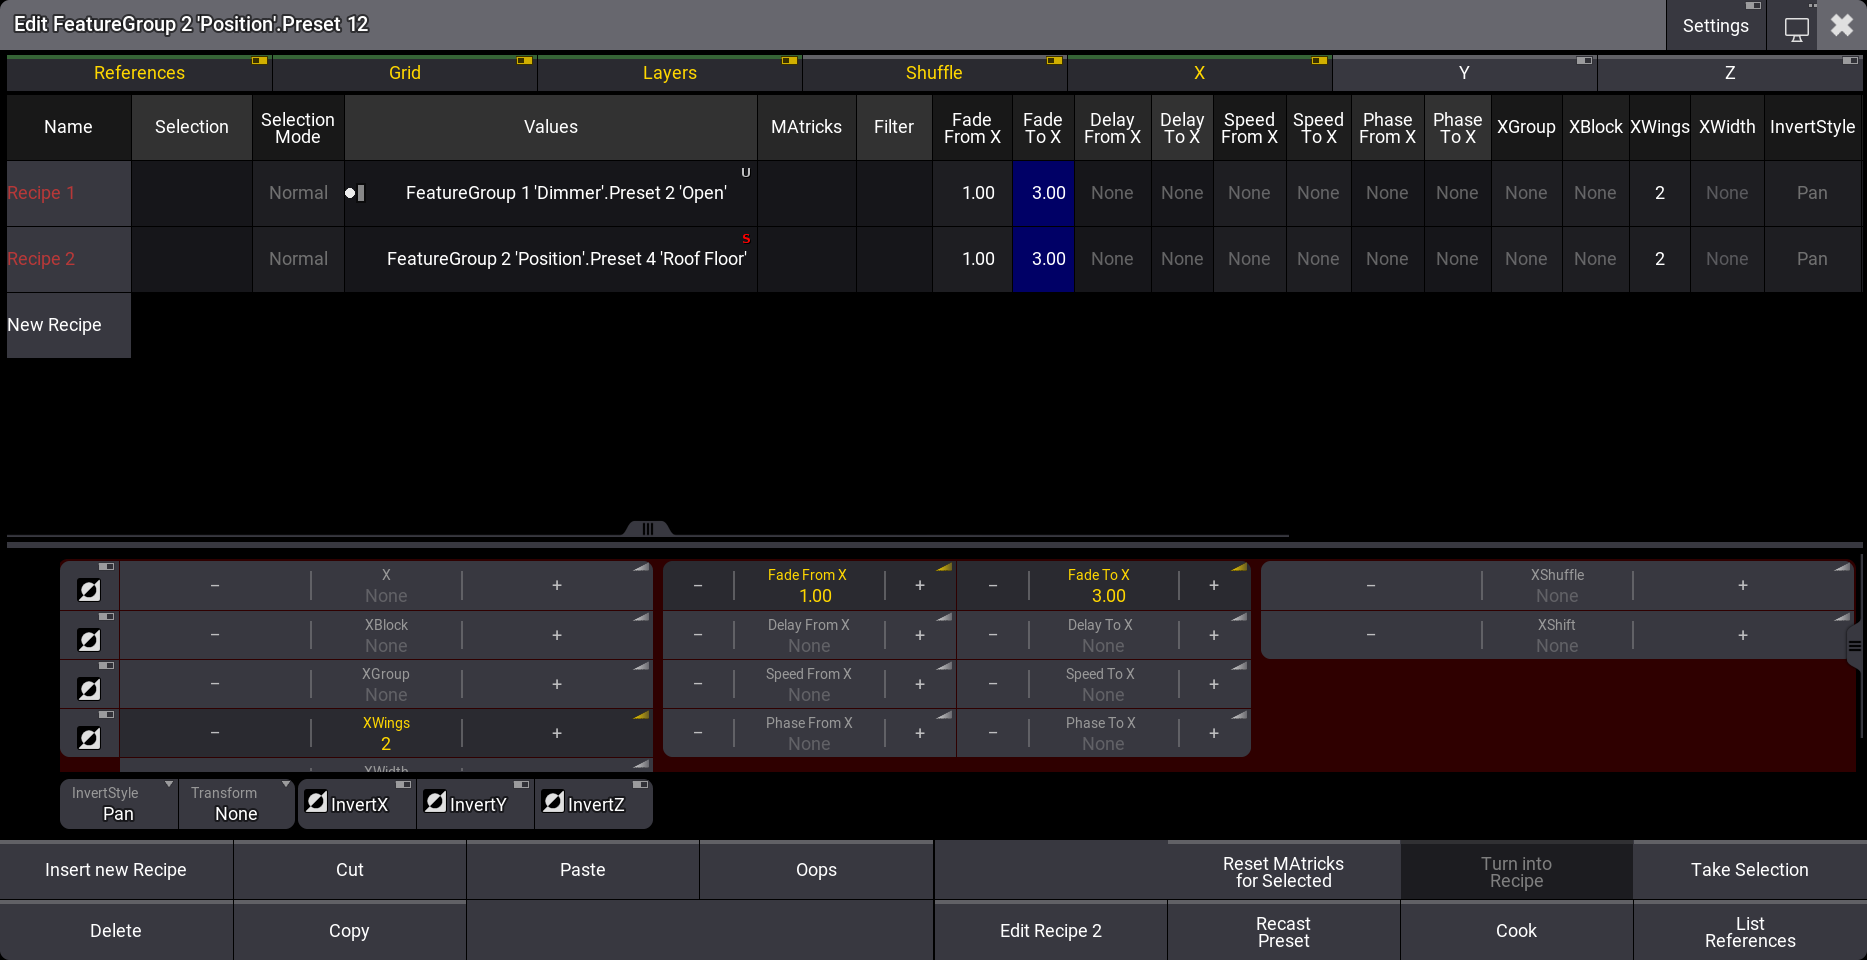
- Tap an empty position preset pool object and swipe the finger outside the preset to open the Swipey menu.
- Select Edit Setting in the Swipey menu.
- Tap Turn into Recipe to be able to create recipe lines.
- Tap and hold the first field in the "Values" column.
- Tap Dimmer and then the preset where the intensity is at full (Open).
- Tap and hold New Recipe to create a second line.
- Press Assign.
- Tap the position preset (Roof Floor) in the position preset pool.
- Tap the second recipe line to assign the preset to the line.
- Select both recipe lines in the XWings column (if the column is not visible, then make sure both "X" and "Grid" are active in the row with toggle buttons).
- Edit this value so it says "2" in the XWings.
- Select both rows in the "Fade From X" column and set the value to "1".
- Select both rows in the "Fade To X" column and set the value to "3".
It should look like this ("Settings" is turned Off in the title bar):
- Close the editor.
- Select some fixtures (for instance, group 2).
- Tap the new recipe preset and see the fixture move while they turn on.
If the move and fade should start from the center then open the edit preset object pop-up again and set the InvertStyle to "All" and the InvertX to "Yes" for both recipe lines.
Working with Recipe Presets
There are two suggested workflows with presets using recipes:
- Preset containing recipe with a selection.
- Preset containing recipe without a selection.
Preset Containing Recipe With a Selection
The recipe will be loaded into fixtures selected in the programmer (Programmer Parts window); therefore, the values are cooked into the programmer. These values can be stored or removed/overwritten in the programmer.
|
|
Hint: |
| Using Presets this way is a quick way to build recipes into cues. After the recipes are in the cues, the preset is no longer needed; the recipes should only be worked with inside the cues. Think of it as a "Recipe Template Preset". |
Recipe presets with a selection can be played back from executors. Learn more bout this in the Use Presets topic.
Preset Containing Recipe Without a Selection
This recipe works with the current programmer selection of fixtures. The recipe is not loaded into the programmer. Instead, the recipe value links and grid values are used with the current selection of fixtures to cook values directly to the programmer.
|
|
Important: |
If values are stored into the recipe and then such a recipe preset with no selection stored is called, the values will be called into the programmer, but without a preset link. Recipe presets with no selection stored will call values with preset links into the programmer when a preset is defined in the preset instead of storing values in the recipe. |
This is a great way to have a bunch of template objects in the preset pools that allow quickly calling complex looks based on grid values and MAtricks ranges.