|
grandMA3 User Manual » Worlds and Filters » Create a Filter
|
Version 2.1
|
Filters are stored in the filter pool.
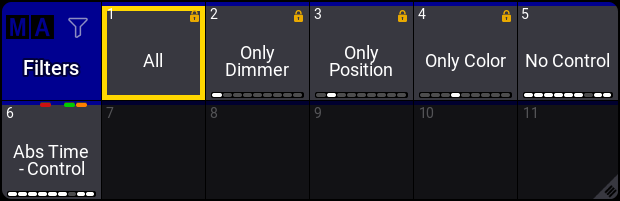
There are two main ways to create filers:
- Create a filter using the pool by editing one of the empty pool objects. This opens the Edit Filter pop-up.
- Store a new filter pool object using the current filter settings.
The At Filter window is a nice tool for seeing the current filter settings.
Create Filter from the Pool
Editing a filter pool object opens a menu that looks almost the same as the At Filter Window.
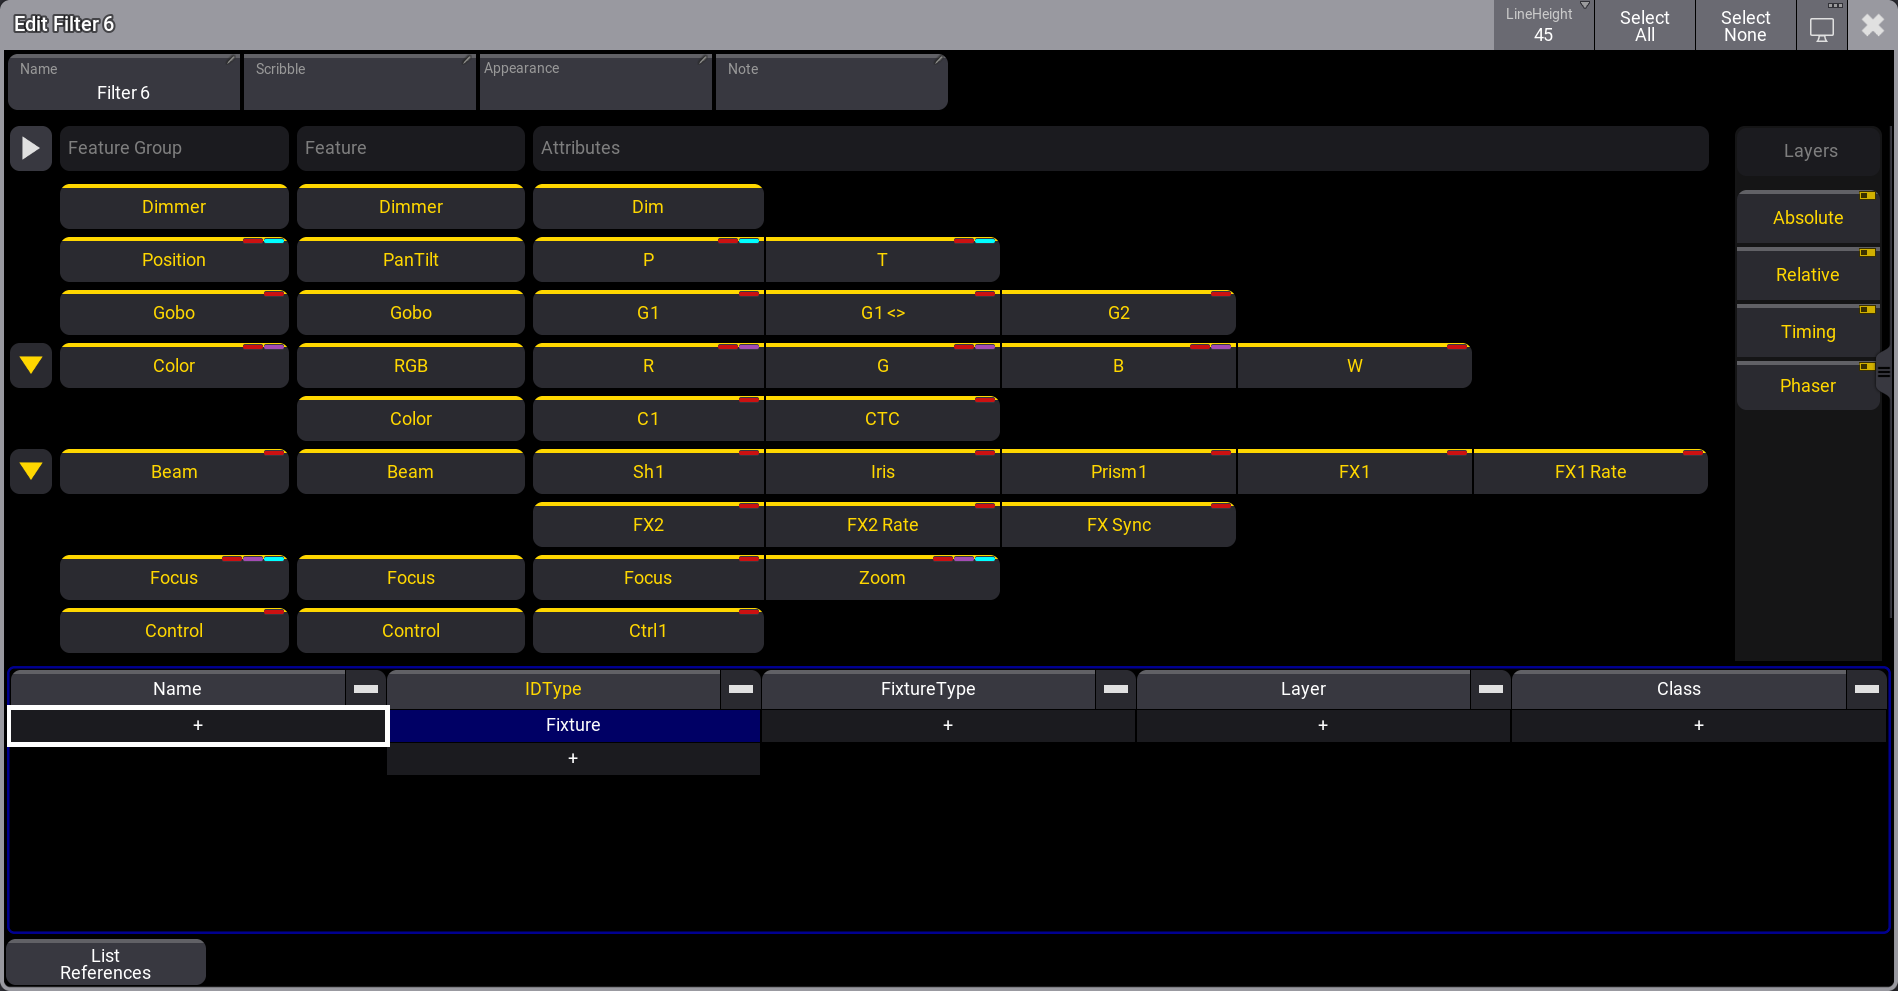
The only difference between them is some extra input fields and the fixture patch information filter at the bottom.
The extra fields at the top can be used to edit the name, scribble, appearance, and note.
At the bottom, there is also a List References button that opens a list of elements that relates to this filter. For instance, if the filter is assigned to a preset.
The extra patch information filters at the bottom offer to add information from the patch as filters. The different information is Name, ID Type, Fixture Type, Layer, and Class. Read more about these elements in the Patch and Fixture Setup section.
Values can be added to each element type. For more information on Layers, see Layer Toolbar.
These values can be used as a positive or negative filter. Meaning that fixtures with the value can pass the filter or be blocked by the filter. Next to each of the elements is a - button. Tapping this toggles it On or Off. If this is white, then it is positive, and fixtures with the values can pass. If it is yellow, then it is negative (On), and fixtures with the values are blocked.
For example, if the ID Type has Fixture and Channel values and the - is white, then the filter allows fixtures with these two ID types to pass the filter. Other ID types are blocked. These filter options make it possible to have very precise filters.
The title bar has an extra button that allows this pop-up to be moved to a different display.
Follow these steps to create a new filter by editing the pool object:
- Edit an empty filter pool object using swipeys, typing a command (Filter keyword), or using the keys (Group key).
- Make sure the desired attributes and layers are active.
- Add the desired patch information filter values.
- Optionally give it a name by editing the Name input field.
- Optionally assign an Appearance and Scribble by editing the input fields.
- Optionally add a Note about the filter.
- Close the editor by tapping the
 in the upper right corner.
The edit function is the easiest way to update or change an existing filter. Another option is using the At Filter Window.
Delete a Filter
Filters can be deleted like most other pool objects by using the Delete Keyword.
Deleting the filter does not delete the attributes from the show. It is only the filter that is deleted.
If a filter is assigned as an input or output filter to a sequence or preset, then this is also removed when the filter is deleted.
Oopsing the deletion brings back the filter and also the filter settings for the sequence and preset.
The general syntax for deleting a filter is:
Delete Filter ["Filter_Name" or Filter_Number]
It can also be a range of filters.
Filter number 1 is locked from the factory and cannot be deleted.