grandMA3 User Manual Publication
Connect MIDI
|
grandMA3 User Manual » First Steps » Connect MIDI
|
Version 2.3
|
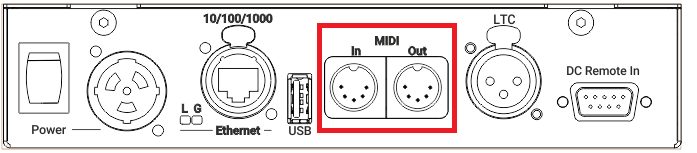
MIDI connectors can be used for MIDI input or output. For example, to send the MIDI timecode signal to the sound engineer.
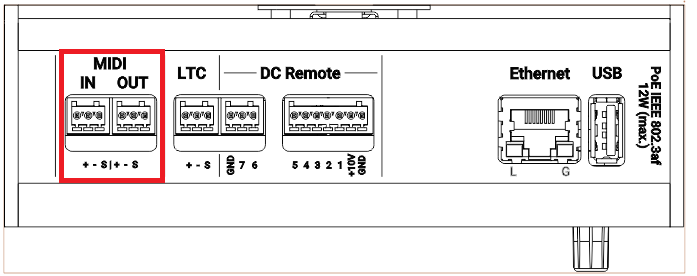
Location of MIDI Connectors on Different Products


|
|
Hint: |
| For more information on DIN and Euroblock connector pinout, see Connector Pin Assignment. |
Setting the MIDI Mode
To adjust the MIDI Remotes settings, read the MIDI Data Mode section of the Remote In and Out topic.
To configure the MIDI Port settings per grandMA3 device, read the Output Configuration topic.
- To access the Output configuration window, press Menu and tap Connector Configuration.
-OR-
- Use the command line to open the menu:
|
|
User name[Fixture]>Menu "ConnectorConfig" |
- To select a MIDI Data Mode, tap and hold or right-click MIDI Data Mode. A pop-up window opens.
- To set the MIDI direction, select In, Out, or Through.
- Connect the MIDI source to the DIN connector on the rear panel of the console.
|
|
Hint: |
| MIDI Data Mode 'Through' receives and forwards MIDI Notes, MIDI Control Changes, and MIDI Program Changes. |