|
grandMA3 User Manual » Images
|
Version 2.4 |
Imported images are stored in the Image Pool. For more information, see Pool Windows.
|
|
Important: |
|
The storage limit for the entire Image Pool is a maximum of 100 MB. The total size of all media pools is limited to 300 MB. |
We recommend keeping the image pool as small as possible. For example, keep the maximum image size below 64 MB, and do not exceed a resolution of 1 920 x 1 080 pixels.
Images can be used for appearances. Read more in the Create Appearances topic. Images can also be imported to the Gobos and Symbols pool.

To edit an image pool object, use one of the following methods:
- Press Edit and then tap the desired pool object.
- Open the swipey commands on the pool object and choose Edit.
The Edit Images pop-up opens:
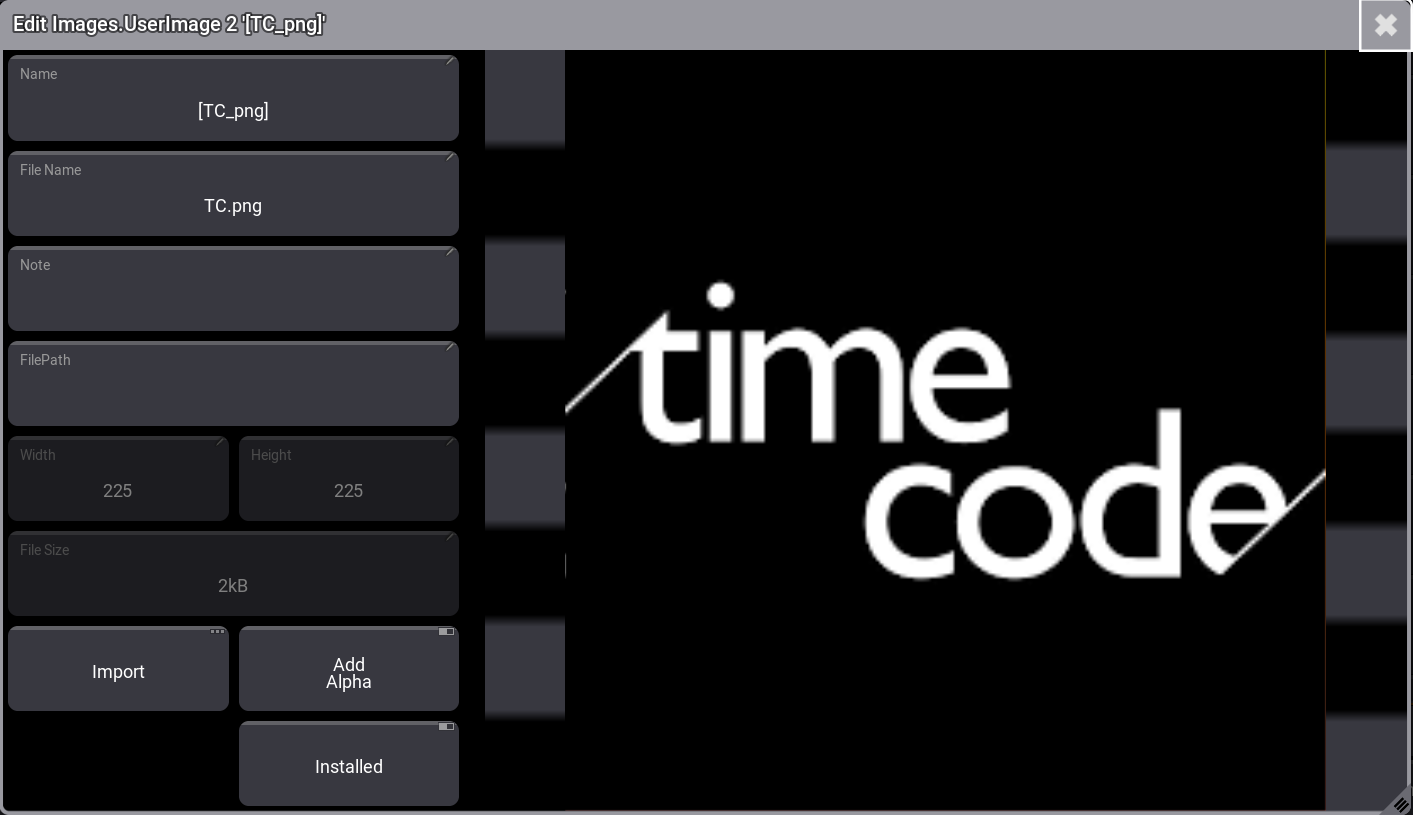
Edit Images pop-up window
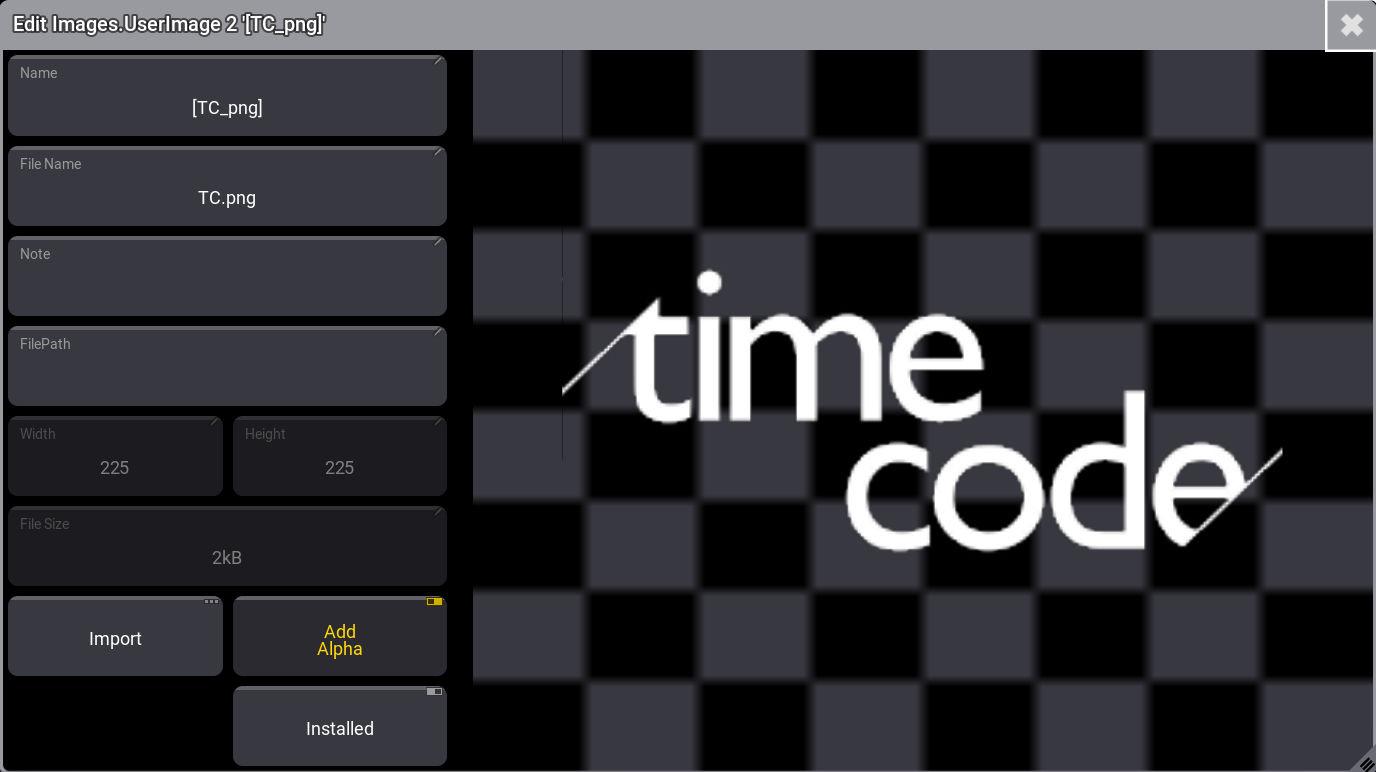
Toggle on Add Alpha to make black areas in images transparent. This works only with images that do not already have a transparent channel. See example below:
Activating Installed ensures that the files are updated from the file archive used to import them.
Import Images Using the Image Pool
Workflow:
- Edit an empty pool object.
- Tap the Import button.
- Tap Internal in the top-right corner of the title bar to switch the drive to the desired source.
- Select the desired image.
- Tap Import.
- Label the new image.
- Close the Edit Image pop-up.
By default, the grandMA3 software uses the gma3_library/media/images folder to import and export images. For more information, refer to the Folder Structure.
Import Images from the Import/Export Menu
Workflow:
- Press Menu.
- Tap Show Creator
- Tap Import in the top left corner of the window.
- Tap Images.
- Select the drive, then tap an empty pool object on the right side of the window.
- Select the image to be imported.
- Tap Import at the bottom of the window.
Tap the video below to see the example:
Assign Images to Objects
Images can be assigned directly to objects.
For example, to assign image 3.5 at group 46, type:
|
|
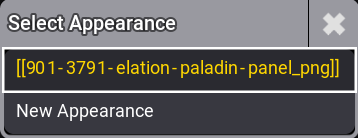
User name[Fixture]>Assign Image 3.5 At Group 46 |
The Select Appearance pop-up opens. Select an existing appearance that already uses this image or create a new one:
Delete an Image from the Pool
Deleting images is the same as deleting any other pool object. The image disappears in any appearance where it might be used.
There are three standard methods for deleting images.
Delete an Image Using the Command Line
The essential keywords for this are Delete and Image.
There are three image pools:
- Gobos
- Symbols
- Images
Therefore, it is essential to specify the image pool number in the syntax:
[Function] Image ["ImagePool_Name" or ImagePool_Number].["Image_Name" or Image_Number]
For example, if image 4 needs to be deleted:
|
|
User name[Fixture]>Delete Image 3.4 |
Delete a range of images using the standard range syntax (Thru, +, and -).
If symbols 5 to 10 need to be deleted:
|
|
User name[Fixture]>Delete Image 2.5 Thru 10 |
The GoboImage keyword can be used to edit or delete images stored in the gobo pool. See GoboImage.
Delete an Image Using the Image Pool on a Screen
Requirement:
A visible image pool on one of the screens.
- Press Delete.
- Tap the image in the pool.
The image is deleted.
Delete an Image Using the Swipey Commands
Requirement:
A visible image pool on one of the screens.
- Tap and hold the image you wish to delete.
- Swipe out of the pool object without releasing the screen.
- Swipe to the Delete swipey and release the screen.
The image is deleted.