Show File Handling
|
grandMA3 User Manual » Show File Handling
|
Version 2.0
|
The show file contains all the information that is related to the show including:
- Patch
- Fixture profiles
- Cues
- Timings
- 3D information
- Users and user profiles
|
|
Important: |
| Save the old show before loading or renaming a new one, to keep changes. |
The software version of a show file can only be moved forward. A show saved on a USB stick that was programmed in a previous version can be loaded in a newer version. If the show is saved again on the USB stick in this new version, it cannot be taken back to the old software.
|
|
Important: |
| To keep the old software version, save the show with a new name. |
|
|
Hint: |
| To learn more about the folder structure of Shows, Demo Shows, Backup Shows, and Template Shows, read the topics File Management and Folder Structure. |
All the management of the show files is handled in the Backup menu.
- To access the Backup menu, press Menu.
- Tap Backup.
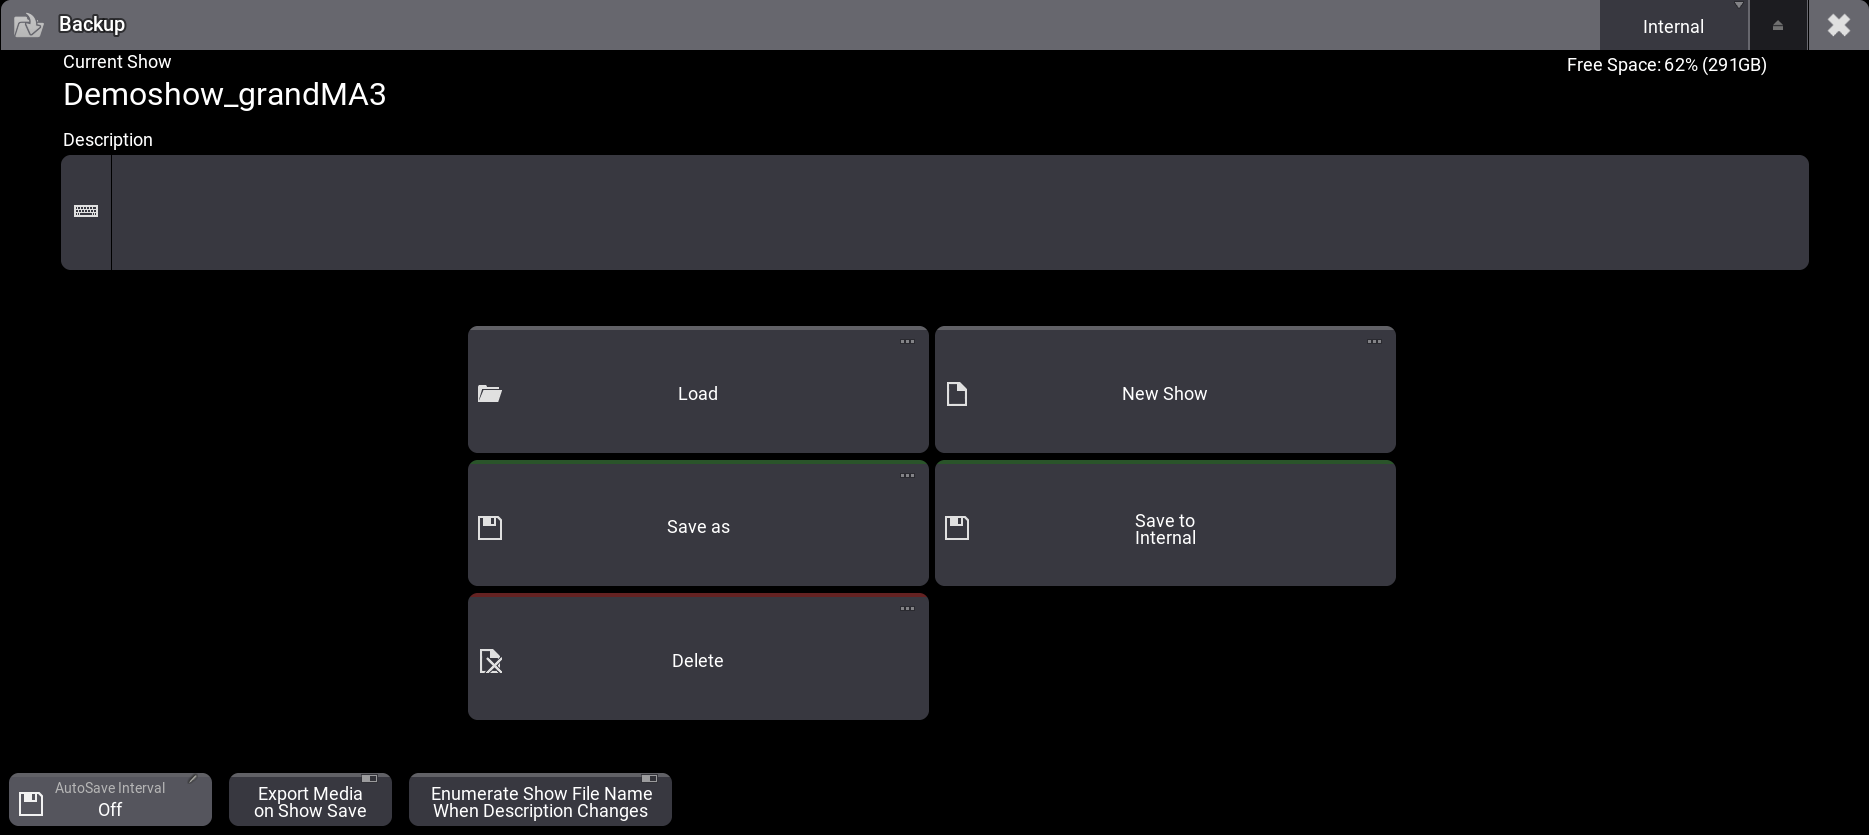
The Backup menu is open:
Or use the Menu command, to call the Backup menu.
|
|
Important: |
| A loaded show file is limited to 10 GB of memory. |
|
|
Important: |
| The size of all media pools in total, is limited to a maximum of 300 MB. |
|
|
Important: |
| The show file name is limited to a maximum of 31 characters. |
|
|
Important: |
| The show file name must not contain the following characters: \ " $ * ? ^ | / : < > ` |
To learn more about he current occupation of memory, read the System Information topic.
Select the Drive
The show files are stored on the internal drive or an USB stick. The internal drive is Drive 1 and the first USB stick is Drive 2. If more than one USB stick is connected the order of the connection selects the drive number. That means that the latest connected drive has the highest number.
|
|
Hint: |
| The order of connecting the USB drives to the console / onPC station determines the order of the drive numbers. |
In the upper right corner of the Backup menu, it is possible to select the drive you are working on.
To select the drive:
- Tap Internal to toggle between the different drives connected, saved shows or saved shows in older software versions.
- Tap and swipe right on the drive and a pop-up opens with the different opportunities.
The drive can also be selected via the command line, for example, the first USB drive:
Free Disk Space
The Backup menu displays the free disk space of the selected drive in the upper right corner of the menu:

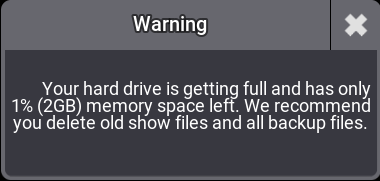
When free disk space is low:
- An Orange pulsating text indicates that the free disk space is less than 15 GB.

- A Red pulsating text indicates that the free disk space is less than 5 GB.

- The following warning pop-up appears, when booting the software and the free disk space is less than 15 GB.
Delete a Show File
Open the Backup Menu and tap Delete. Tap the show file to delete. Tap Delete in the bottom right corner and the show file is deleted.