grandMA3 User Manual Publication
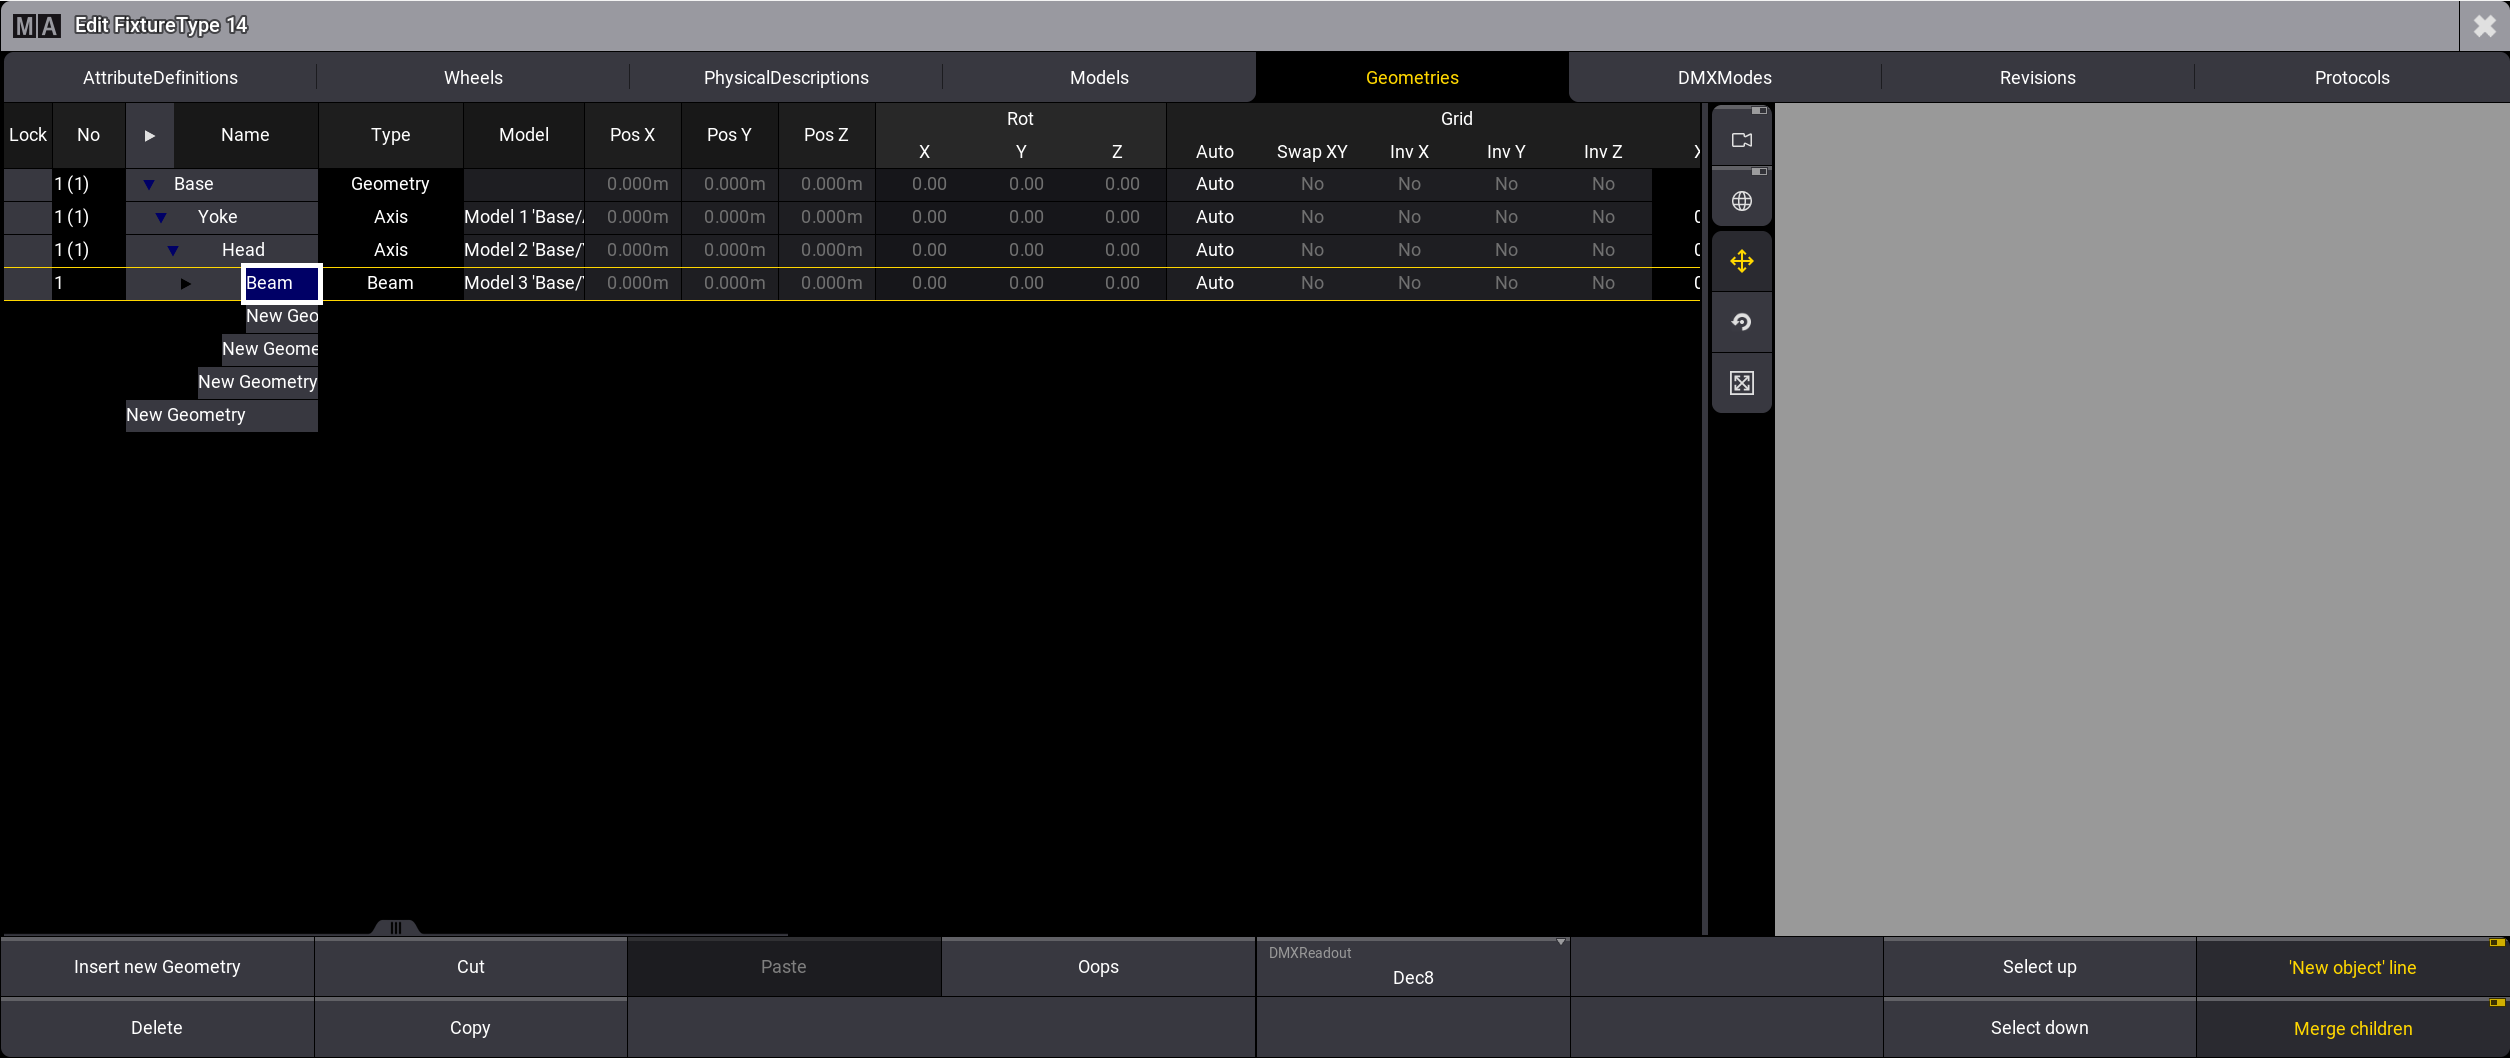
Insert Geometries
|
grandMA3 User Manual » Fixture Types » Build Fixture Types » Insert Geometries
|
Version 2.1
|
The geometry of a fixture is the physical description of parts of the device.
This example of a basic moving head consists of four components:
- Base
- Yoke
- Head
- Beam
Requirement:
- Tap Fixture Types, then select FixtureType 14.
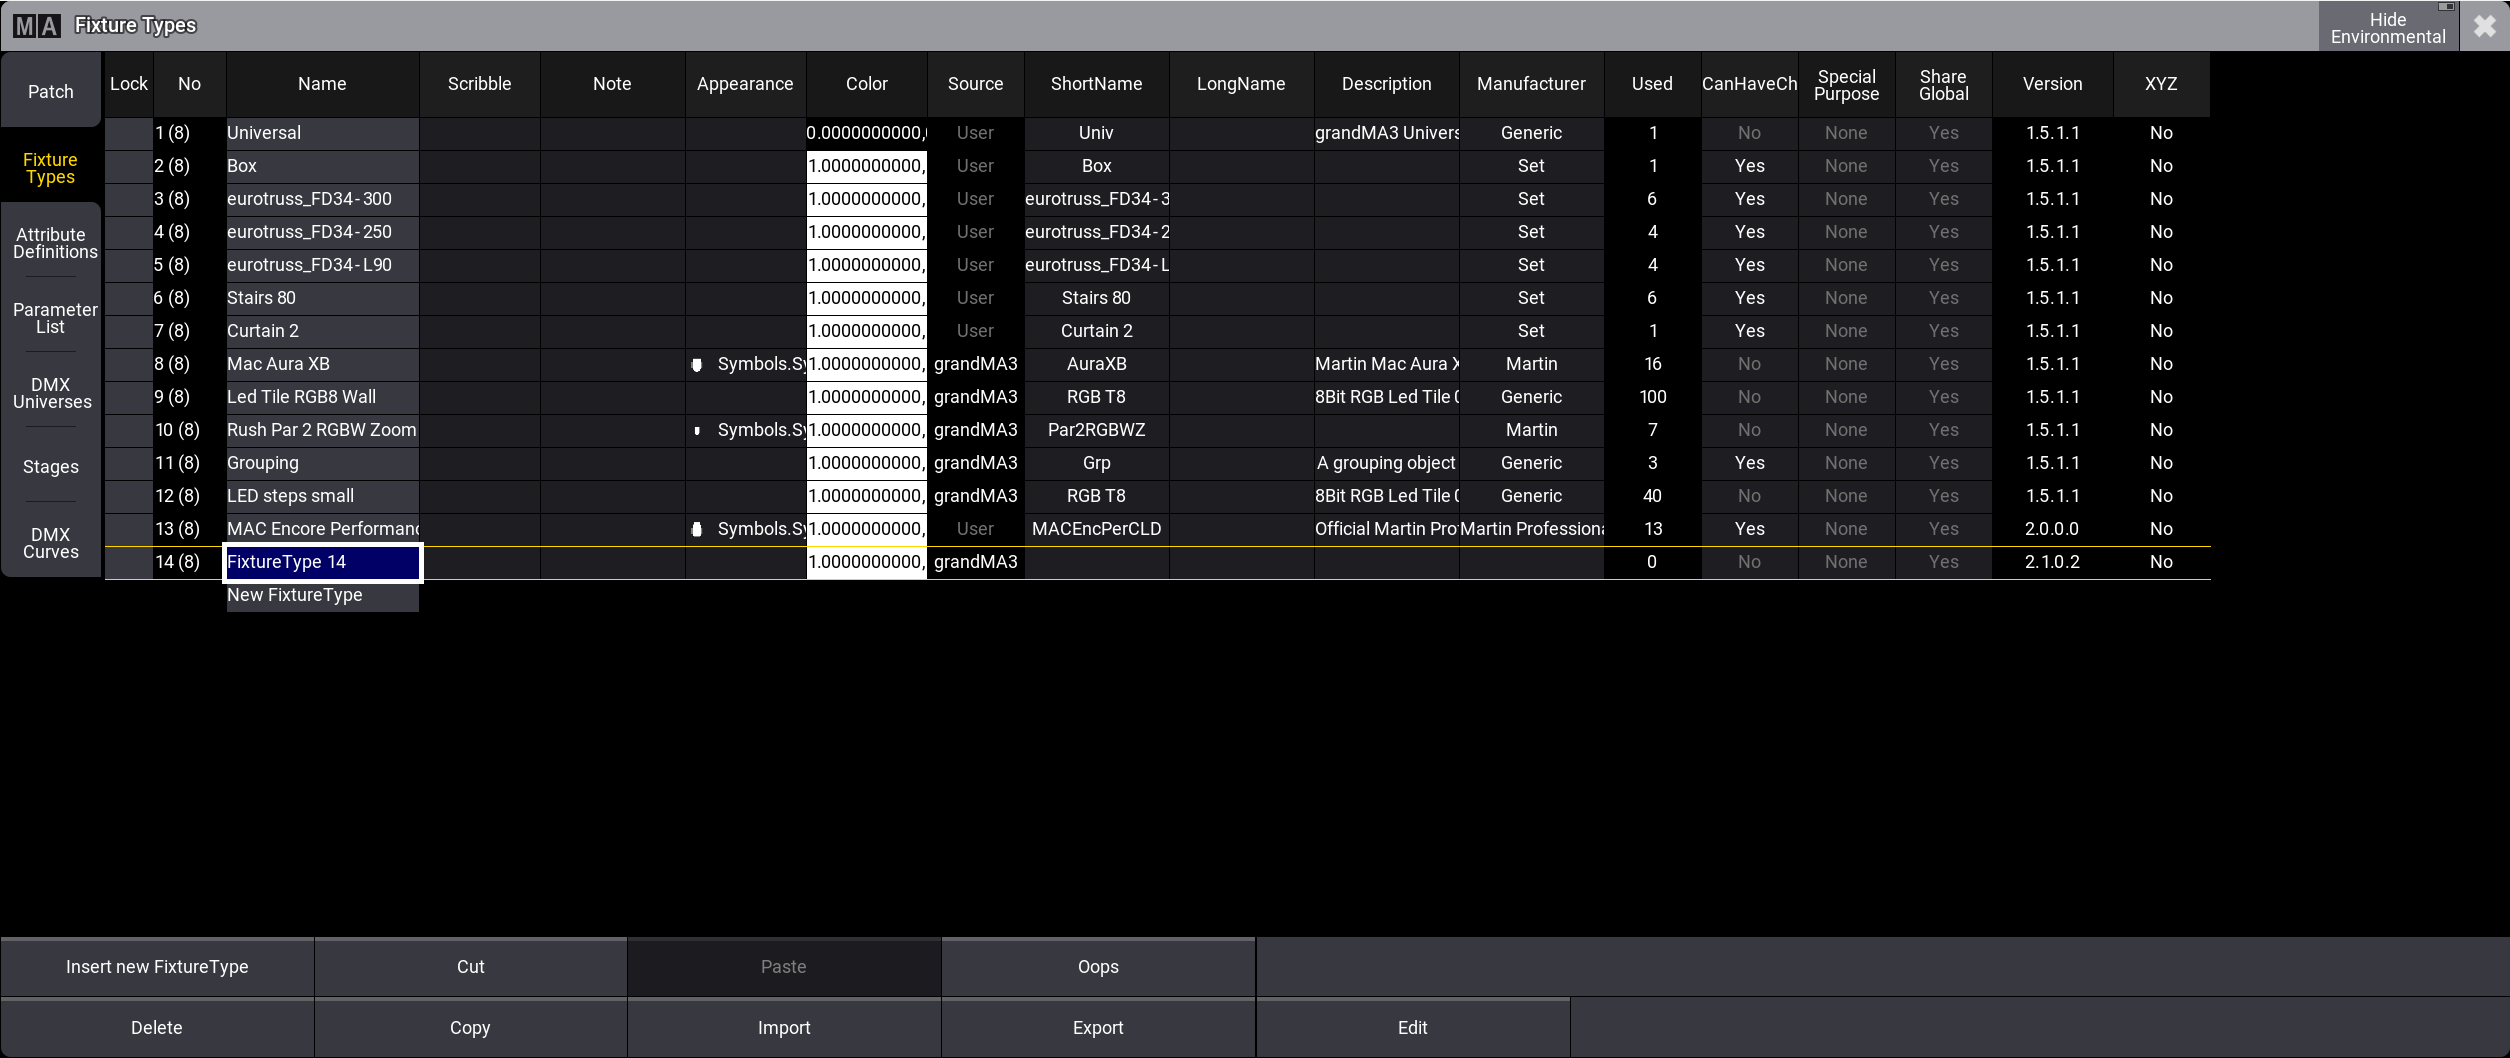
Select the fixture type you want to edit - To open the Fixture Type Editor, tap Edit. The window Edit
Fixture Type opens.
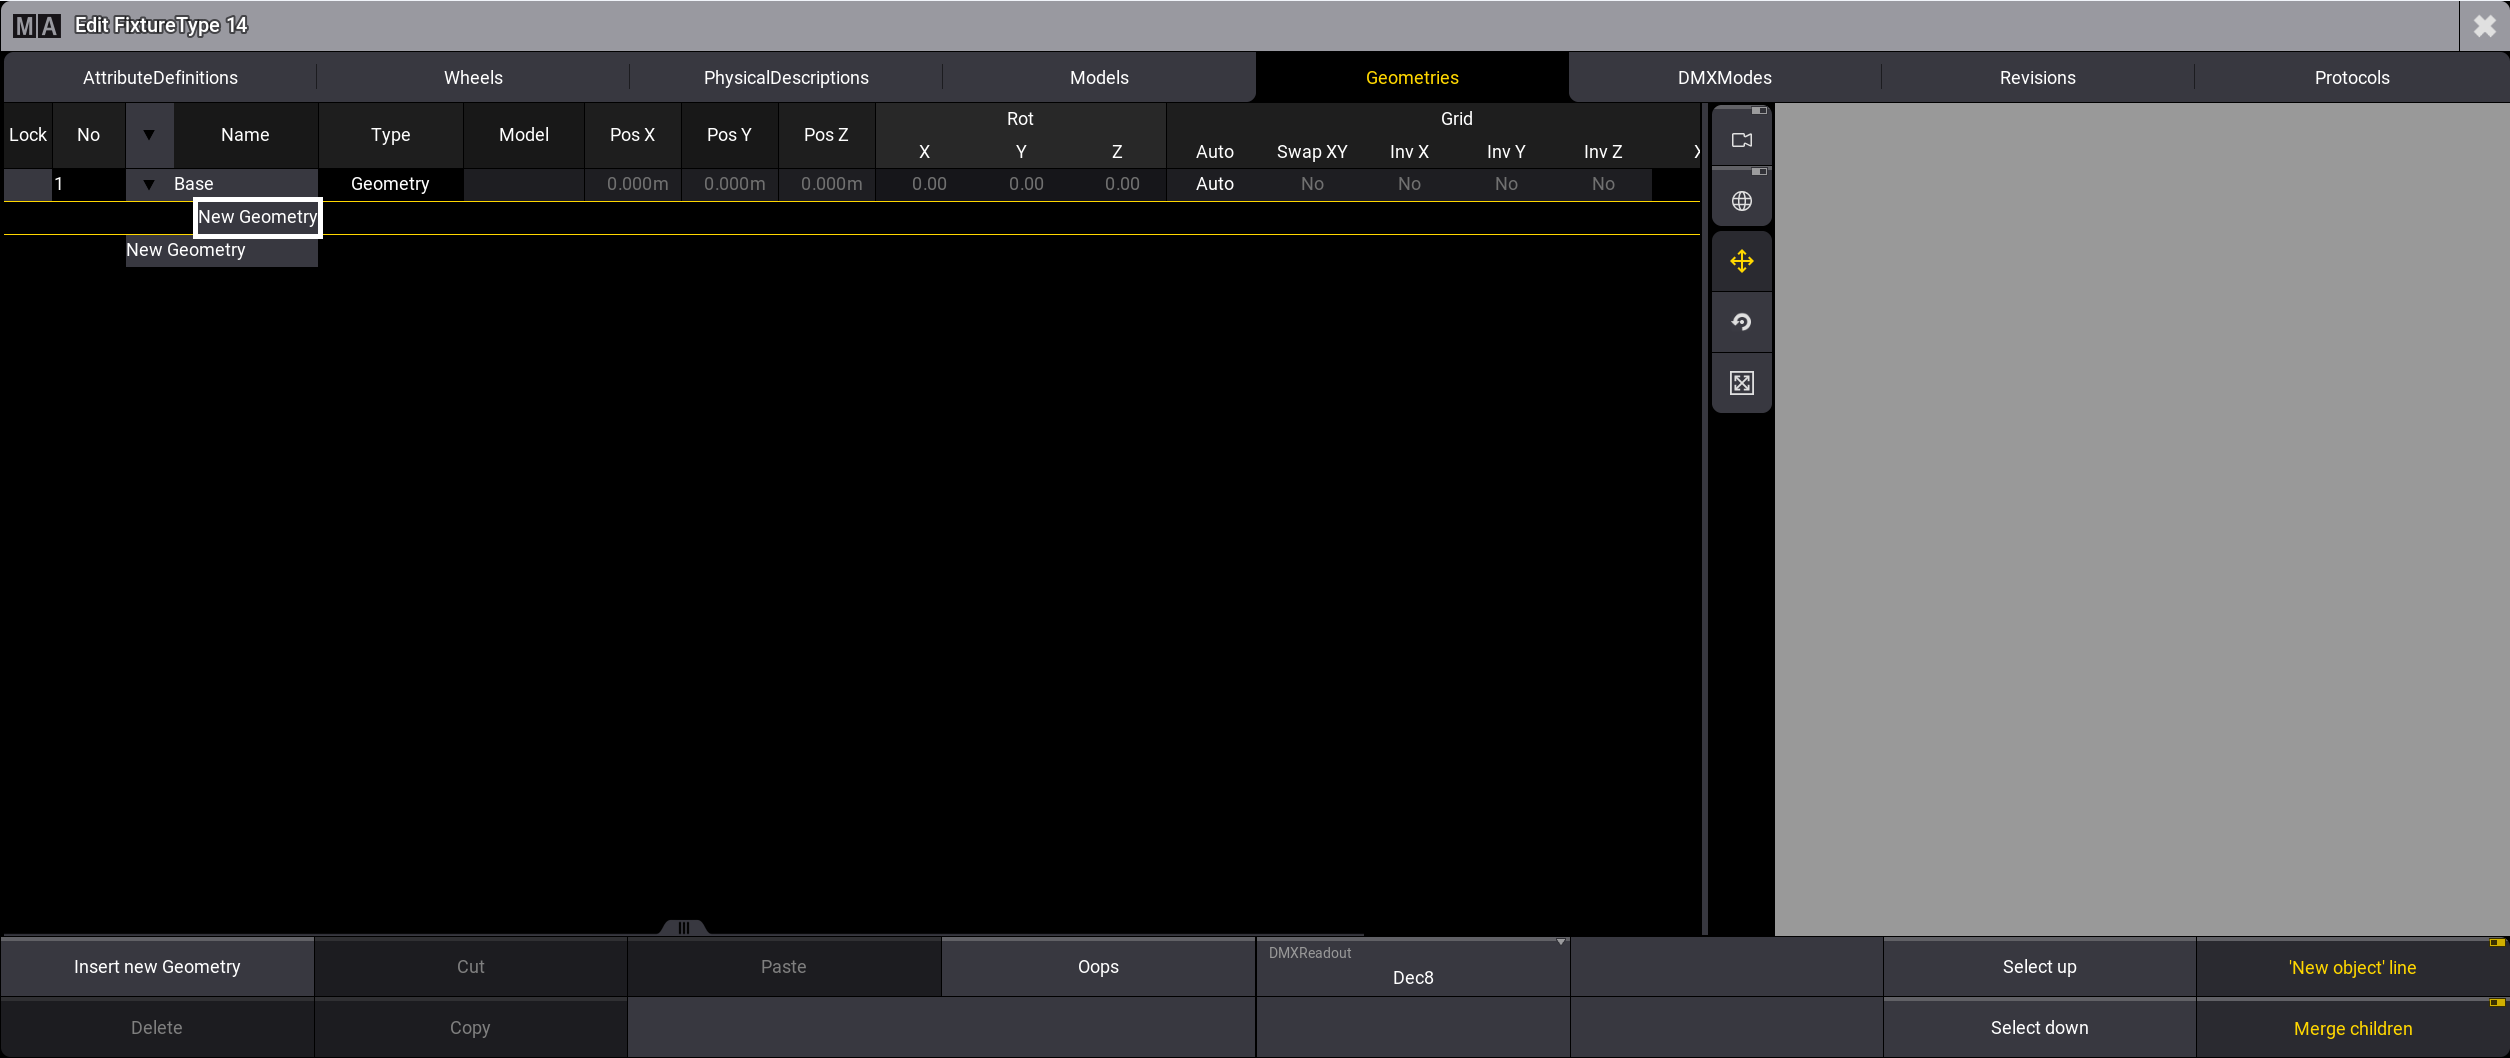
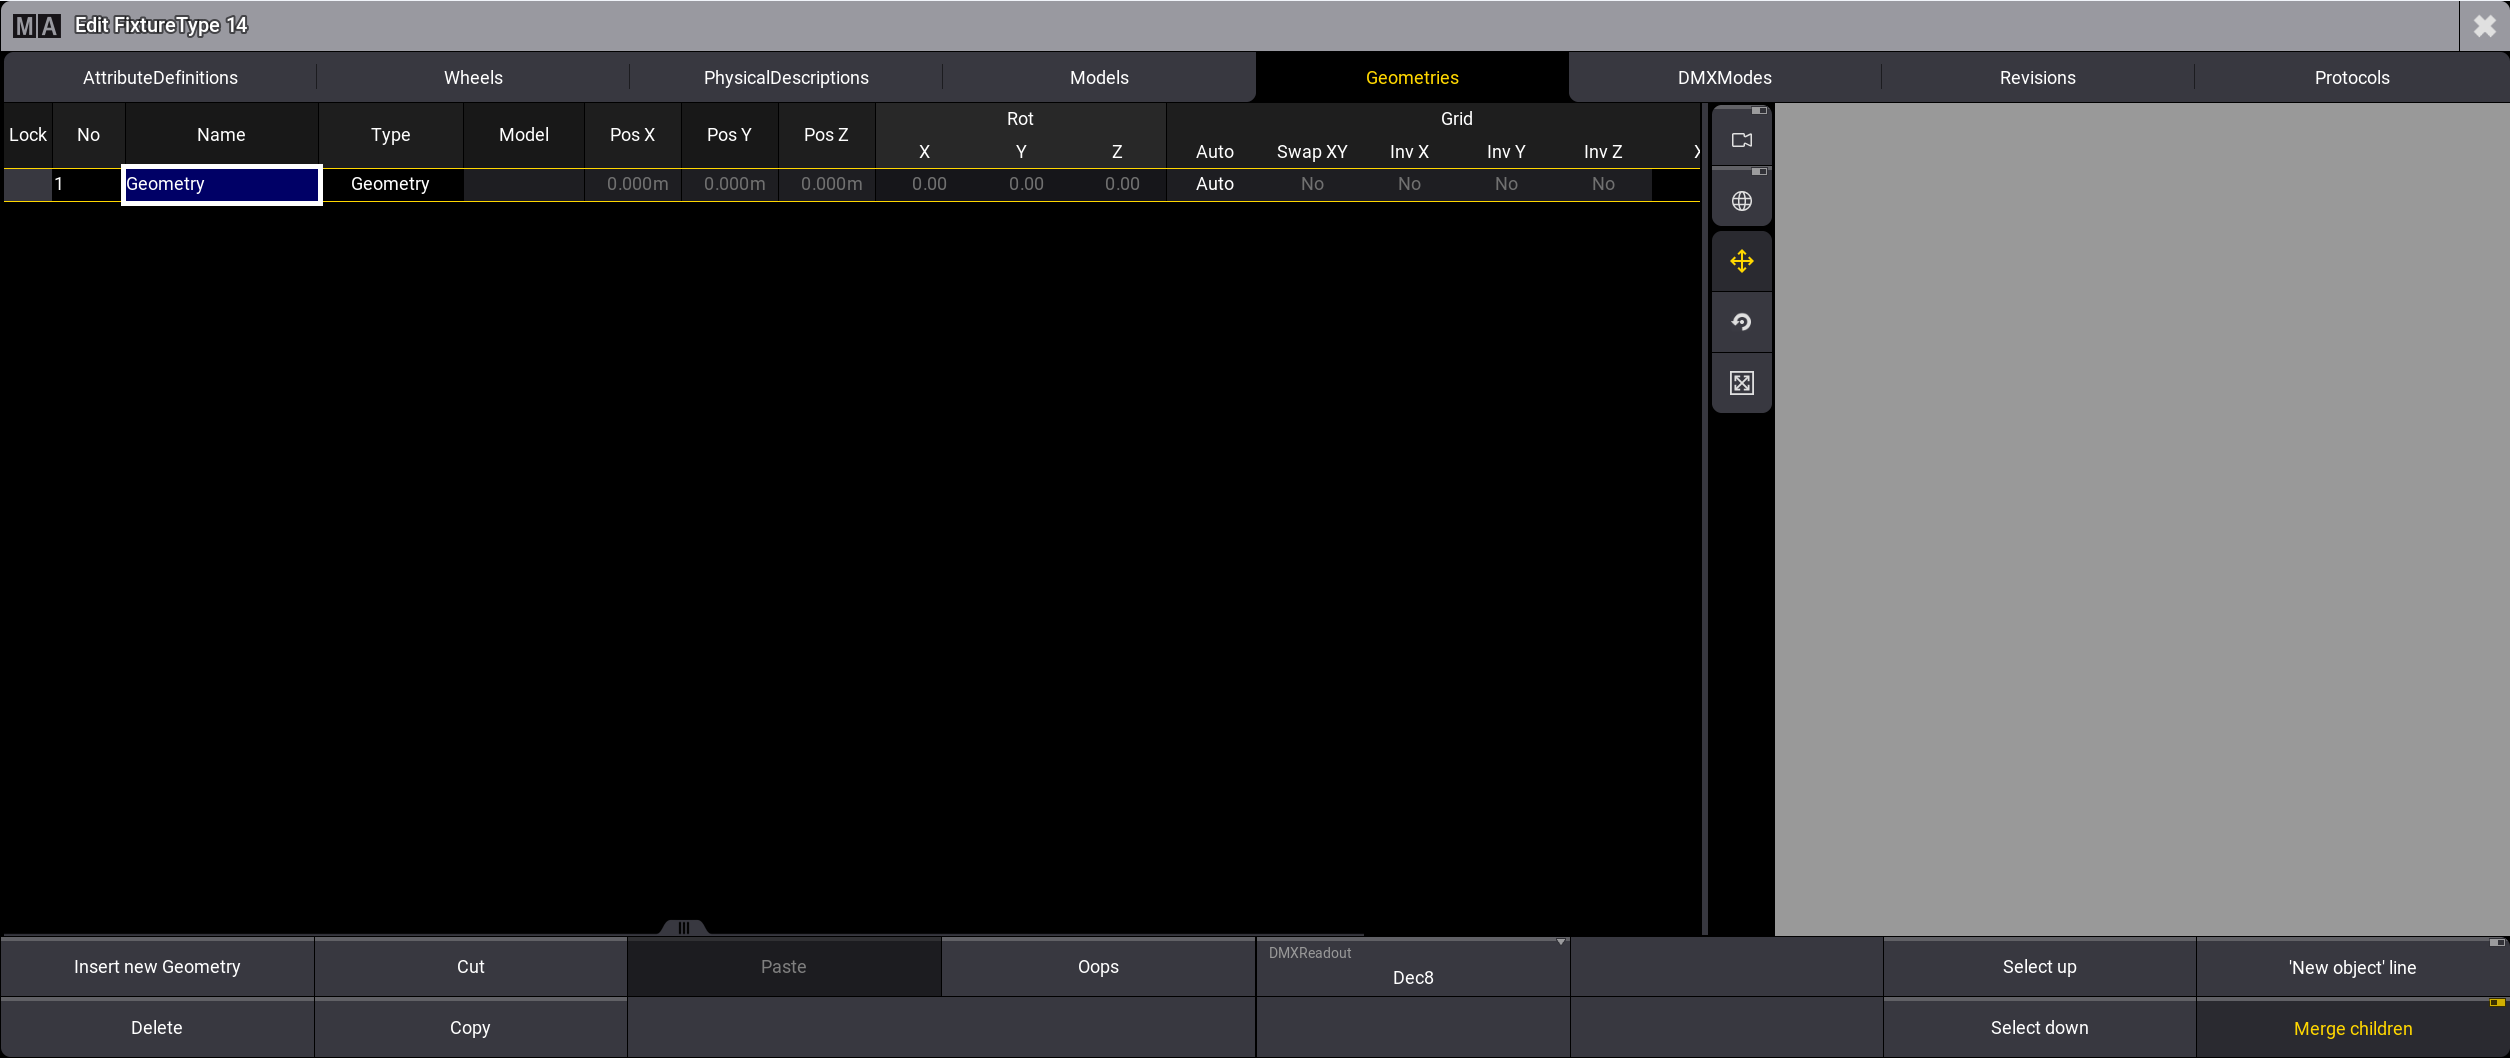
Fixture Type Editor - Tap Geometries.
- Under the Name column, tap and hold Geometry and rename it Base.
- At the bottom right of the window, tap 'New object' line.
- Expand the Base tab by tapping
 then select New Geometry.
 -
Insert a new geometry - Tap Insert new Geometry.
- Select Axis.
- Axis is now displayed in the column Type.
- In the column Name, rename Axis to Yoke.
- Press Edit and tap Axis, or press and hold Axis.
- The virtual keyboard opens.
- Enter Yoke.
- Expand the cell Yoke.
- Yoke's child New Geometry opens.
- Repeat steps 6 to 8 and rename Axis to Head.
- Expand the cell Head.
- Head's child New Geometry opens.
- Repeat steps 6 to 8 selecting Beam.
The Geometries window opens.
The pop-up Select type of the object opens.

Geometries are inserted, as shown in the image below: