MVR-xchange
|
grandMA3 User Manual » Remote In and Out » MVR-xchange
|
Version 2.1
|
The MVR menu offers a platform to exchange and manage MVR files via a network connection instead of using a USB drive. For more information about MVR files in general, see My Virtual Rig (MVR).
The MVR-xchange is specified in the DIN SPEC 15801:2023-12. For more information, see the external link https://www.beuth.de/en/technical-rule/din-spec-15801/373968511.
The idea behind the MVR menu is to send MVR files from a station into a defined network and share the files with other stations. For more information about the appropriate keyword, see SendMVR Keyword.
To open the MVR menu:
- Press Menu. The menu opens.
- Tap In & Out.
- Tap MVR. The MVR menu opens.
The three elements on top of the menu are described as follows:
- Group: The standard group name is Default. The group name can be edited. Stations with identical group names share the same exchange group.
- Interface: Defines the network interface.
|
|
Hint: |
|
To share data between different devices, the
devices need to be in the same network.
|
|
|
Hint: |
| To share data between different devices, a network connection has to be established. For more information, see Enabling or Disabling the Network Connection. |
- Enable: To be able to exchange MVR files, make sure to activate Enable. For more information about station and session communication, see Station Control.
The main area of the MVR is separated into three tabs: Local, Services, and Files. Selecting a tab changes the grid below it accordingly and the font color of the selected tab changes to yellow.
Local
- Local: Shows all MVR files that have been locally committed into an exchange group. Files can be deleted or Oopsed in the menu, too.
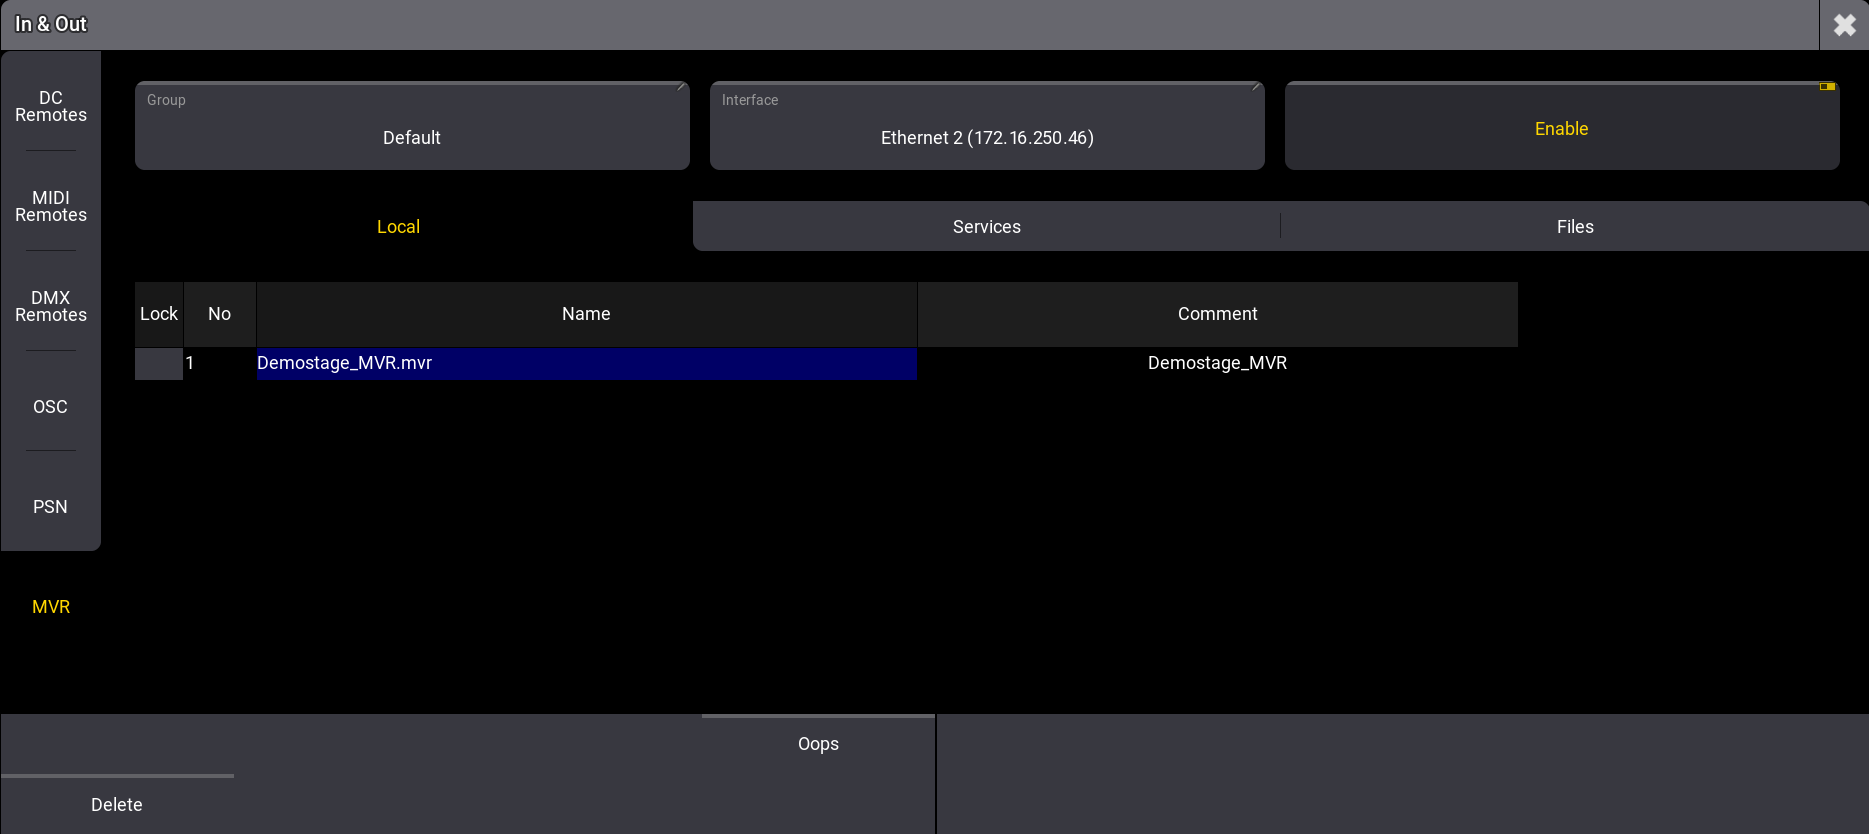
MVR - Local
Services
- Services: Lists all stations in the exchange group. If a station joins the exchange group, it gets listed in Services.
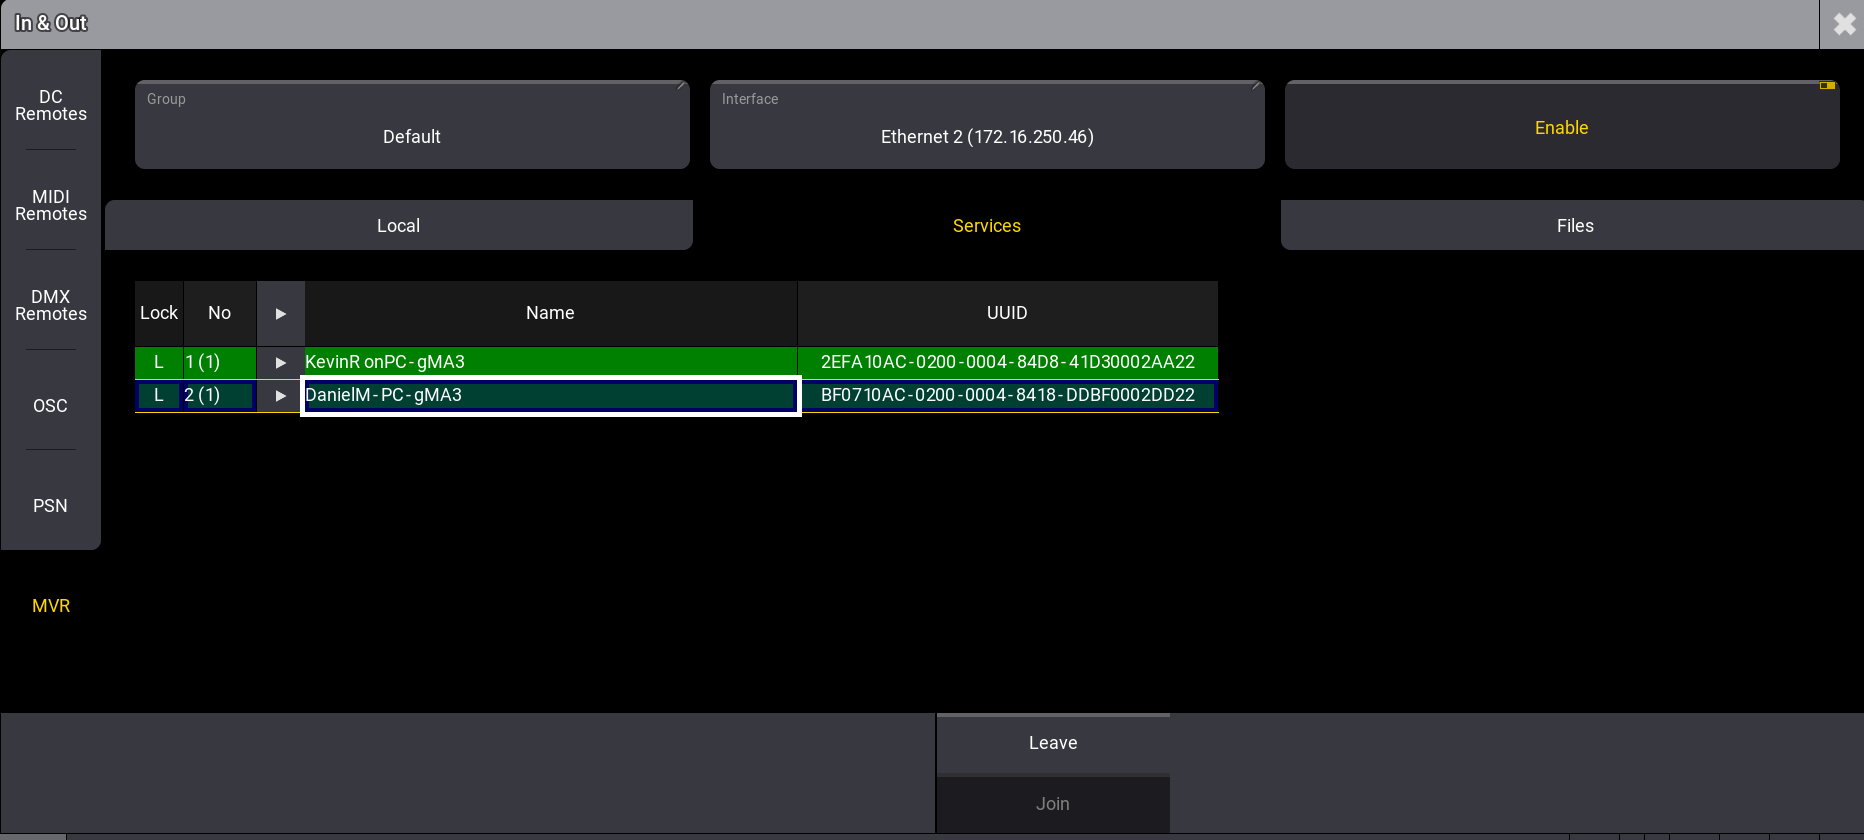
- Green Background: Shows an existing connection. To reestablish a connection, select the station and tap Join.
- Light Green: Displays your connected station.
- Red Background: Shows an interrupted connection. To interrupt a connection to a station, select the station and tap Leave.
- UUID: Universally Unique Identifier.
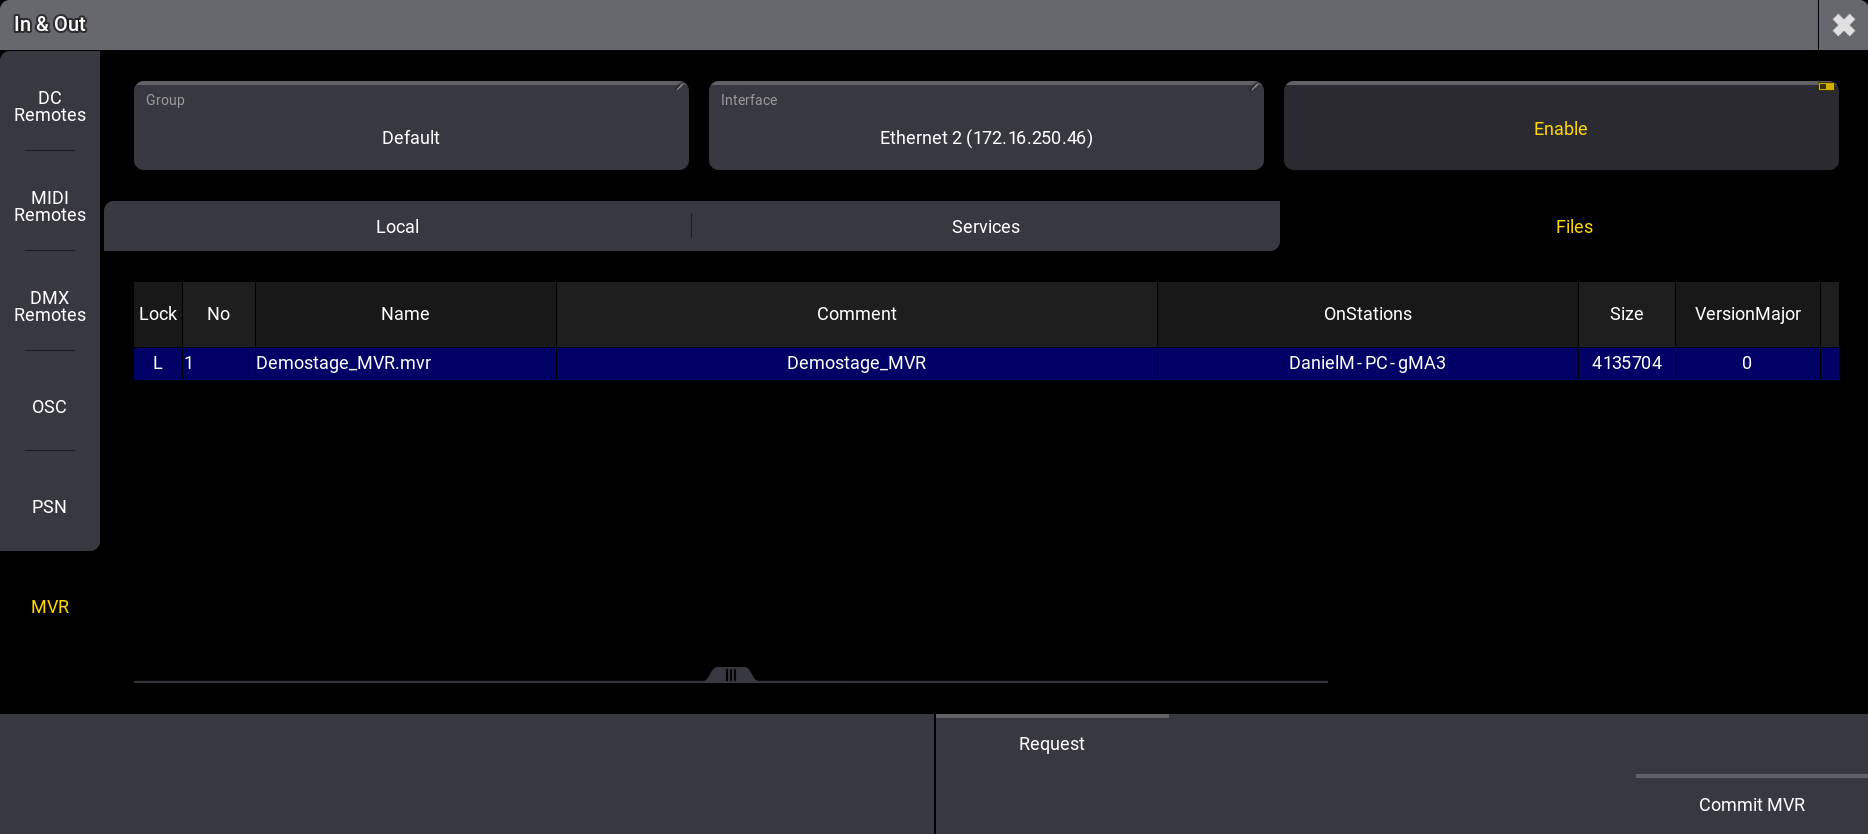
Files
- Files: Allows to request MVR files that are sent by other stations or commit MVR files. To request, select a file and tap Request and to commit a file, tap Commit MVR.
Committing an MVR File
To commit an MVR file:
- Tap Files.
-
Tap Commit MVR. A pop-up opens.
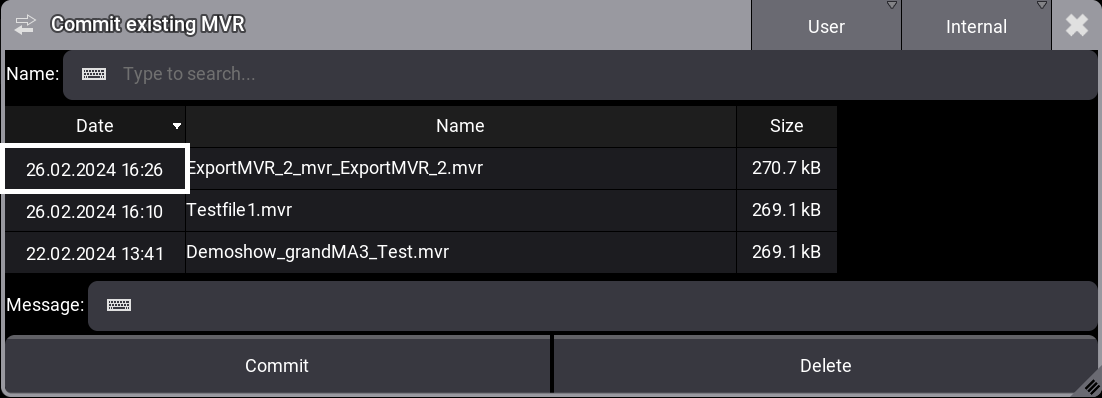
- Select an MVR and tap Commit.
|
|
Hint: |
| A comment can be set in the Message area. This comment is visible for other stations. |
Requesting an MVR File
To request a file from another station:
- Tap Files.
- Tap a file in the list. The file gets selected.
- Tap Request. A status bar shows the status of the request.
- A pop-up opens with a confirmation.
- Tap Ok. The file has been requested.
For more information on where the file is stored, see Folder Structure.