Remote In and Out
|
grandMA3 User Manual » Remote In and Out
|
Version 2.1
|
Remote Inputs and Outputs are handled through the In & Out menu. The In & Out menu can be used to define parameters, for example, to trigger a command via a remote controller.
Press Menu and then tap In & Out. The In & Out menu opens.
The menu is separated into six tabs:
DC Remotes, MIDI Remotes, DMX Remotes, OSC, PSN, and MVR.
Common Procedures
The DC Remotes-, MIDI Remotes-, and DMX Remotes- tabs have a number of options in common. These are explained below. For the options specific to each Remote, see the corresponding topics.
- Enabled: Toggle between Yes and No to enable the Input for the corresponding configuration line.
- Target: Set a target in the Assignment Editor.
- Fader: Sets the Fader to the corresponding target.
- Key: Sets the Key to the corresponding target.
- Trigger On / Trigger Off: These values define the range of the key reaction. If the Trigger On, for example, is set to 75 %, the Remote reacts as soon as the incoming signal exceeds this value. If the Trigger Off, for example, is set to 25 %, the Remote stops reacting as soon as the incoming signal has fallen below this value.
- In From / In To: These values define the range of the input signal reaction for the defined fader.
- Out From / Out To: These values recalculate the input signal range to match up the output signal range. The range of a fader is defined by the output signal range. If a fader, for example, should not be moved to 100 %, restrict the Out To value to 90 %.In / Out:These columns at the end of the table display the signal value of the incoming signal (In) and the resulting value for the selected fader function (Out).
- In / Out:These columns at the end of the table display the signal value of the incoming signal (In) and the resulting value for the selected fader function (Out).
- Note: Opens the note editor of the corresponding configuration line.
Output Configuration Settings for Remotes
The Connector Configuration menu offers multiple options for DMX, Timecode, and Remotes. The Output Configuration options for remotes are explained here. For all other configurations, see Connector Configuration.
- MIDI Data Mode: Selects the Mode for MIDI to In, Out, or Through. For more information, see MIDI Remotes.
- MIDI Offset: Changes the MIDI Index. For more information, see MIDI Remotes.
- DC Start: Set the trigger for the DC Remote. For more information, see DC Remotes.
- OSC Interface: These settings mirror those in the In & Out menu. For more information, see Interfaces and IP.
- PSN Interface: These settings mirror those in the In & Out menu.
Examples
Example 1
To add a new element, such as, DC Remote:
|
|
Hint: |
|
Make sure that the corresponding hardware is connected properly. For more information, see First Steps.
|
Each step of the example is shown in the video below or in the text below.
- Open the In and Out menu.
- Tap DC Remotes.
- Tap Insert new DCRemote. A new DC remote configuration line is added.
- To enable the Remote Input, tap Enable Input. The button turns yellow. For more information about session and station communication, see Station Control.
- Set the Signal of the remote, for example, 1.
- Two finger-tap the corresponding configuration line in the Target column. The Assignment Editor opens.
-
Select the target, for example, a view. The target is selected and the editor closes.
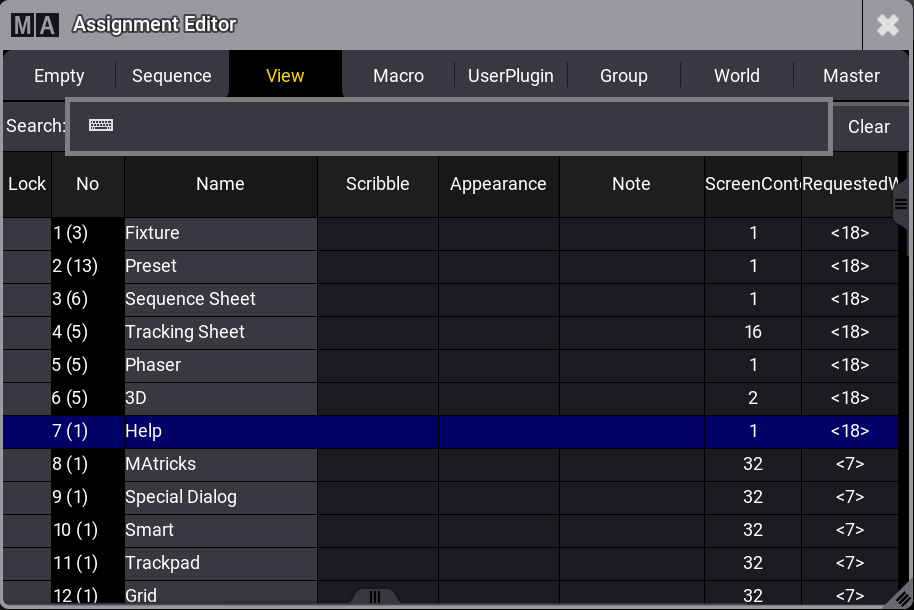
Assignment Editor -
To select a key function, right-click or tap and hold Key. The Select Key
pop-up
opens.
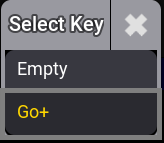
Select Key pop-up -
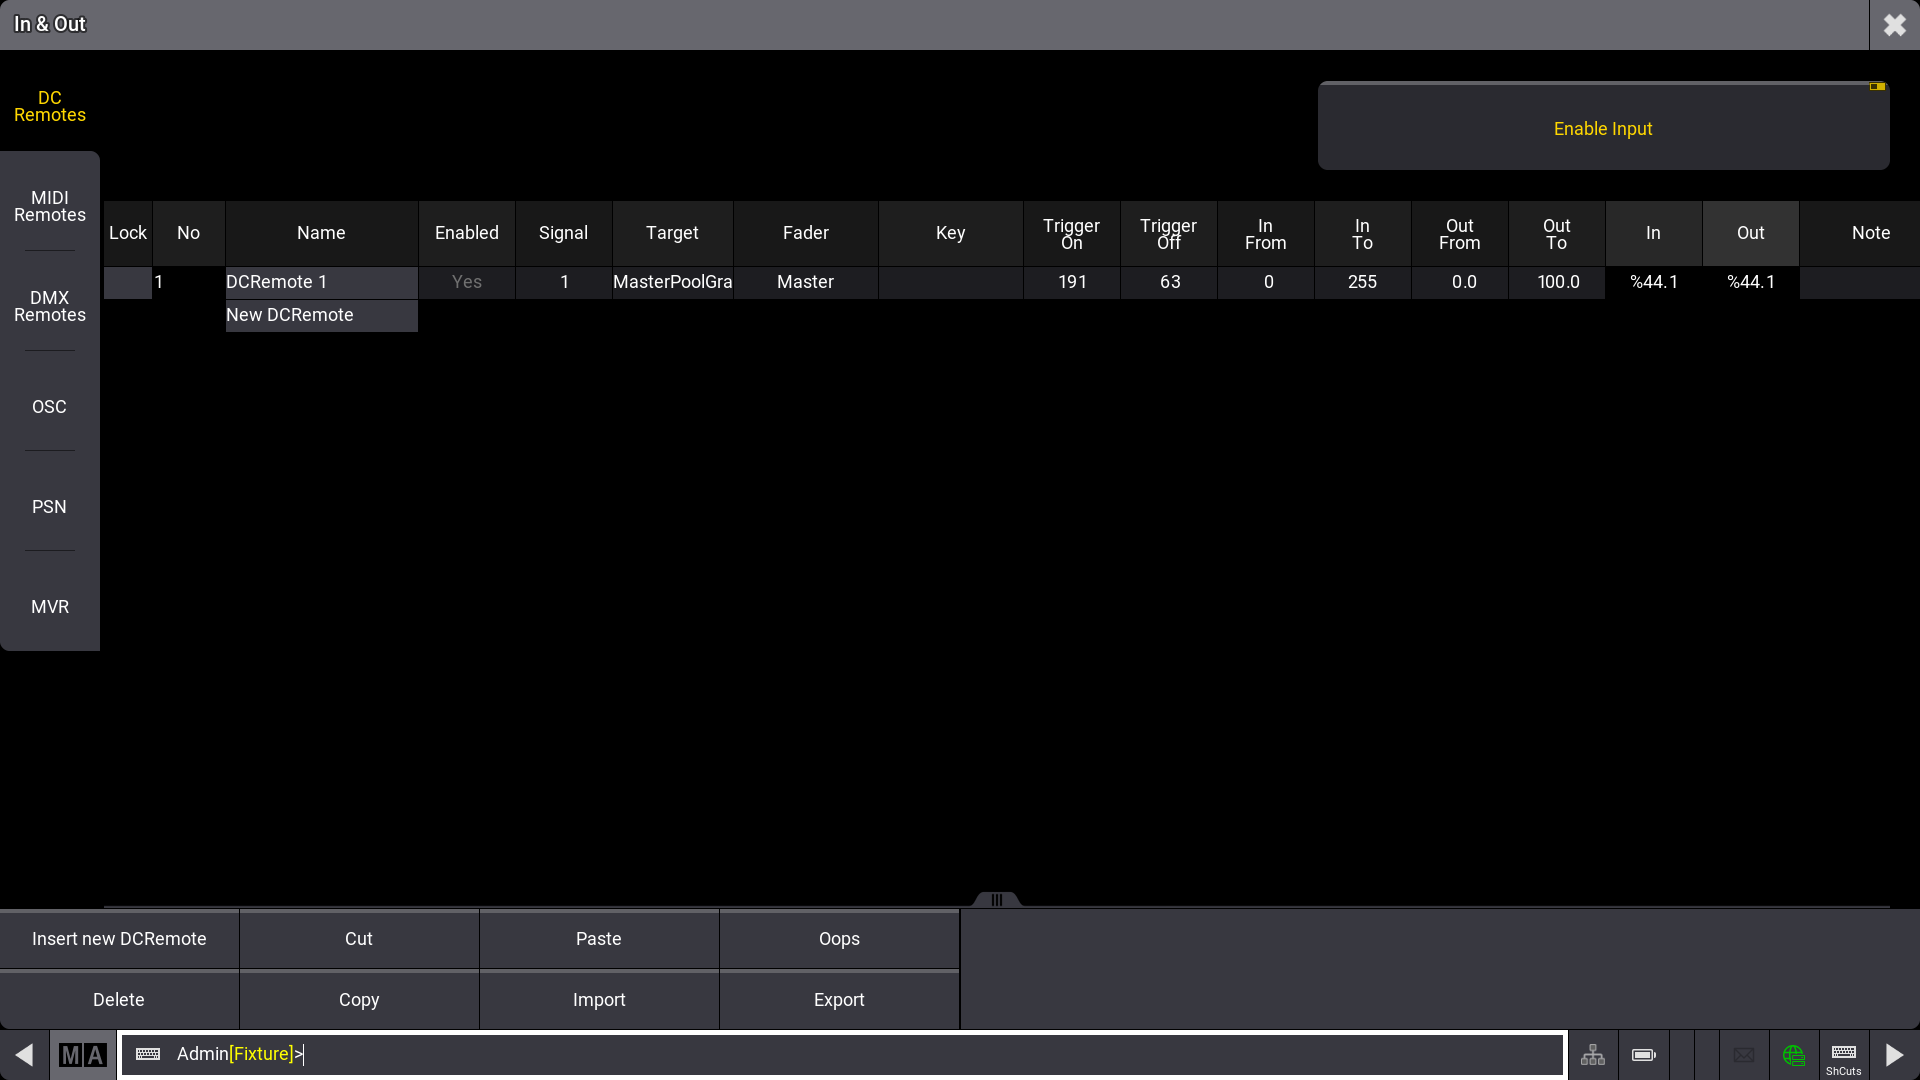
Trigger the DC Remote signal. The In and Out
values
go to 100%.

In & Out - DC Remotes
|
|
Hint: |
|
DC Remotes and DMX Remotes thresholds are defined in percent, while MIDI Remotes thresholds are defined
between 1 and 127 MIDI velocity.
|
|
|
Hint: |
|
The different readout options take effect on the Trigger On/Off, In From/To, Out From/To values.
|
Example 2
|
|
Restriction: |
| grandMA3 onPC products, such as the grandMA3 command wing, can switch on and off but do not fade. For more information, see Connect DC Remote In |
To add a fader remote:
- Follow steps 1-6 from above.
- Select a Target, e.g. Master.
- Set Fader to Master.
- Move the fader on the remote, the In and Out values change accordingly.
Example 3
In some cases, scaling of the input and output values is needed. The range of the incoming and outgoing values can be modified.
To set In From to 20%:
- Right-click or tap and hold In From. The calculator opens:
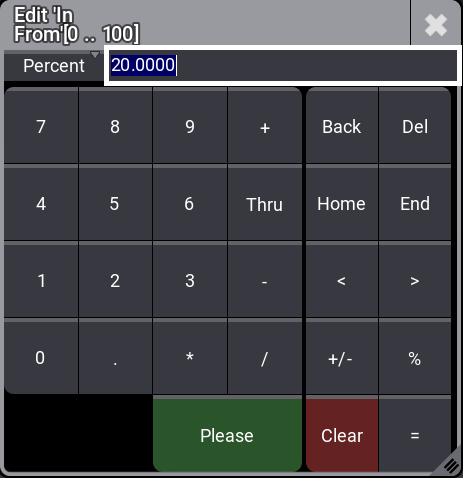
- Tap and hold Dec8. A dropdown opens.
- Tap Percent. The entity has changed.
- Press 2 0 and press Please. The In From value is entered.
- Move the fader on the remote, the In and Out values change accordingly.
| Hint: | |
|
For detailed information about the values, read the Remote keyword topic.
|