MIDI Remotes
|
grandMA3 User Manual » Remote In and Out » MIDI Remotes
|
Version 2.1
|
MIDI stands for Musical Instrument Digital Interface. MIDI is used as a world-wide standard protocol that allows communication between different digital devices, for example:
- a MIDI keyboard and a grandMA3 command wing.
- a MIDI pad controller and a grandMA3 console.
- a grandMA3 console and an audio mixing console.
The MIDI Remotes tab is used to define actions for incoming MIDI notes or MIDI Control Changes (CC).
|
|
Restriction: |
|
MIDI does not transmit an audio signal.
|
To learn more about the hardware part of the input, read the Connect MIDI topic.
This topic is divided into several chapters:
- Output Configuration Window
- In & Out Menu
- Examples
- C ontrol an External MIDI Device
- Receive MIDI
- Send MIDI
- MIDI Connection via USB
Output Configuration Window
Adjusting the MIDI Offset will shift the MIDI Index in general.
The MIDI Offset can be adjusted in the Output Configuration window as followed:
- To set the MIDI Offset, open the Output Configuration menu.
-
Open the product in the Output Configuration category tree using the arrows (
 ).
).

- To set the MIDI Offset to a new value, for example -2, right-click or tap and hold MIDI Offset in the product row. A pop-up opens:
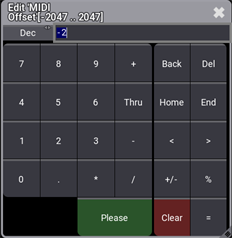
- The MIDI Offset is adjusted. For example, MIDI Index 50 is changed to 48, after MIDI Offset is set to -2 as shown below:

In & Out Menu
To learn more about the general Remotes settings, see Remote In and Out.
The specific parameters for MIDI Remotes are described below:
- MIDI Channel: The MIDI channel value features 16 channels that can be controlled individually. The MIDI receiver must use the same MIDI channel as the MIDI sender to understand each other.
- MIDI Index: The MIDI Index value is the MIDI note or the MIDI control change number (depending on the MIDI Type). The MIDI receiver must use the same MIDI Index value as the MIDI sender to understand each other.
-
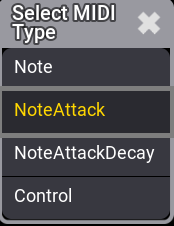
MIDI Type: Four MIDI Types are selectable:
- Note: Only MIDI note is analyzed.
- NoteAttack: In addition to the MIDI note, the attack of the note will be analyzed. The higher the attack value is, the more a fader moves.
-
NoteAttackDecay: Together with the MIDI note, the Attack and Decay of the MIDI Note
will
be
used.
- Control: MIDI Control Change will be used.
Examples
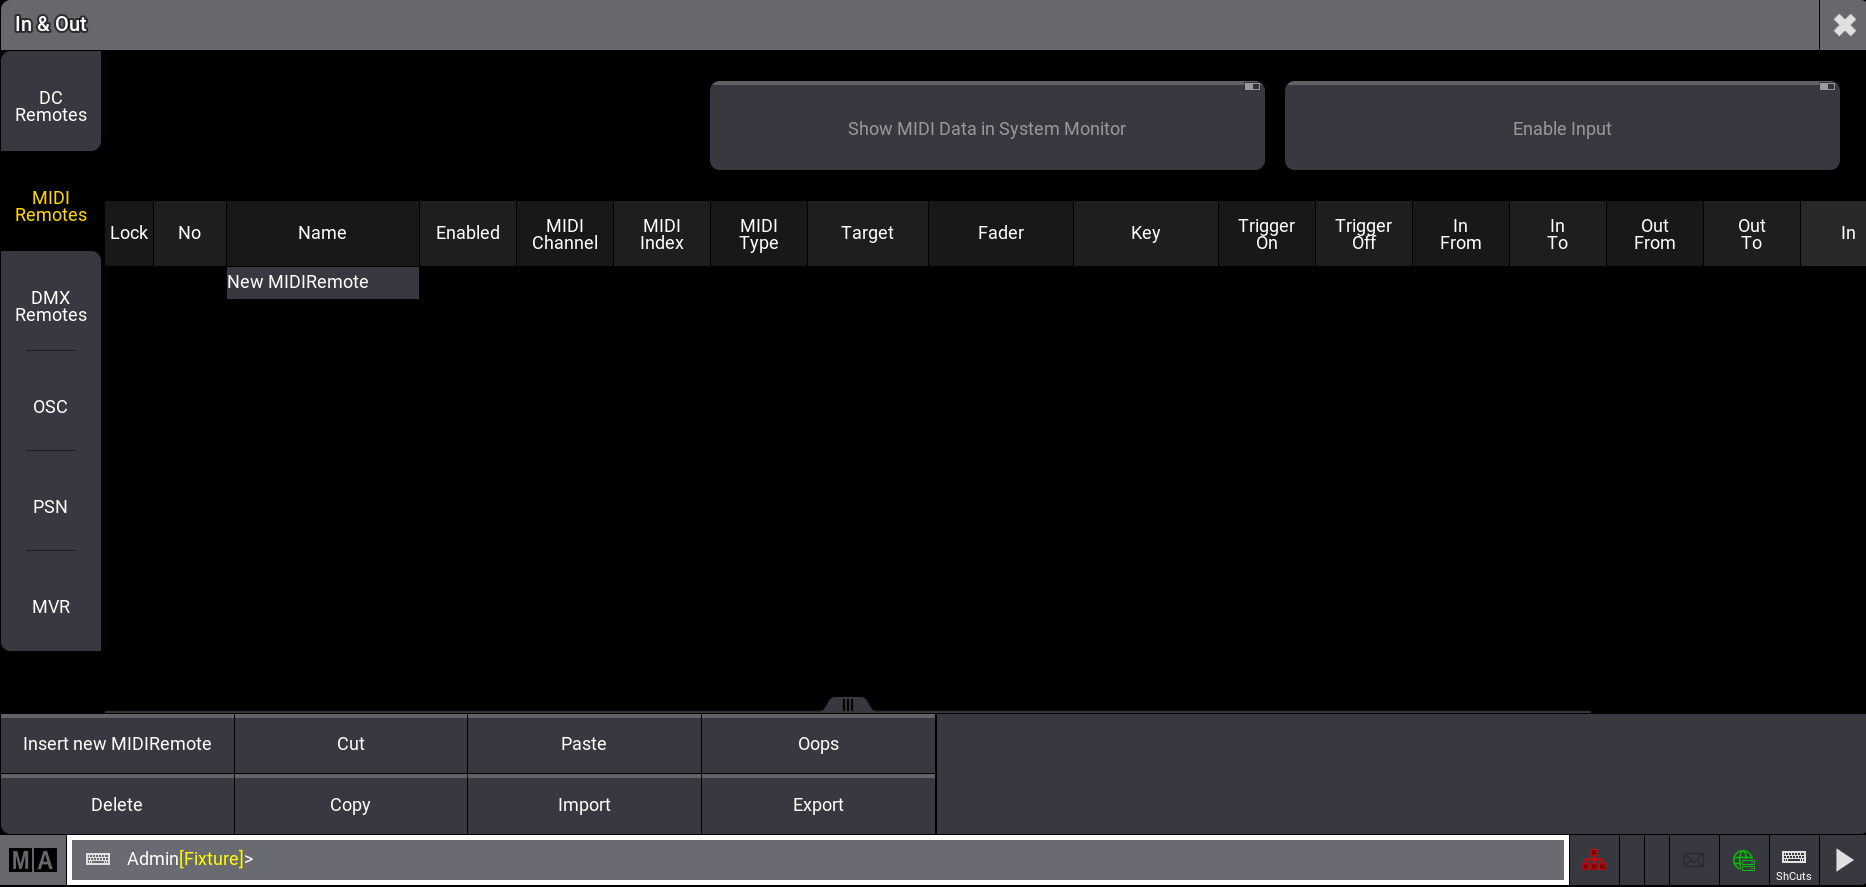
- To adjust the settings of the MIDI Remotes, switch to the In & Out window.
- To open the In & Out window, press Menu and then tap In & Out.
- To open MIDI Remotes, tap MIDI Remotes.
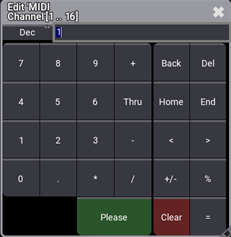
- To set the MIDI Channel value to a new value, right-click or tap and hold MIDI Channel. The Edit MIDI Channel pop-up opens:
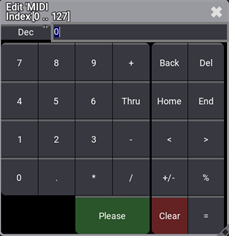
- To set the MIDI Index value to a new value, right-click or tap and hold MIDI Index. The Edit MIDI Index pop-up opens:
- To set the MIDI Type value to a new value, right-click or tap and hold MIDI Type. A pop-up opens:
Control an External MIDI Device
It is possible to connect an external MIDI device to certain grandMA3 products to receive messages. Therefore, a standard MIDI cable can be used.
Requirements:
- 1x grandMA3 console or grandMA3 onPC station either with a command wing, an I/O node or a third-party USB device connected.
- 1x MIDI capable device.
- 1x Standard MIDI cable.
- Connect the MIDI cable to the MIDI data output connector (MIDI Out) from the external MIDI device to the MIDI data input connector (MIDI In) on the console. Make sure the external MIDI device is powered, too!
- Open Menu - In & Out - MIDI Remotes.
- To make the messages of the external MIDI device visible in grandMA3, enable Show MIDI Data in System Monitor.
- To allow MIDI inputs on a grandMA3 console from an external MIDI device, make sure to enable Enable Input.
- To see the incoming MIDI messages of the external MIDI device on the console, open the System Monitor window and press different hardkeys (for example the keys) on the external MIDI device. The MIDI messages are listed in the System Monitor as shown in the image below:
A MIDI message can contain several parameters:
- channel: Displays the external devices MIDI channel.
- pressed: Shows if a MIDI key is pressed (1) or released (0).
- note: Shows the MIDI note which is oblique to a key on the external MIDI device.
- velo: Shows the velocity which displays the intensity of a pressed key from 0 to 127.
- control: Shows the control change address and its value.
- offset: Shows the changes of the MIDI Index.
Receive MIDI
Requirement:
- 1x grandMA3 demo show file
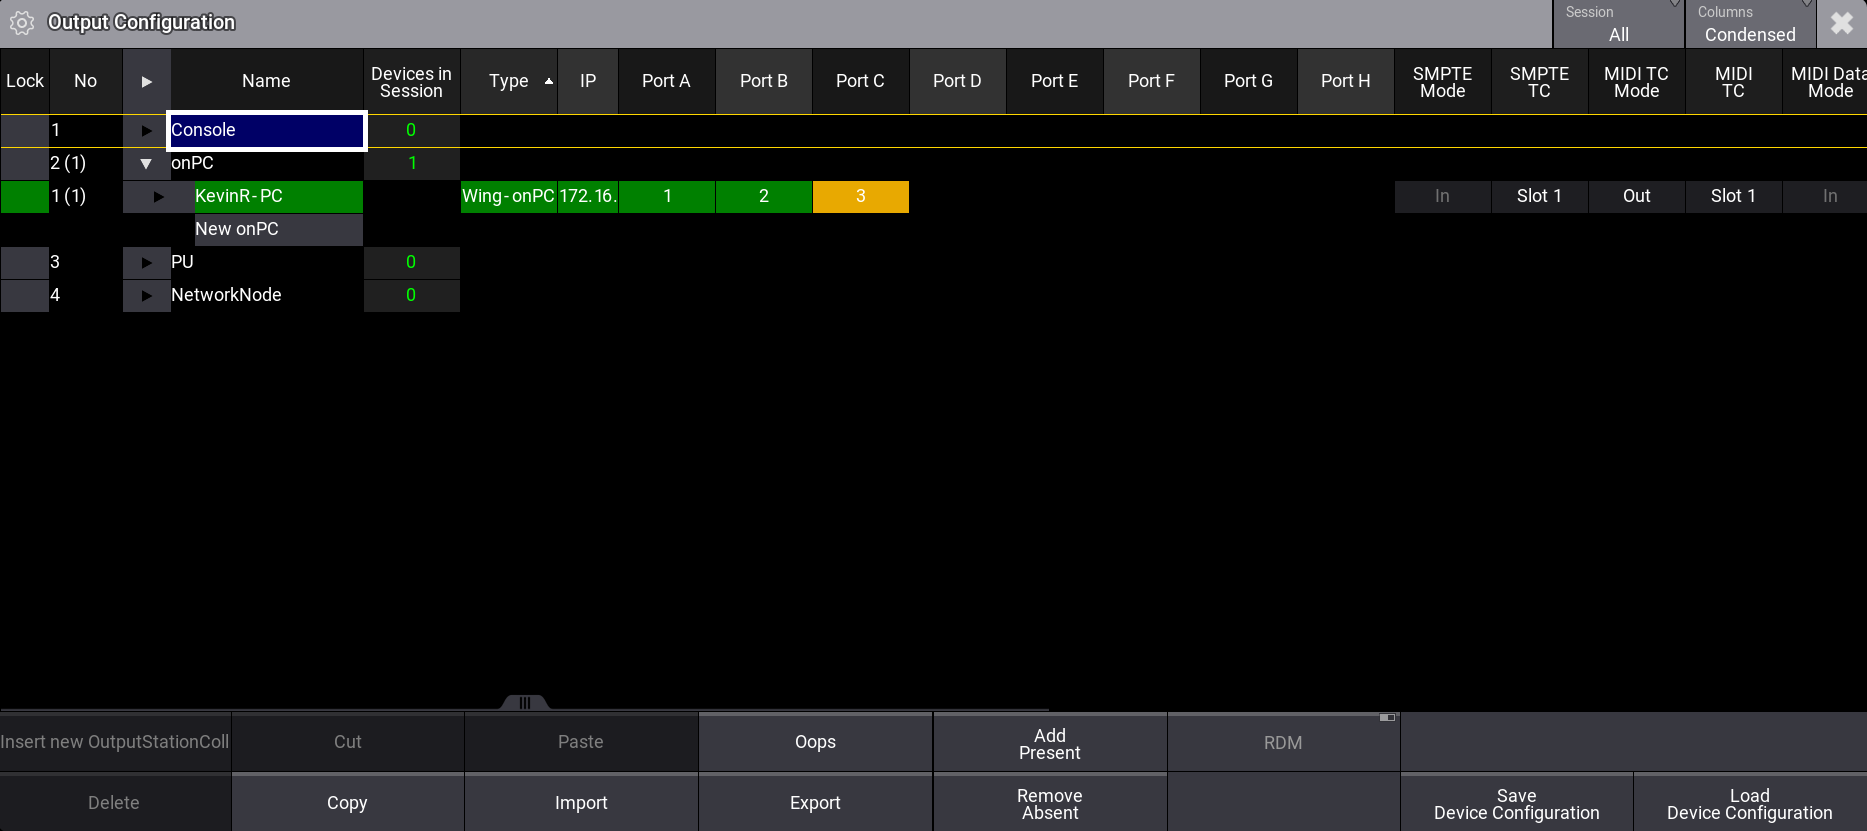
- To receive MIDI messages, make sure the MIDI DATA Mode is set to In in the Output Configuration menu:
After connecting an external MIDI device to the grandMA3 console, it is time to insert and customize a MIDI remote.
In this example, the sequence is controlled by pressing a key on a external MIDI keyboard:
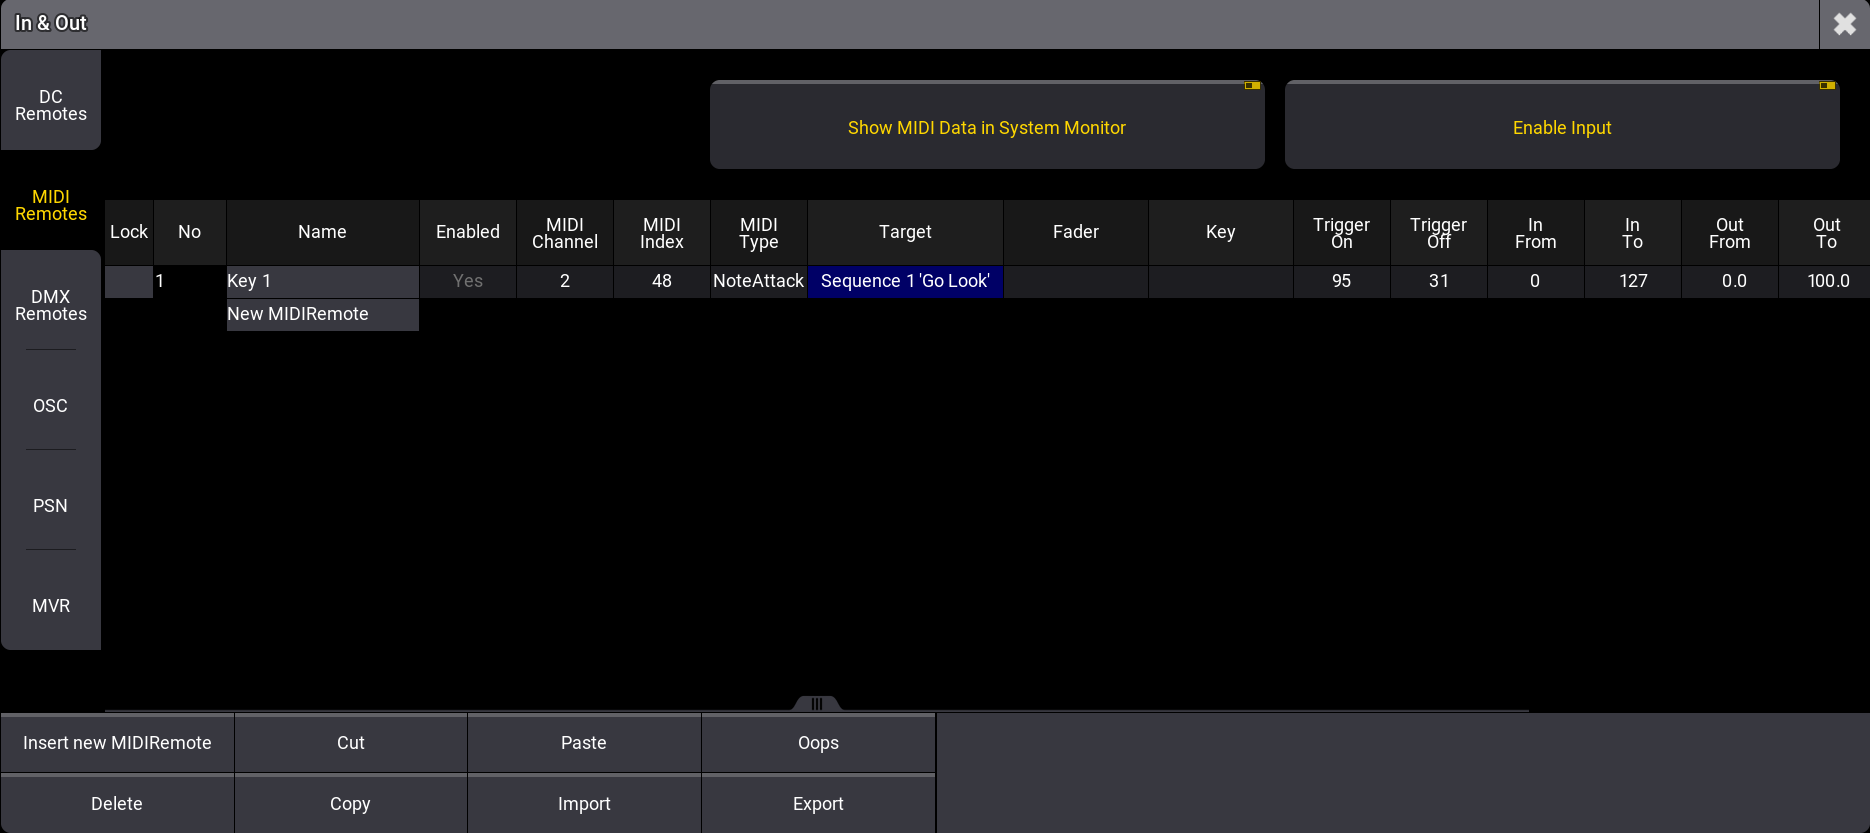
- To insert a new MIDI remote, tap Insert new MIDIRemote. The row MIDIRemote 1 is added automatically as shown below:
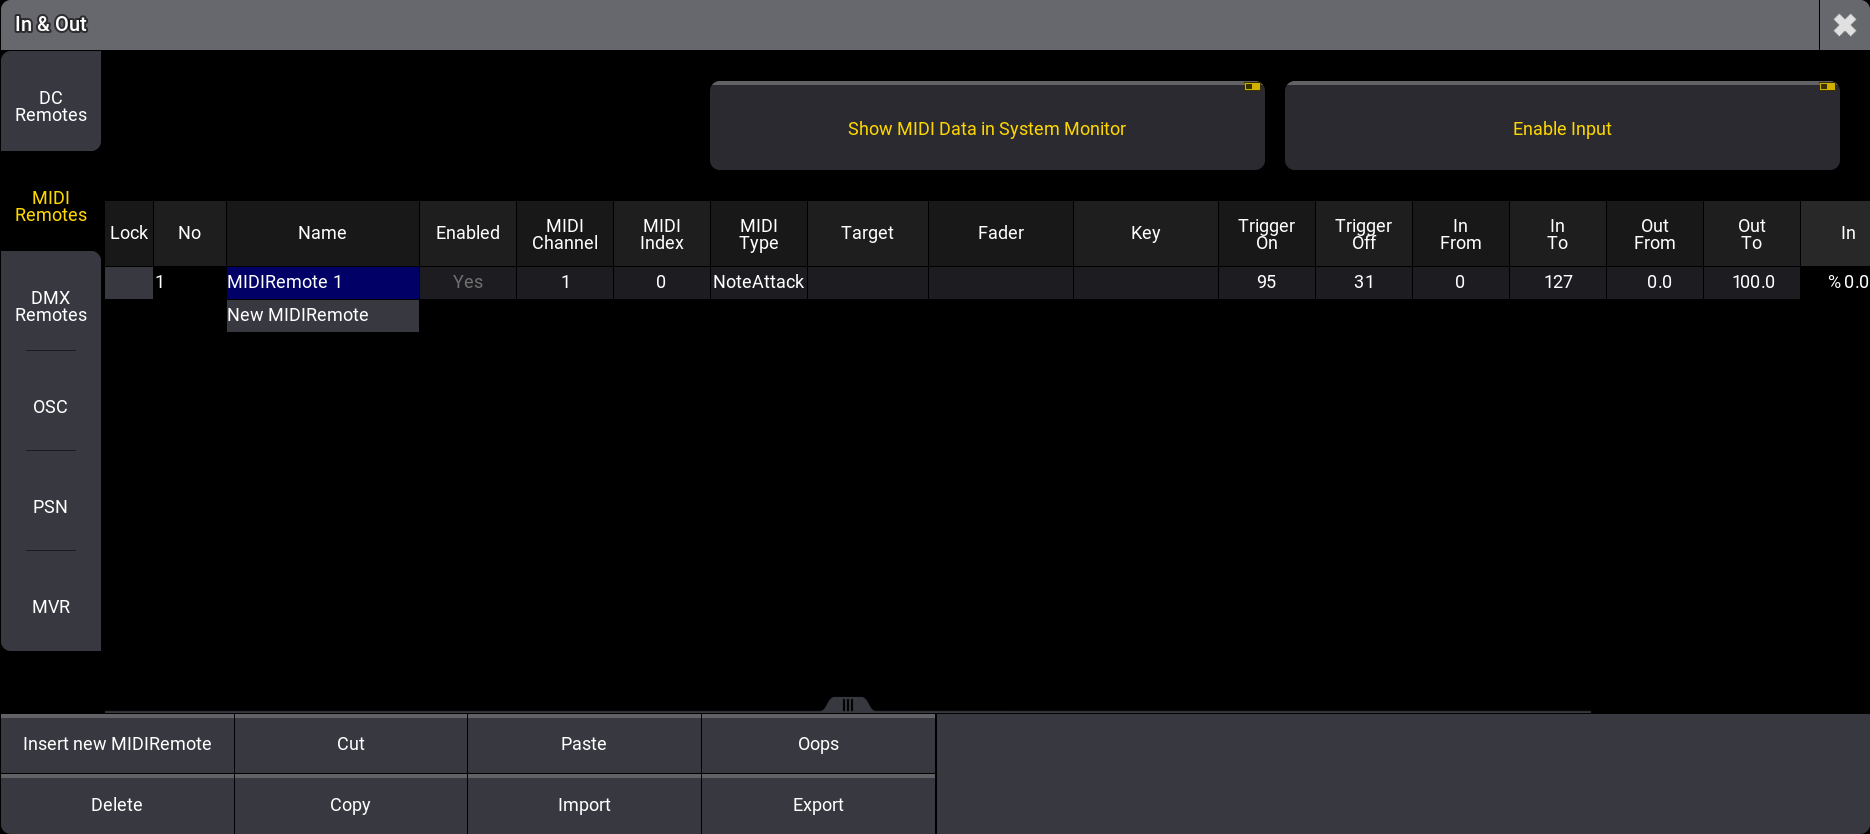
- To rename, tap MIDIRemote 1 in the Name column. Start to type "Key 1", tap Enter on the virtual keyboard, or press Please.
- To allocate a specific hardkey on the MIDI keyboard, press a key on the keyboard and use the information channel and note from the System Monitor window to edit the MIDI Channel and MIDI Index columns. For this example MIDI Channel is set to 2 and MIDI Index is set to 48.
- Set the MIDI Type to NoteAttack, to make use of the velocity.
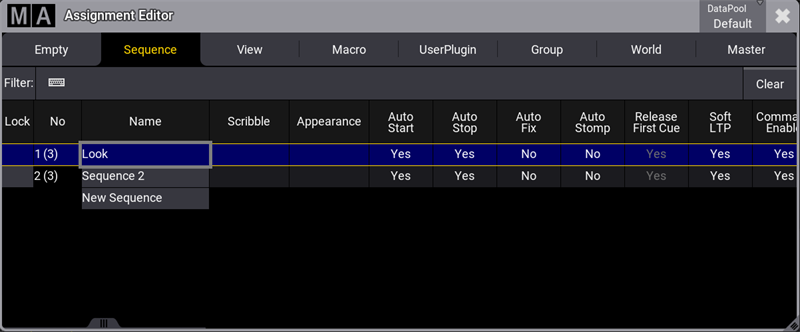
- To open the Assignment Editor, tap and edit the empty cell in the Target column. Tap the Sequence tab and select Look as shown in the image:
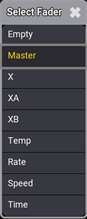
- To open the Select Fader pop-up, edit the empty Fader column. Set the Fader to Master as shown in the image below:
- The new MIDI remote is set and the MIDI Remotes window should look like this:
|
|
Hint: |
|
The MIDI output channel can be changed on the external MIDI device.
|
|
|
Hint: |
|
To reproduce this example using syntax, see Remote keyword.
|
Send MIDI
It is also possible to send MIDI messages from a grandMA3 console to an external MIDI device.
To send MIDI messages from a grandMA3 console:
- Connect the MIDI cable to the MIDI data input connector (MIDI In) from the external MIDI device to the MIDI data output connector (MIDI Out) on the console.
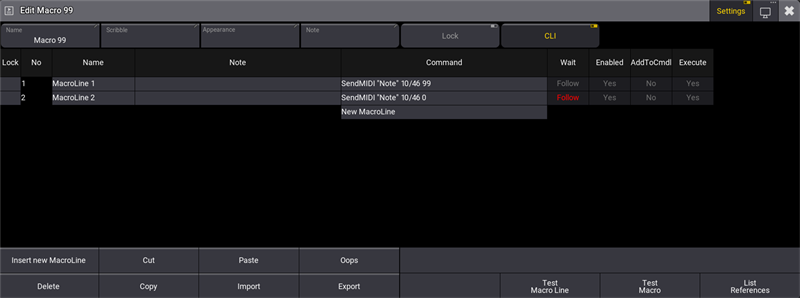
- MIDI messages can be sent using the SendMIDI keyword.
- To send MIDI messages, make sure the MIDI DATA Mode is set to Out in the Output Configuration menu:
The given MIDI channel (1 to 16) in the command line will be used to send out a MIDI message. For the example below, MIDI channel 10, Index (note) 46 and velocity 99/0 is used:

The MIDISend command applies the following rules:
- If a MIDI channel is entered in the command, the entered MIDI channel will be used. If no MIDI channel is entered, MIDI channel 1 will be used.
- If a velocity is entered in the command, the entered velocity will be used. If no velocity is entered, a velocity full (127) will be used.
- If no status (On or Off) is entered in the command, On will be used.
Depending on the external MIDI device, it is necessary to send a MIDI message to the external MIDI device that mimics the release of a hardkey, by sending an Note Off (Value 0) message.This is shown in the image below:
MIDI Connection via USB
An external device can also be connected to the grandMA3 onPC Software using a third-party USB MIDI device.
|
|
Restriction: |
|
Connecting an external MIDI device via USB is only possible using the grandMA3 onPC Software.
|
Requirements:
- 1x grandMA3 onPC Software
- 1x MIDI capable device
- 1x USB cable
To connect an external MIDI device via USB:
- Connect both, the external MIDI device and computer, using an USB cable.
- Press Menu, tap Settings and then tap onPC Settings. The onPC Settings window opens.
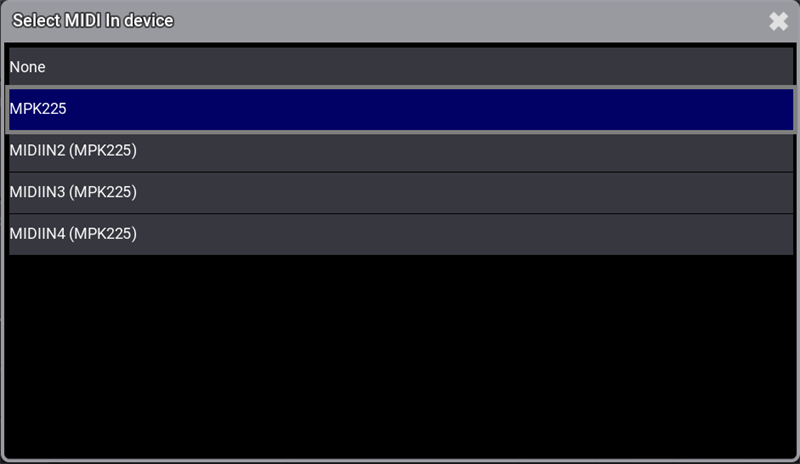
- To select the external MIDI device, tap MIDI In Device to receive MIDI or MIDI Out Device to output MIDI. The Select MIDI In device pop-up opens:
- Select the external MIDI device. In the example it is MPK225 as shown in the image below:
- The external MIDI device is connected to the grandMA3 onPC Software. To set up a MIDI remote, go back to Receive MIDI.
|
|
Hint: |
| For more information about the grandMA3 onPC settings, see onPC Local Settings. |