grandMA3 User Manual Publication
Connect Ethernet
|
grandMA3 User Manual » First Steps » Connect Ethernet
|
Version 2.4 |
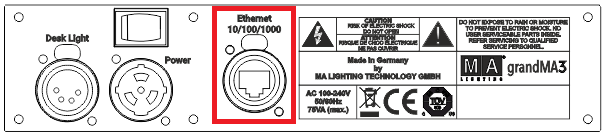
Depending on the grandMA3 device type, there are up to three Ethernet ports on the rear panel. To set the IP addresses for the Ethernet ports, see Interfaces and IP.


| Hint: | |
|
The naming of the Ethernet ports is individual; for example, the console shows Con1, Con2, and Con3.
In the onPC software, the Ethernet ports are named by the operating system, for example Ethernet, Ethernet 2, etc. |
|
|
Hint: |
| All Ethernet ports can use Art-Net and sACN as DMX protocols. |
|
|
Important: |
|
To avoid damage, Ethernet ports must not be connected to Power over Ethernet (PoE) except for grandMA3 devices qualified for PoE (for example, xPort Nodes PoE, onPC xPort Nodes PoE, or I/O Node PoE).
|
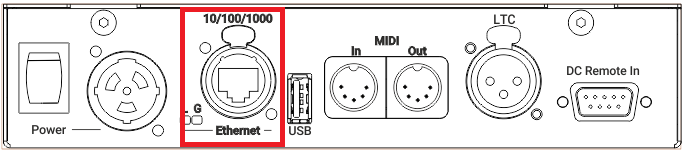
Ethernet Ports 1-3
Requirement: Use STP (shielded twisted pair) cable with an RJ45 connector, at least CAT-5e.
To connect one of the three Ethernet ports:
- Connect one end of an Ethernet cable to the Ethernet 1, 2, or 3.
- Connect the other end to a suitable switch.
- Connect other grandMA3 equipment to the switch and the switch to the power supply.
Ethernet is connected to a port.
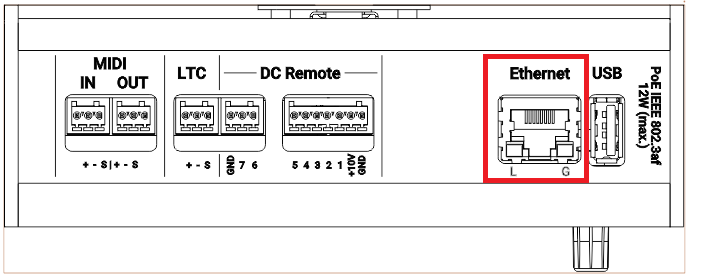
Ethernet LEDs
The L (link) LED flashes when the Ethernet connection is active.
The G (gigabit) LED flashes when a gigabit connection is available.