Edit Groups
|
grandMA3 User Manual » Groups » Edit Groups
|
Version 2.4 |
To edit a group, use one of the following methods:
- The EditSetting keyword.
- Press Edit twice and then tap a group pool object.
- Open the swipey commands on the pool object and choose Edit Setting.
The Edit Group pop-up opens.
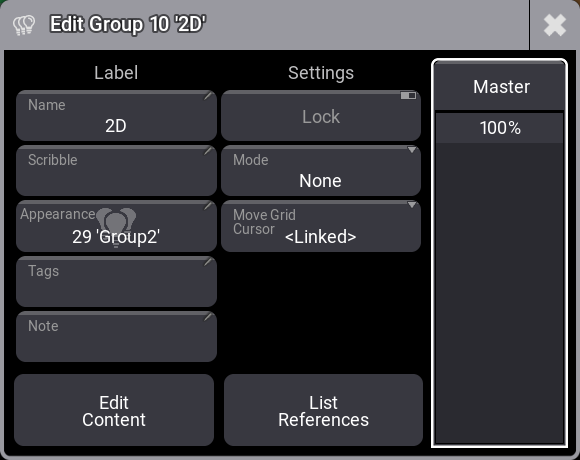
The editor has two columns, Label and Settings.
Use the Master fader on the right to set the level for the group. Read more in the Group Masters topic.
Here is a description of the settings under the Label column:
-
Name:
This is the name of the group. It can be edited here or by using the Label command. For more information, see Label keyword. -
Scribble:
An existing scribble can be assigned, or a new one can be created by editing this field. Learn more in the Scribble topics. -
Appearance:
An existing appearance can be assigned, or a new one can be created by editing this field. Learn more in the Appearance topics.
-
Tags:
The group can have one or more tags assigned. Editing this field opens the Edit Tags pop-up, where tags can be assigned and created. Learn more in the Tags topics. -
Note:
The group can have a note. For more information, see Notes.
Here is a description of the settings under the Settings column:
-
Lock:
The group can be locked by toggling this to On. This prevents changes to the groups settings and editing the content of the group. The group can still be used for fixture selection and in recipes. -
Mode:
Each group can have one of five different modes including None. The other modes can be used to limit the dimmer output or add dimmer output. Learn more in the Group Masters topic. -
Move Grid Cursor:
This setting defines how the grid cursor moves after the group is called. For more information, see Selection Grid and User Settings.
Tapping Edit Content activates the edit mode for the group. This is used to edit the selection and grid potions. Read more below.
Tap List References to open an Info pop-up that shows a list of the group's references and dependencies.
Add Fixtures to a Group
To add fixtures to a group, use one of the following methods:
- First Method:
- Press Edit, then tap a group pool object. The fixture sheet and selection grid frames turn green.
- Select the fixtures you want to add.
-
Press Update. The Update pop-up opens.
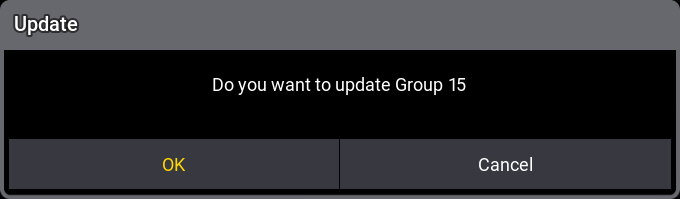
Update pop-up - Tap OK to confirm the group update or Cancel to call off the operation.
Tap the video below to see the example.
- Second Method:
- Select the fixtures you want to add.
- Press Store.
-
Tap the group pool object to add fixtures. The Store to Group pop-up opens.
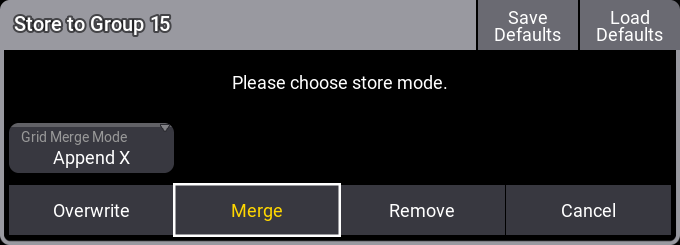
Store group pop-up - Tap Merge to update the group or Cancel to call off the operation.
- Third method:
- Open the swipey command on a group pool object and choose Edit Setting. The Edit Group pop-up opens.
- Tap Edit Content. The fixture sheet and selection grid frames turn green.
- Select the fixtures you want to add.
-
Press Update. The Update pop-up opens.
Update Group pop-up - Tap OK to update the group or Cancel to call off the operation.
Remove Fixtures from a Group
To remove some fixtures from a group, use one of the following methods:
First method:
- Open the swipey command on the group pool object. The Edit Group pop-up opens.
- Tap Edit Content. The fixture sheet and selection grid frames turn green.
- Press -, then select the fixtures that should be removed from the group.
-
Press Update. The update pop-up opens.
Update Group pop-up - Tap OK to save the changes or Cancel to call off the operation.
Tap the video below to see the example.
Second Method:
- Press Edit, then tap a group pool object. The fixture sheet and selection grid frames turn green.
- Press -, then select the fixtures that should be removed from the group.
-
Press Update. The Update pop-up opens.
Update Group pop-up - Tap OK to save the changes or Cancel to call off the operation.
Third method:
- Select the fixtures that should be removed.
-
Press Store, then tap a group pool object. The Store to Group pop-up opens.
Store Group pop-up - Tap Remove to store the group and remove the fixture or Cancel to call off the operation.