|
grandMA3 User Manual » Macros » Create Macros
|
Version 2.5 |
Create a macro using the GUI editor or the command line.
For a better understanding of macros, see Macros.
Create a Macro Using the GUI
Requirement:
A visible macro pool. Open the Add window pop-up, tap Data Pools, then tap Macros.
- Press Edit, then tap an empty macro pool object to create a macro and open its editor:
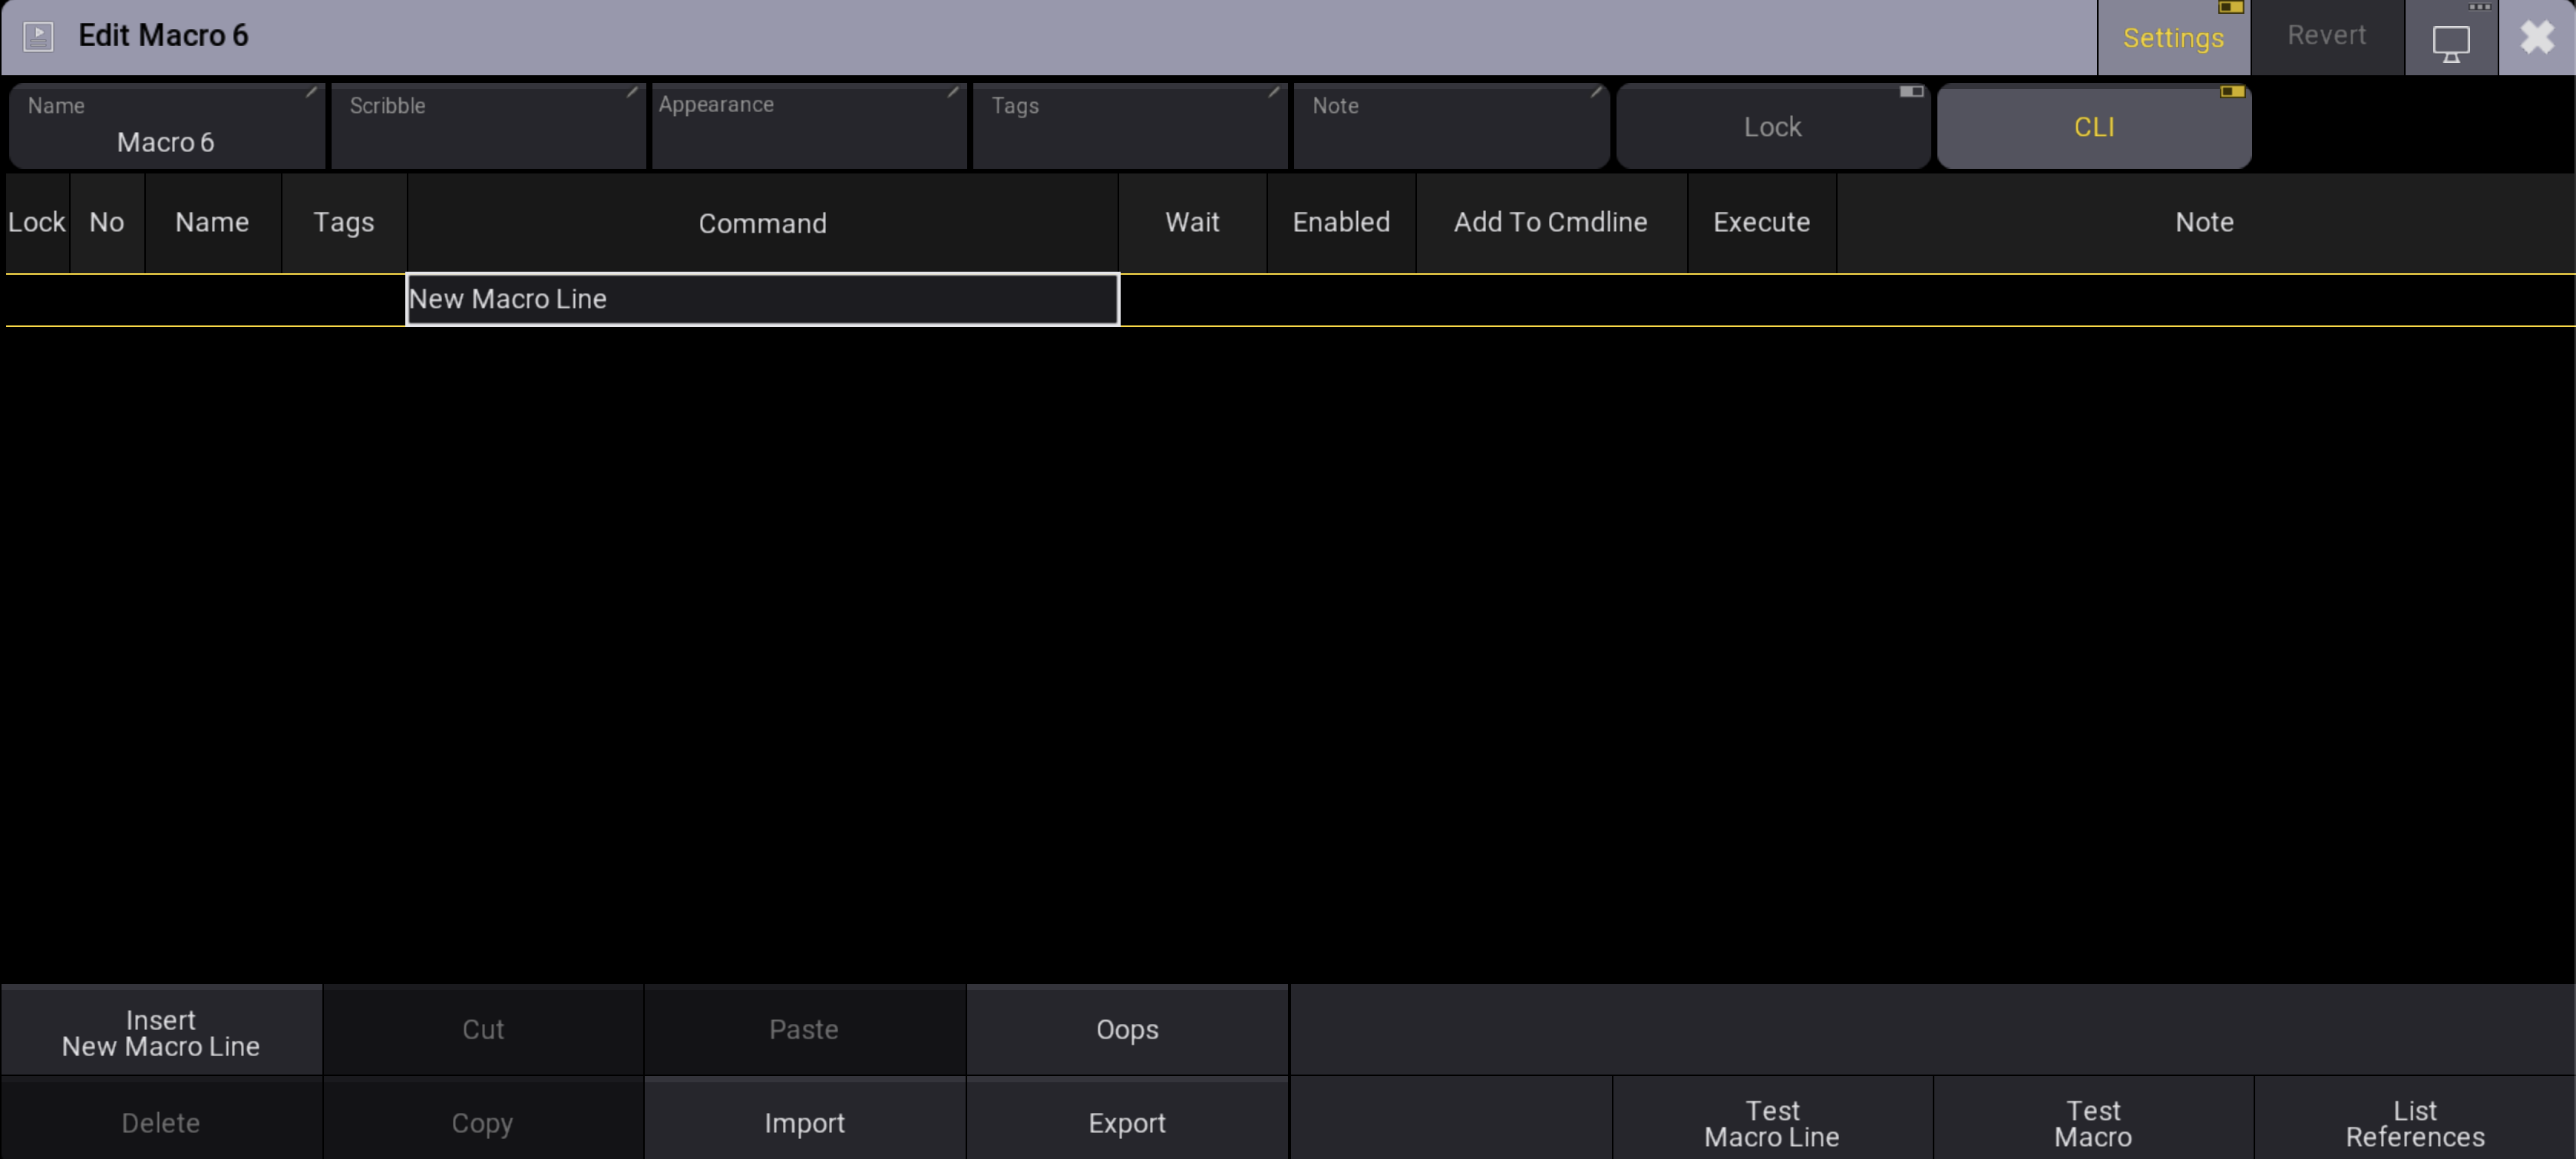
- Tap Insert New Macro Line. The command editor opens:

- Write a command in the editor. See Examples for more information.
- Repeat steps 2 and 3 to add several lines.
The macro editor includes the following controls:
- Settings: Enable Settings in the title bar to display the Name, Scribble, Appearance, Tags, Note, Lock, and CLI buttons.
- Test Macro Line: Tests only the selected line.
- Test Macro: Tests the macro.
- List References: For more information, see Info Window.
- Import: Opens a pop-up containing predefined macros. See Import Macros.
- CLI: Command Line Interaction. See Command Line Interaction.
Create a Macro Using the Command Line
Macros can be added using the command line. It is relevant when the GUI is unavailable, for instance, when the software is accessed via the command line only, using the terminal window.
Use the List command during creation to see the results in the command-line feedback.
Requirement:
- The command line feedback needs to be visible.
Here is the creation process:
-
Set the command line destination to the macro pool:

|
User name[Fixture]>ChangeDestination Macro |
-
List the existing macros to identify unused macro numbers:
|
|
User name@ShowData/DataPools/Default/Macros>List |
- Choose an unused macro number (one that does not appear in the list).
-
Store a macro using the chosen number:
|
|
User name@ShowData/DataPools/Default/Macros>Store [Available_Number] |
- Navigate into the new macro:
|
|
User name@ShowData/DataPools/Default/Macros>ChangeDestination [Available_Number] |
- Insert a line into the macro:
|
|
User name@ShowData/DataPools/Default/Macros/Macro #>Insert |
- Use the Set command to set the command to the macro line:
|
|
User name@ShowData/DataPools/Default/Macros/Macro #>Set [Line_Number] Property "Command" ["Command Inside Quotations"] |
- You can also set the wait time for the macro line:
|
|
User name@ShowData/DataPools/Default/Macros/Macro #>Set [Line_Number] Property "Wait" ["Wait Time"] |

|
Hint: |
| The wait time can be entered as a number in seconds without quotation marks or as text with quotation marks. The two special times, Follow and Go, can be entered without quotation marks, but the software will add them. They are case-sensitive. Typing "go" gives an error, but typing "Go" works. |
- Repeat steps 6 through 8 for each additional macro line, setting the wait time as needed. Use the new line number in each Set command.
- Return to the root of the command line:
|
|
User name@ShowData/DataPools/Default/Macros/Macro #>ChangeDestination Root |
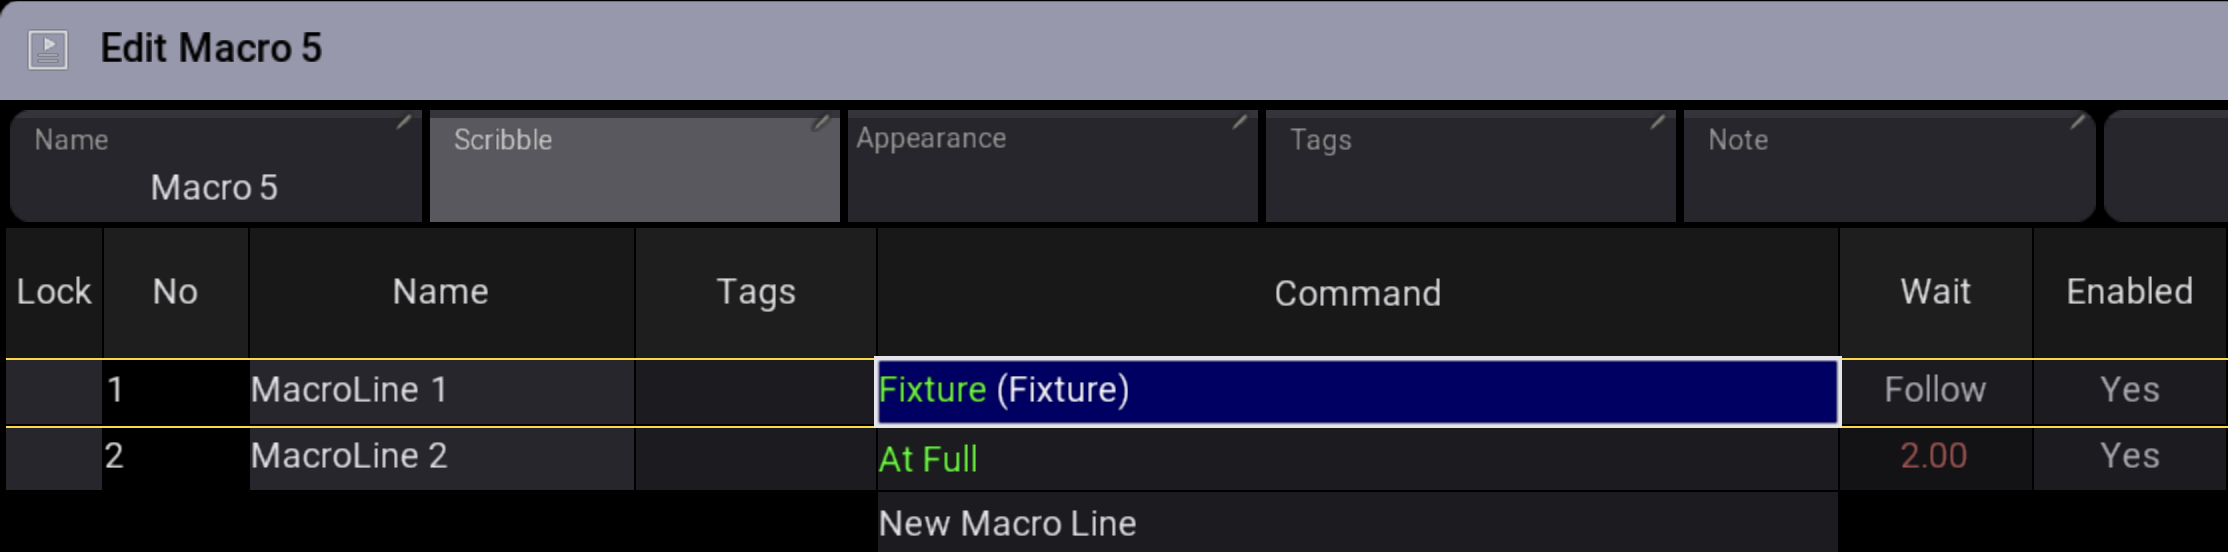
The following example creates Macro 5 with 2 lines. The first command asks for a fixture number followed by a second command ‘At Full’ and a wait time of 2 seconds.
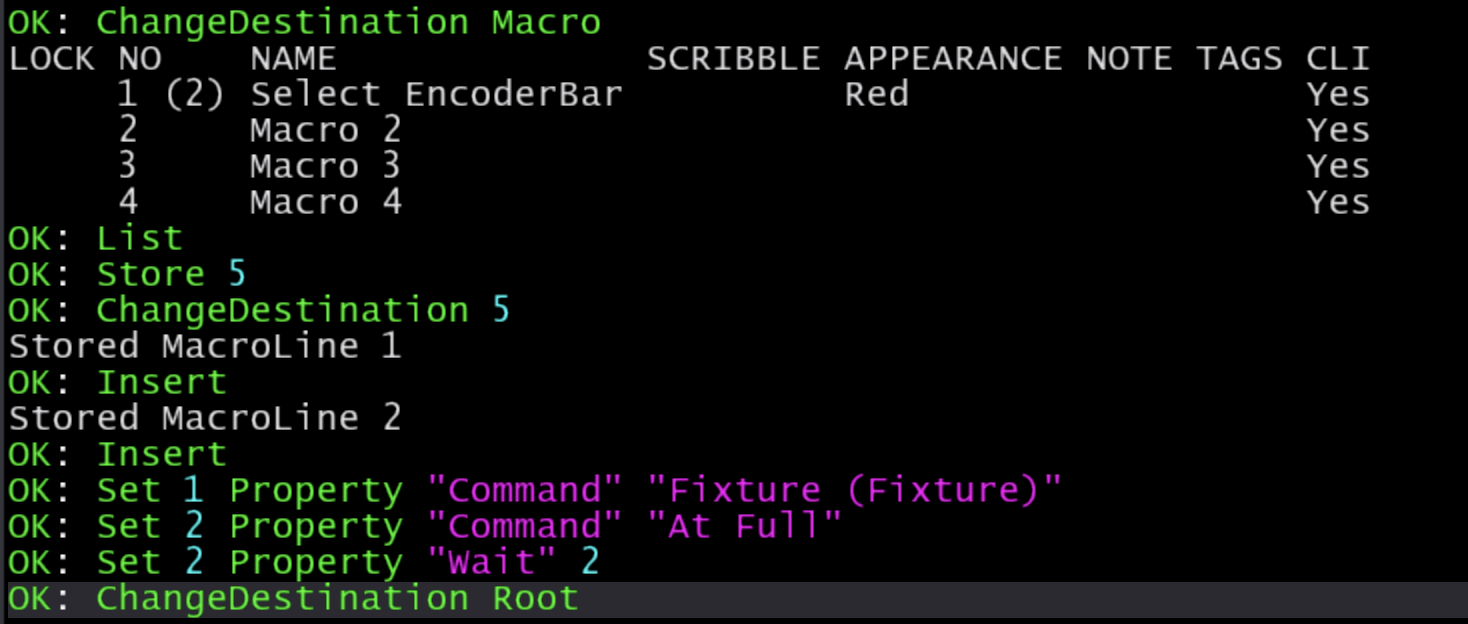
A new macro is created.
Label a Macro
Macro pool objects are labeled like any pool object. For more information, see Label Pool Objects.
|
|
Hint: |
Give the macro a unique name so you can run it by name. |