grandMA3 User Manual Publication
Record a Timecode Show
|
grandMA3 User Manual » Timecode » Record a Timecode Show
|
Version 2.1
|
Requirements:
- Patched fixtures. For more information, see Patch and Fixture Setup.
- Stored values in cues and created sequences. For more information, see Cues and Sequences.
- Open the timecode pool and the timecode view. For more information, see Add windows.
Example Running Internal Timecode
|
|
Important: |
| This sequence of operations is based on an internally generated timecode. |
- Store a new object in the Timecode Pool and label it.
For more information, see Windows, Views, and Menus. - Select the Timecode in the pool.
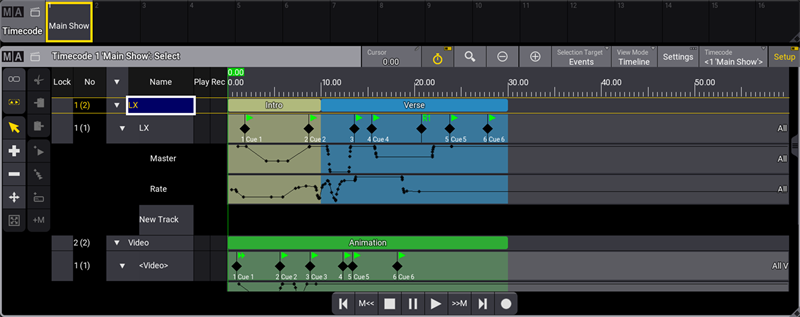
- In the title bar, tap Setup.
For more information on different views, see Toggle view mode. - To enable the follow-time cursor, tap
 in the title bar. When enabled, the view follows the time cursor.
If it is disabled, the cursor moves beyond the displayed view. - In the title bar, tap Settings in the pop-up menu, tap and hold TC Slot, then select <Internal>.
For more information, see What are timecode slots. - To start recording, tap
 .
.
The time starts to run. - To record an event, press the corresponding target executor key. This will create a new track with a new target.
- To record fader movements, move the corresponding target fader.
- To finish recording, tap
 .
.
The timecode show is recorded.