Open the image pool first.
For information on how to open the image pool see Image Pool.
Then press Edit and tap the pool object you would like to store your image or video to.
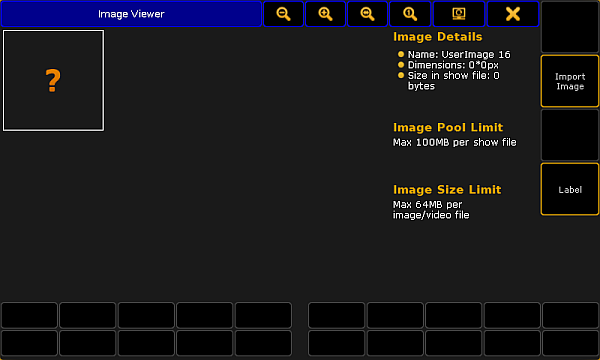
The Image Viewer opens.
Image viewer
Next, tap Import Image.
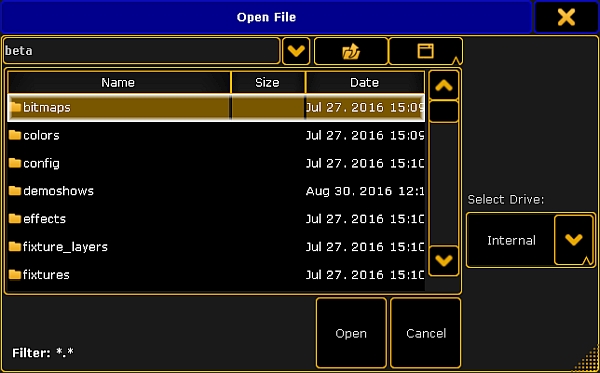
The dialog Open File opens.
Image viewer – open file
To select the display of folder in the dialog, tap the screen symbol on the right of the title bar.
To select the drive, tap the triangle symbol on the right of the dialog.
Tap the folder symbol in the title bar of the dialog and then tap the folder images and subsequently the folder predefined.
or:
Tap the folder bitmaps and subsequently predefined_images or predefined_videos.
After choosing the folder, tap Open to import the image or Cancel to close the dialog.
To label the image or video you have just imported, tap Label on the right of the dialog Image Viewer.
The image or video you have imported is now in the image pool.
Important:
The MA software provides the capability to use additional proprietary third-party software which allows the usage of diverse media content. Proprietary third-party software is subject to license terms included with its documentation. If you decide to install the MA software package including the third-party software, you agree to be alone responsible to fulfill the terms of such license terms including proper licensing. If you install the MA software package without the third-party software, you can still use non-proprietary media software (VP8, VP9 etc.). For more information on the file formats see Supported file formats.
To use the proprietary third-party software:
-Check the box during the initial startup.
-or-
1. Press Setup.
2. Tap Console, Software Update, End User License Agreement.
3. Check the box where it says Include third-party software.
Important:
To import videos or images from a USB, save images or videos in the subfolder gma2 on your USB first.