grandMA3 User Manual Publication
Remote In and Out
|
grandMA3 User Manual » Remote In and Out
|
Version 2.0
|
Remote Inputs are handled through the In & Out menu: DC Remotes, MIDI Remotes, DMX Remotes, OSC, and PSN.
For more information about session and station communication, see Station Control.
- To open the In & Out window, press Menu and then tap In & Out.
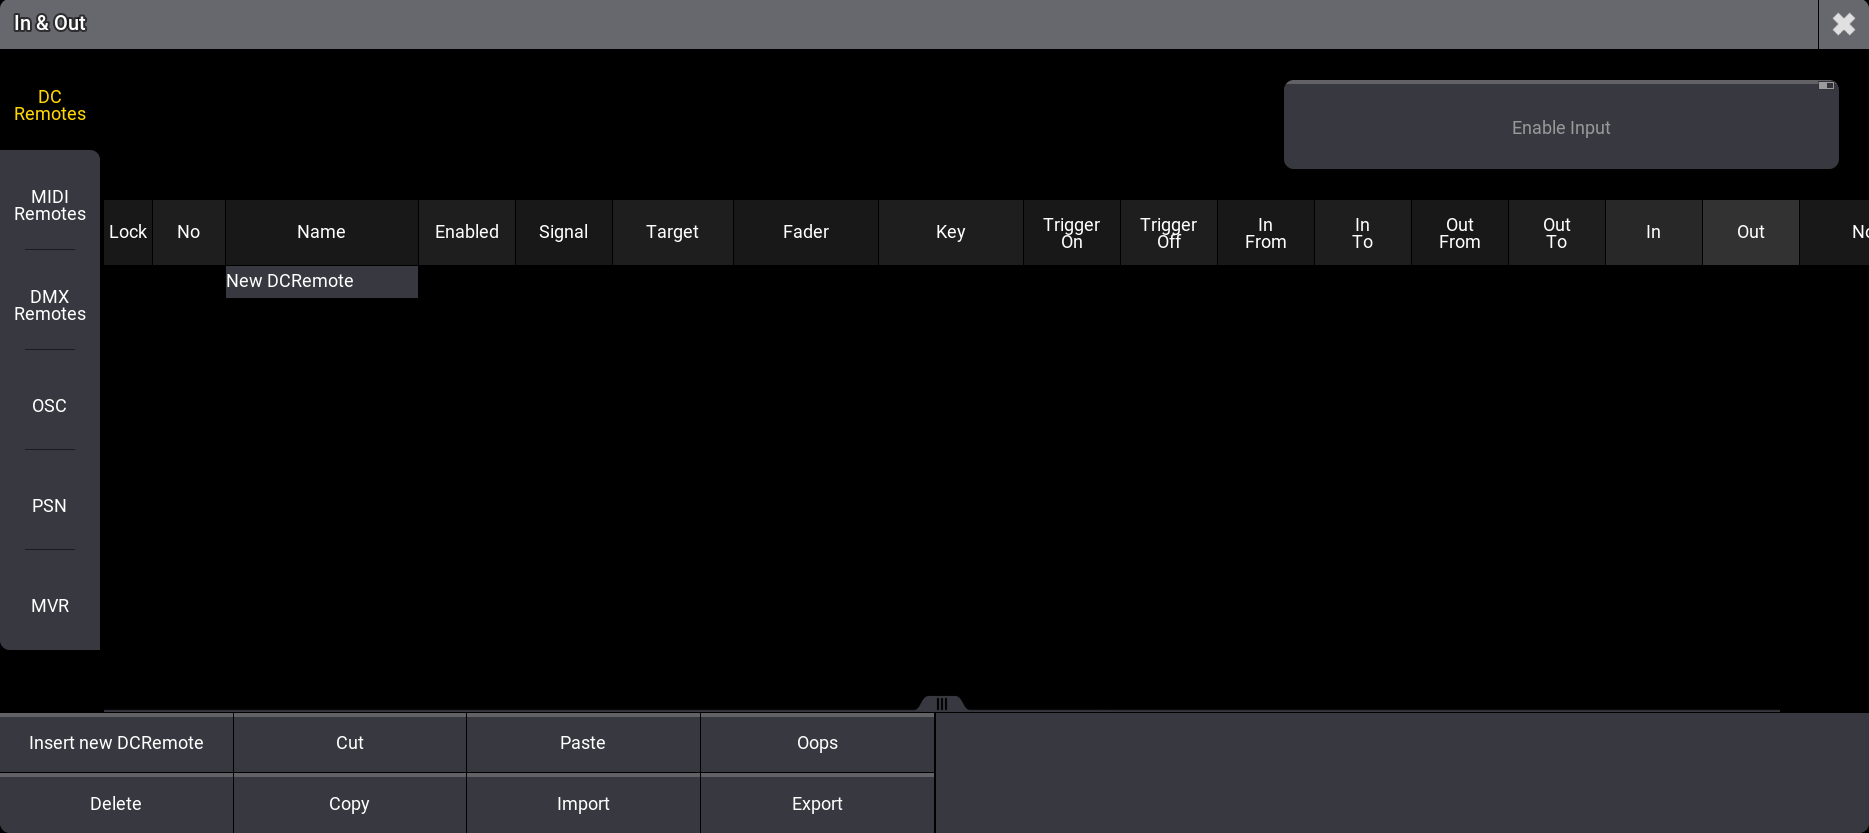
There are five tabs: DC Remotes, MIDI Remotes, DMX Remotes, OSC, PSN, and MVR.
|
|
Hint: |
| The different readout options take effect on the Trigger On/Off, In From/To, Out From/To values. |
Common procedures and pop-ups for the DC Remotes, MIDI Remotes, and DMX Remotes tabs are described below:
- To add a new element, for example, DC Remote, tap Insert new DCRemote.
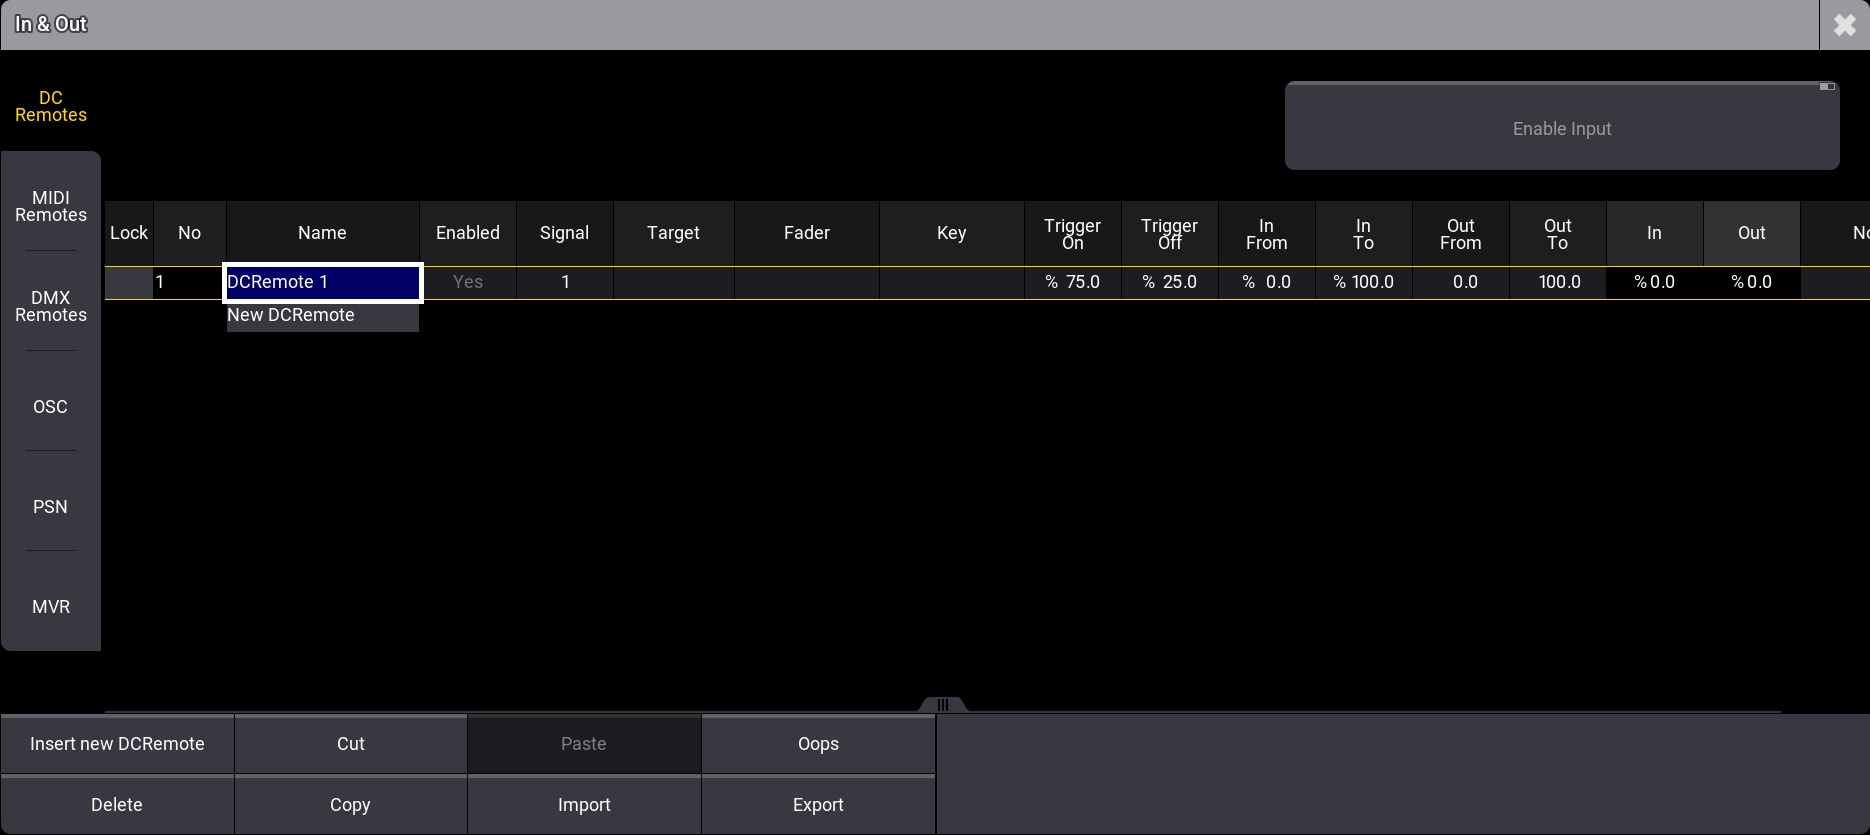
- To enable or disable the Remote Input, right-click or tap and hold Enabled to toggle between Yes and No.
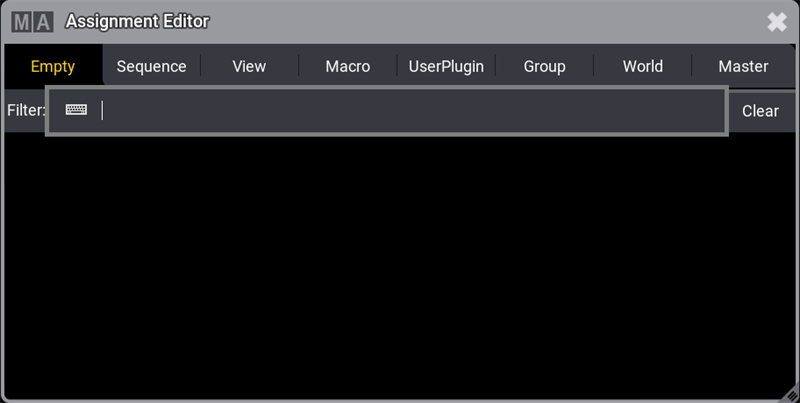
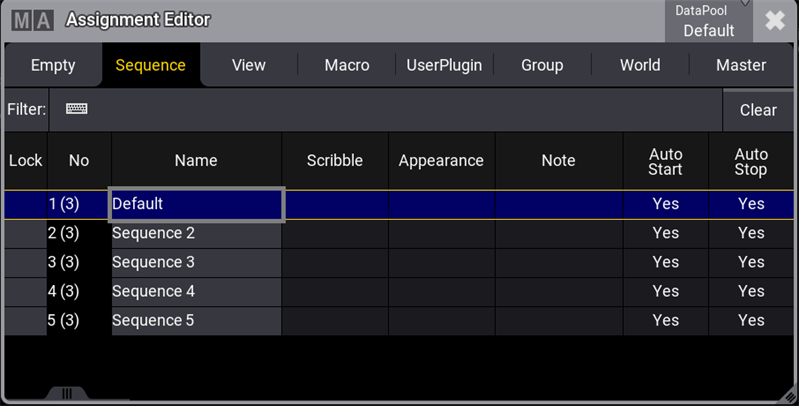
- To assign the target, right-click or tap and hold Target. The Assignment Editor window opens:
- Select the target, for example a sequence. The target is selected and the editor closes.
- To select a fader function, right-click or tap and hold Fader. The Select Fader pop-up opens:

- To select a key function, right-click or tap and hold Key. The Select Key pop-up opens:

- Trigger On / Trigger Off: These values define the range of the key reaction. If the Trigger On, for example, is set to 75 %, the Remote reacts as soon as the incoming signal exceeds this value. If the Trigger Off, for example, is set to 25 %, the Remote stops reacting as soon as the incoming signal has fallen below this value.
- In From / In To: These values define the range of the input signal reaction for the defined fader.
|
|
Hint: |
| DC Remotes and DMX Remotes thresholds are defined in percent, while MIDI Remotes thresholds are defined between 1 and 127 MIDI velocity. |
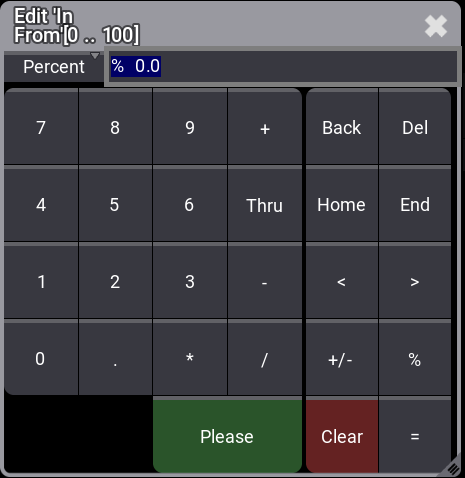
- To set the In From value to a new value, right-click or tap and hold In From. The calculator opens:
- To set the In To value to a new value, right-click or tab and hold In To. The In To calculator opens.
- Out From / Out To: These values recalculate the input signal range to match up the output signal range. The range of a fader is defined by the output signal range. If a fader, for example, should not be moved to 100 %, restrict the Out To value to 90 %.
- In / Out: These columns at the end of the table display the signal value of the incoming signal (In) and the resulting value for the selected fader function (Out).
|
|
Hint: |
| For detailed information about the values, read the Remote keyword topic. |
Example 1
- In From/To: 20-80%
- Out From/To: 0-100%
- When the incoming signal is 10%, the fader is at 0 %.
- When the incoming signal is 20%, the fader is at 0 %.
- When the incoming signal is 30%, the fader is at 17 %.
- When the incoming signal is 50%, the fader is at 50 %.
- When the incoming signal is 80%, the fader is at 100 %.
- When the incoming signal is 90%, the fader is at 100 %.
Example 2
- In From/To: 20-80 %.
- Out From/To: 10-90 %.
- When the incoming signal is 0%, the fader is at 10 %.
- When the incoming signal is 20%, the fader is at 10 %.
- When the incoming signal is 30%, the fader is at 23 %.
- When the incoming signal is 50%, the fader is at 50 %.
- When the incoming signal is 80%, the fader is at 90 %.
- When the incoming signal is 100%, the fader is at 90 %.