Content: Mask
Grey scale images can be used as masks for images with the camera.
E.g. If you want to coat (laminate) a region where noting is projected you can build a mask to coat the regions.
This regions remain black in the projection.
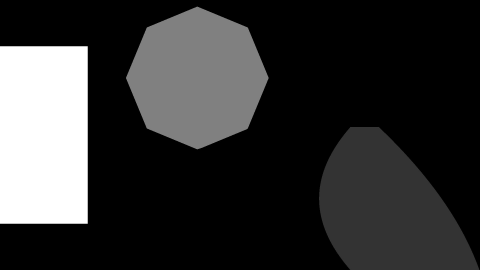
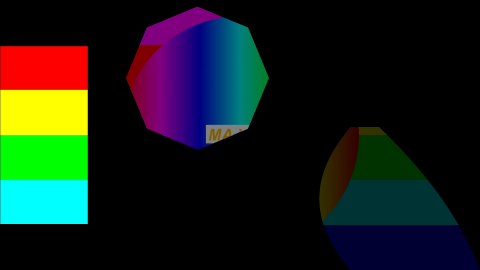
Example - Mask made of 3 layers:

Using of the mask within the camera:

The brightness of a pixel determines the transparency.
Black - opaque ... white - transparent.
You can use a color or black and white image for the mask.
If a color image is used only the brightness information is used.
In the content editor a channel function is used. You find it as a list in the content editor similar to the camera iris objects:

You can insert the images in the common way as you insert the content.
Then select the camera and select the preset type "Video" feature "VObj" attribute "Mask".
Here all inserted masks are shown.
Select the mask:

A screenshot can be directly inserted as mask.
Therefore the parameter has to be selected as option in the screenshot parameter dialog.
With "Add Mask to Camera" a channel set is created in the mask channel function that refers to the location of the screenshot:

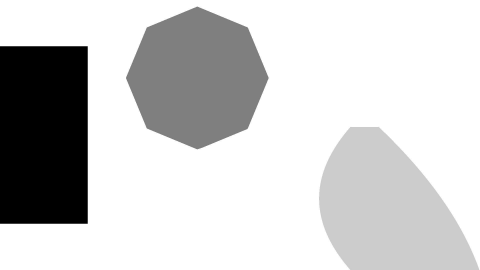
With the function "Invert" the mask can be inverted:

Masks should be created in the same resolution as the used output. If the resolution is not the same, the mask will be crushed or stretched.

