Web Remote
The stations can be remote controlled by any browser connected to the system.
The web remote is very flexible. Depending on the screen size and resolution it will try do display as much information as possible. This means that many of the views can show a lot of information - especially on high resolution screens. The images used in the description below are typically show with the minimum size possible.
It needs to be enabled in the Global Settings: Setup -> Console -> Global Settings -> Remotes
Here is a setting called "Remotes" with two options: Login Disabled and Login Enabled.
Simply open a browser on a computer or handheld device and type the IP address of the station that needs to be remote controlled.
Then a login pop-up appears:

It is not possible to login as the default "Administrator" user.
There is a limit of three remote users logged in at the same time.
After a login with a valid user the web remote interface is accessible.
Navigating the remote
The Main Menu gives access to the Settings. Here it is possible to change between two different modes: Phone and Tablet.
This changes a few of the windows. It also changes the navigation bar at the top.
This is the Phone mode:

And this is the Tablet mode:

Both modes have a Command Line input bar at the top. Tapping this will open the keyboard and allow any typed commands.
On the right side of both versions are a button called Wheels. this gives access to virtual Wheel Control.
On the phone version there are two buttons with arrows that allows the user to toggle through the different views. The big blue are shows the name of the current view and tapping it opens the Main Menu.
On the tablet version the two buttons are replaced by a bar with buttons for the different views. There is a blue are in the left side. tapping this opens the Main Menu.
At the bottom of almost every window there are three buttons with the Set, Next, and Previous functions.
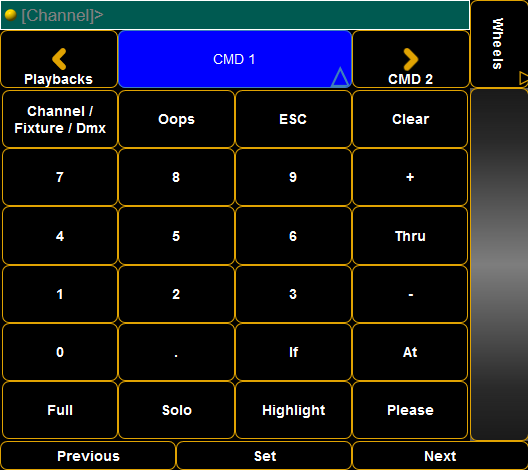
CMD 1 and CMD 2
The CMD or Command windows gives access to the most used command keys. In Phone mode it is split up in two windows. In Tablet mode they are on one screen.
It provides access to a virtual level wheel on the right hand side of the screen. On CMD 2 or the CMD on the tablet there is access to select the different Preset Types on the left side of the screen.
There is a special button that toggle between three different keywords. It is the Channel / Fixture / DMX button. Tapping it will toggle through the different keywords. Keep an eye on the command line input.
Phone Mode:
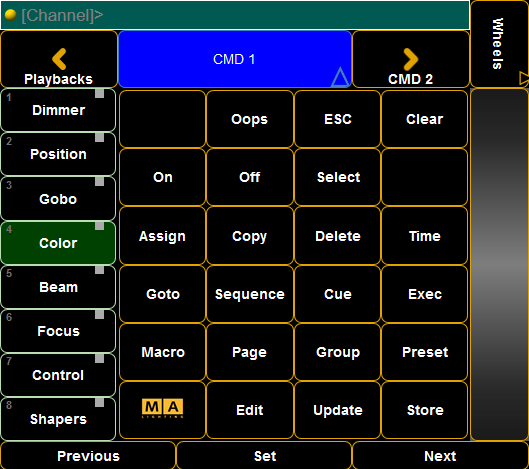
Tablet Mode:

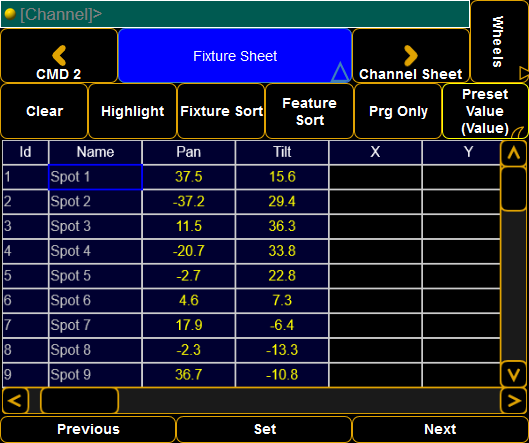
Fixture sheet
The fixture sheet displays the fixture information. For details about the Fixture Sheet please follow this link to the Fixture Sheet topic.
There are some special buttons at the top of the window in the phone mode and they are added at to bottom on the tablet mode. The following is a show description of them:
- Clear:
This is like the normal Clear key. - Highlight:
This toggles the Highlight function - just like the normal Highlight key. - Fixture Sort:
This is the Fixture Sort function in the fixture. Learn about it by following the link above. - Feature Sort:
This is the Feature Sort function in the fixture. Learn about it by following the link above. - Prg Only:
This toggles a Programmer Only mask. - Preset Value selector:
Tapping this swipe button toggles through the following layers: Value, Fade, Delay, and Output. Swiping it opens a small pop-up that allows you to select the desired layer directly. Read about the layers in the Layers in Sheets topics.
Phone mode:
Tablet mode:

The tablet mode provides easy access to change the preset type.
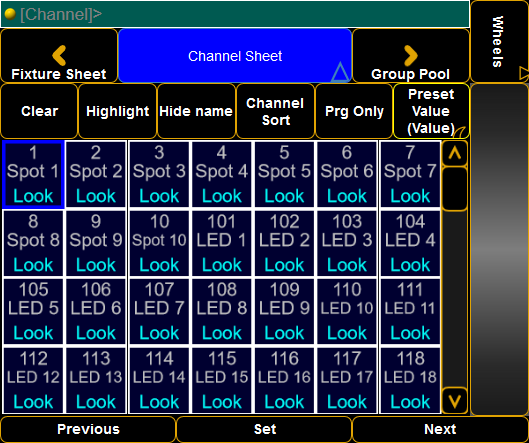
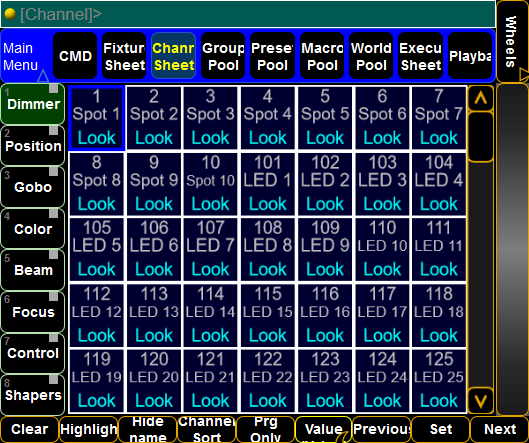
Channel Sheet
The channel sheet displays the channel information. For details about the Channel Sheet please follow this link to the Channel Sheet topic.
As described above about the fixture sheet, there are some special buttons also in the channel sheet.
There are two that are different that ones in the fixture sheet. They are:
- Hide name:
This toggle button will hide or show the name of the channels. - Channel Sort:
This will sort the sheet to display the selected channels at the top.
Phone mode:
Tablet mode:
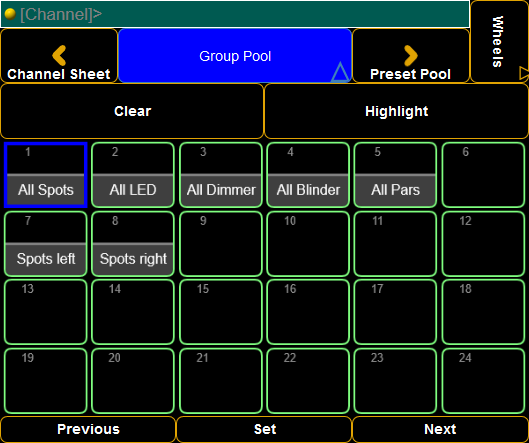
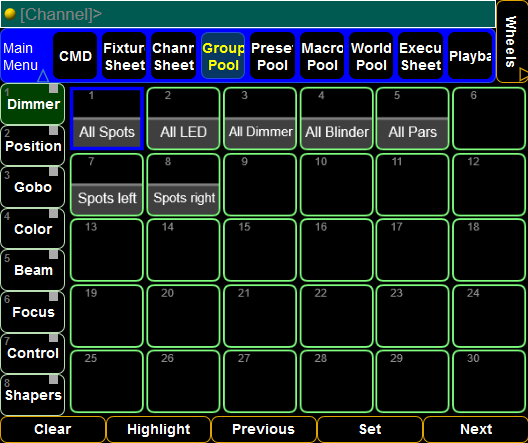
Group Pool
The group pool displays the groups. Read details about it in the Groups topics.
There are two special buttons here: Clear and Highlight. They have the same functions as the real hard keys.
Phone mode:
Tablet mode:
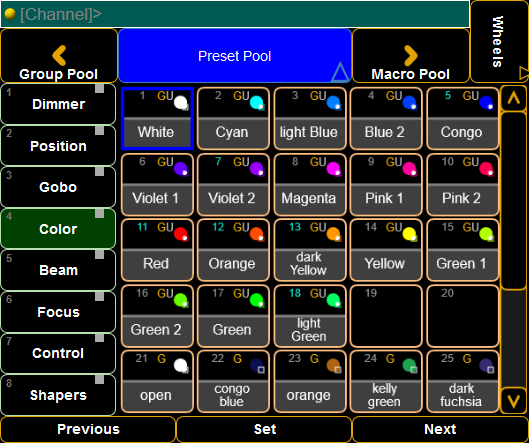
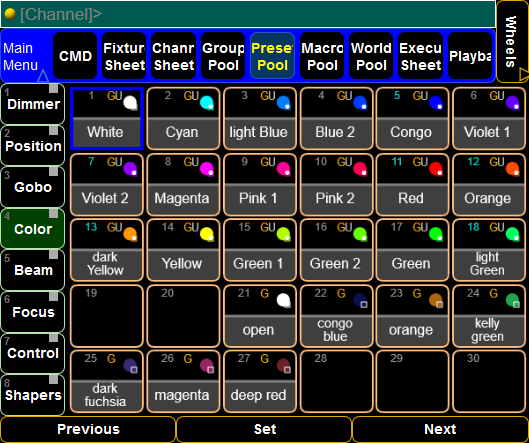
Preset Pool
This is the different preset pools. The windows works as the Dynamic pool in the console - read about it in the Dynamic preset topic. The preset types can be selected on the left hand side in both modes.
There is currently no access to the All Presets.
Phone mode:
Tablet mode:
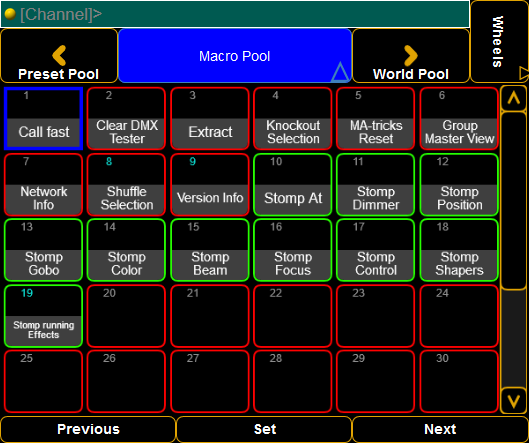
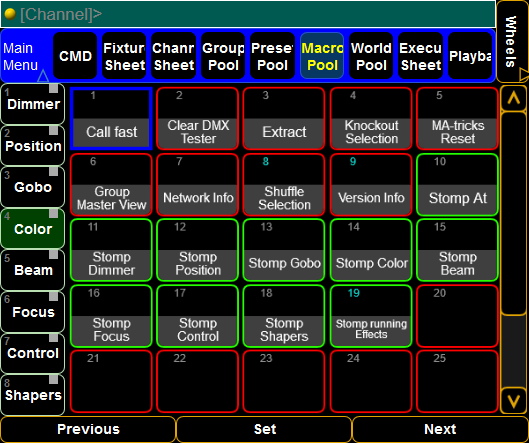
Macro Pool
This is the macro pool - read about it in the Macro topics. It displays all the macros. It is not possible to edit macros using the remote.
Phone mode:
Tablet mode:
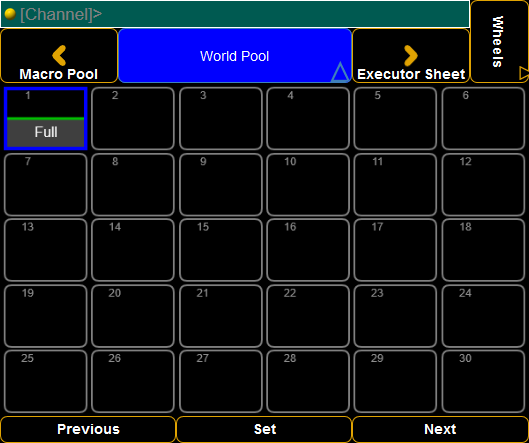
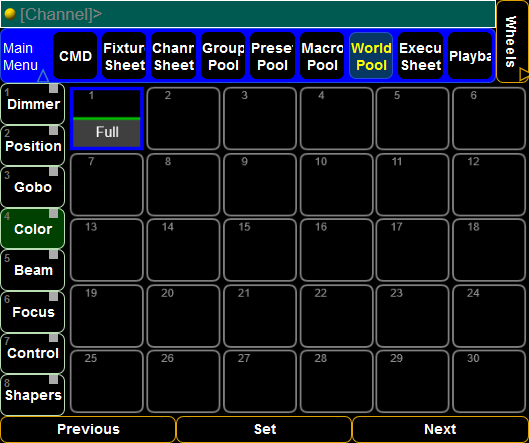
World Pool
This is the world pool - learn about worlds in the What are Worlds topic.
Phone mode:
Tablet mode:
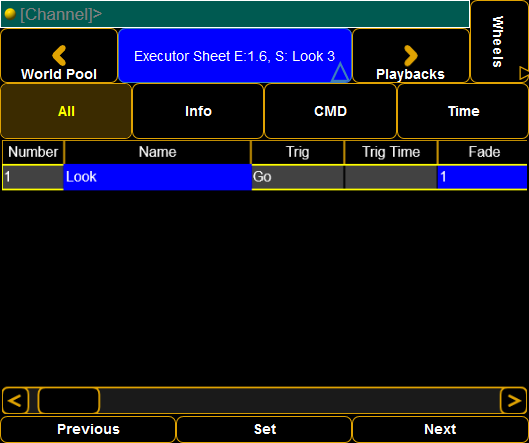
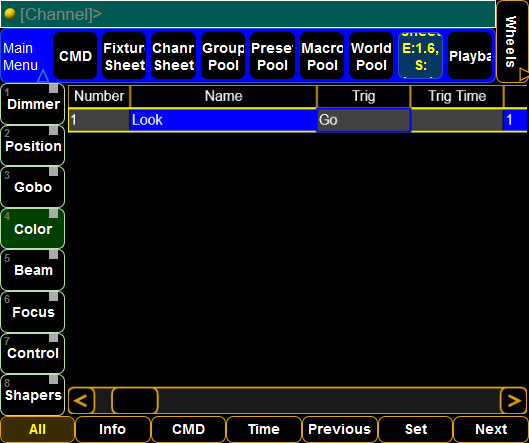
Executor Sheet
The Executor Sheet displays the Sequence Executor Sheet.
There is no playback control in this window. It only shows the sequence status of the selected executor (remember this can be different for each user).
There are four predefined masks for this window: All, Info, CMD, and Time. They cannot be edited.
Phone mode:
Tablet mode:
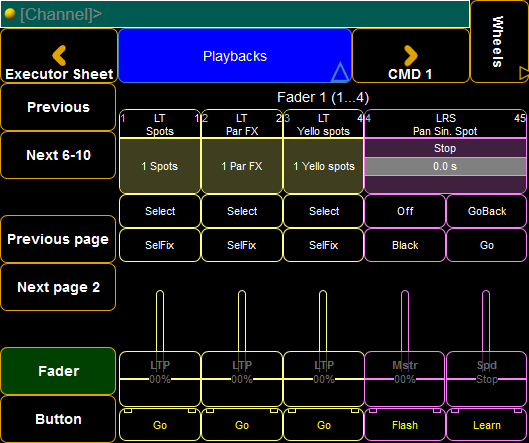
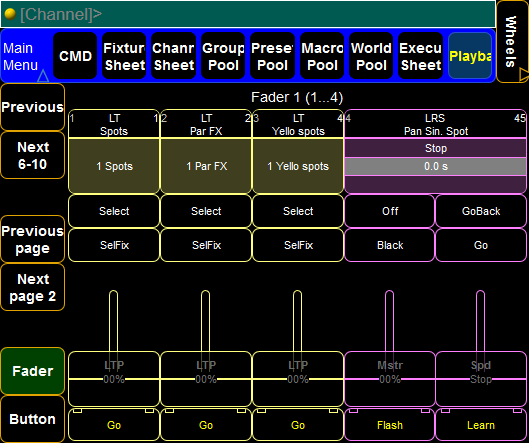
Playbacks
This windows shows the virtual executors - read more about it in the Executors on the Screens topic.
On the left hand side there are some special buttons:
- Previous:
This is used to change to the previous set of executors on the current page. - Next:
Tapping this will change the next set of executors on the current page. - Previous page:
Tapping this will change to the previous executor page. - Next page:
This will change to the next executor page. - Fader:
This is connected with the last button (Button) - only one of them can be selected. Tapping this will display Fader Executors. - Button:
This is connected with the button above - only one of them can be selected. Tapping this will display Button Executors.
Phone mode:
Tablet mode:
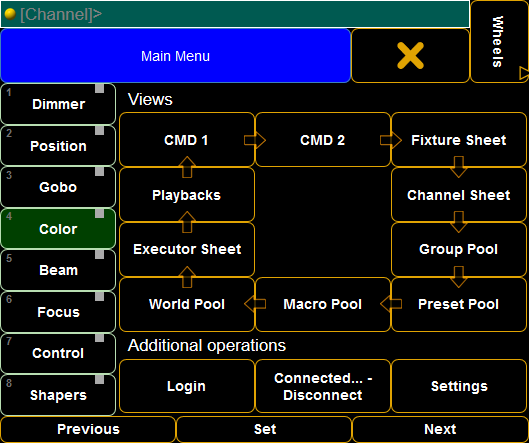
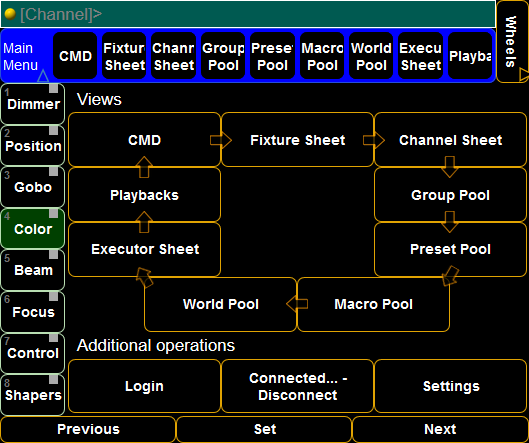
Main Menu
The Main Menu can be used select a specific window to jump to.
There are three buttons called Additional operations - they are:
- Login:
Tapping this button will open the Login pop-up - Connected... - Disconnected:
Tapping this will disconnect or reconnect the remote to the console. This can be useful if moving outside the reach of the WiFi. - Settings:
This will open the setting that allows to change between the two modes: Phone and Tablet.
Phone mode:
Tablet mode:
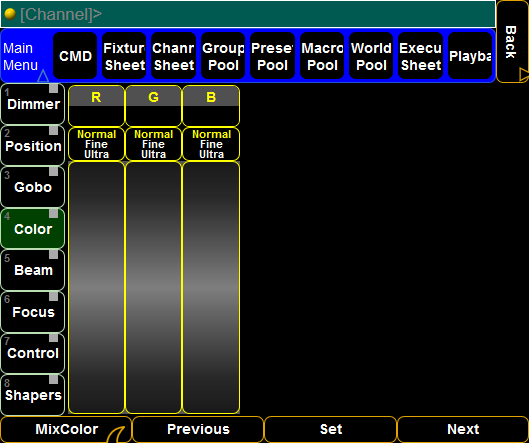
Wheels
This window displays virtual wheels that function as the encoders. It can be used to change values in the selected fixtures. It is possible to select the different preset types on the right hand side. There is also a Feature swipe button - this can be used to change between the different features in the preset type.
Phone mode:
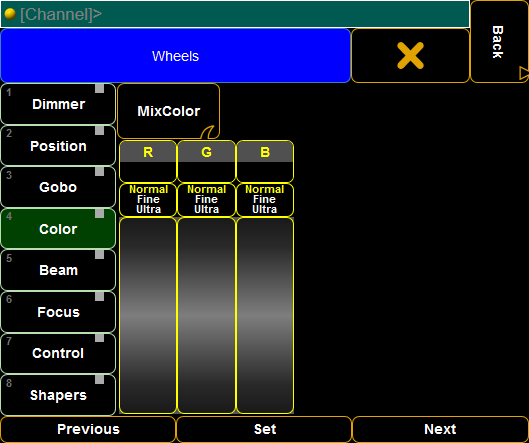
Tablet mode: