
Using different view sets in the sheets
Most of the Sheets have the option to add "Sets" title bar buttons.
For the Channel Sheet, Fixture Sheet, Sequence Content Sheet, Sequence Tracking Sheet they offer fast access to masks - please read the Use Masks in the Sheets topic for more details on this.
The Sequence Executor Sheet is different. It has 5 Sets that can be accessed as Title Buttons.
In an empty Sequence Executor Sheet with only the Set button visible it could look like this:
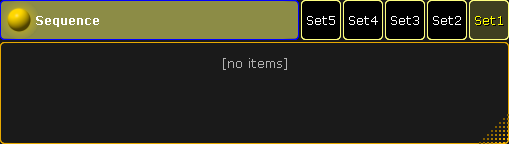
The sets are used to hide columns in the sheet.
This allows for each user to create five different sets, per saved view, of different column arrangements.
Each column can be changed in width and columns can be moved around by simply pressing the title and while pressing the screen moving the column to the new location.
Editing the Sets
Pressing the Edit key followed by one of the set buttons, or use any other way of editing, will open a pop-up like this:
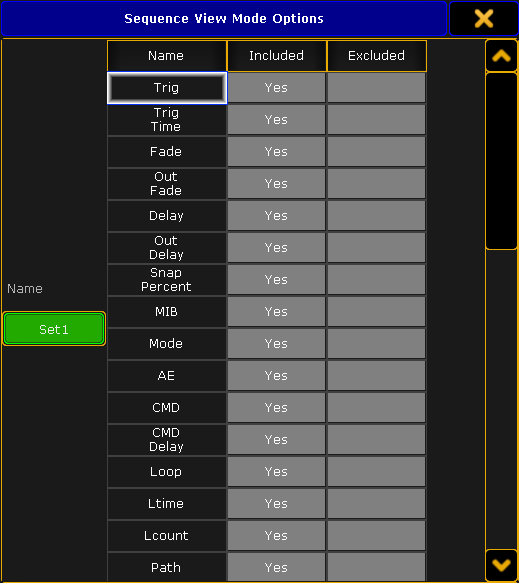
In this pop-up it is possible to give the Set button a name. Tap the green input field on the left side and type a new name in the pop-up that opens.
There are three columns in the pop-up. The left column is called "Name" this is the name of the column in the Sequence Executor Sheet. The middle column is called "Included" and the right column is called "Excluded".
If a column is to be included in the set, then the "Yes" needs to be in the "Included" column. If it is not to be in the set then the "Yes" needs to be moved to the "Excluded" column.
The "Yes" is moved by editing (right clicking with a mouse or trackball might be easiest) the cell where the "Yes" should be.
With the mouse or a lasso marking it is possible to select several cells at the same time, and editing them all will move the "Yes".
Remember to save your view after editing the Set Buttons - otherwise the changes are lost next time a view is recalled.