
Version 3.9
Add the MA Network Switch to the network configuration
Use these steps to add the MA Network Switch to the network configuration.
Requirements:
-
The default IP address of the switch is a 192.168.100.xxx. It is displayed at the front end display.
The default subnet mask of the switch is 255.255.255.0.This means your PC or grandMA2 station needs to be set to a compatible IP address. For more information about how to change the IP address see chapter Networking.
- Power on (indicates by a green power LED)
- Hardware connection between the MA Switch and a computer (indicates by a green or orange blinking link LED)
- Open the MA Network Configuration.
- Press Setup, and tap under Network MA Network Configuration.
The MA Network Configuration window opens. - Tap at Network Switch.
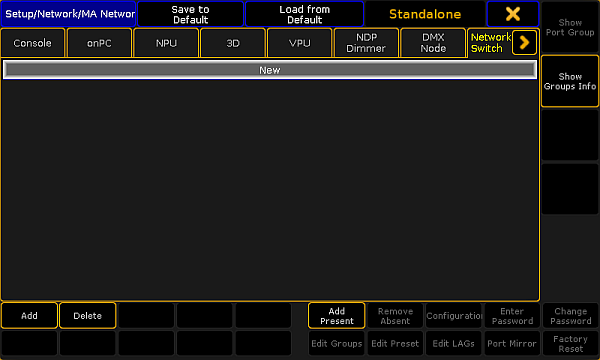
MA Network Configuration window
- To add every present MA Network Switch, tap Add Present.
Every present MA Network Switch is added to the MA Network Configuration. Continue with step 6. - To open a pop-up to select the station you like to add, tap Add or press the screen encoder.
The Select Station pop-up opens.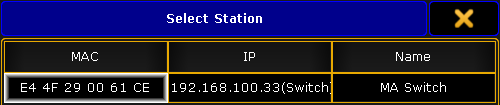
Select Station pop-up
- Tap at the station you like to add.
- Scroll at the right screen side and check if the MA Network Switch has an active password protection.
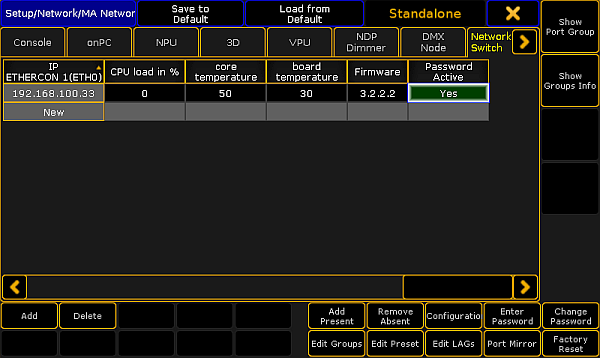
MA Network Configuration - Password Active
- If Yes is set and the cell is red the MA Network Switch has an active password protection.
Important:
The default password admin of the MA Network Switch is not an active password protection. An active password protection is when the default password was change to an individual password.
The default password admin of the MA Network Switch is not an active password protection. An active password protection is when the default password was change to an individual password.
- Tap Enter Password.
The Enter switch password pop-up opens.
Type the MA Network Switch password in the green edit line and press Please. If the input was successful the Password Active cell changes the color to green.
The MA Network Switch is added to the network configuration and ready for further configuration.